1. Important Safety Information
Read and understand all safety warnings, instructions, illustrations, and specifications provided with this power tool. Failure to follow all instructions listed below may result in electric shock, fire, and/or serious injury.
General Chainsaw Safety
- Personal Protective Equipment: Always wear safety glasses, hearing protection, gloves, and sturdy footwear. A hard hat and leg protection (chaps) are also recommended.
- Work Area Safety: Keep the work area clean and well-lit. Do not operate chainsaws in explosive atmospheres, such as in the presence of flammable liquids, gases, or dust.
- Electrical Safety: Avoid body contact with earthed or grounded surfaces. Do not expose power tools to rain or wet conditions.
- Kickback Prevention: Be aware of the risk of kickback. Maintain a firm grip with both hands on the chainsaw. Avoid cutting with the tip of the guide bar.
- Proper Operation: Operate the chainsaw only when standing on a firm, stable surface. Do not overreach.
- Battery Safety: Use only the specified battery packs and charger. Do not short-circuit the battery terminals.
Dual Safety System
This chainsaw is equipped with dual switches. Both switches must be pressed simultaneously to initiate operation, preventing accidental starts.
2. Product Overview and Components
Familiarize yourself with the various parts of your MAXLANDER 40V Cordless Brushless 16-Inch Chainsaw.

Figure 2.1: Chainsaw components including Wrap-Around Handle, Dual Charging Ports, Rubber Coating Grip, Kick-Back Brake, Auto Oiling System, 40V Batteries, Tool-Free Tensioning, and 16-inch Guide Bar and Chain.
- Wrap-Around Handle: Designed for vertical, horizontal, and felling cuts.
- Rubber Coating Grip: Provides enhanced comfort and control during operation.
- Kick-Back Brake: A safety feature designed to stop the chain in the event of kickback.
- Auto Oiling System: Automatically lubricates the chain and guide bar.
- Tool-Free Tensioning: Allows for easy adjustment of chain tension without additional tools.
- 40V Batteries: Provides power to the chainsaw.
- Dual Charging Ports: For simultaneous charging of two batteries (on charger unit).
3. Setup
3.1 Installing the Guide Bar and Chain
- Ensure the chainsaw is powered off and batteries are removed.
- Remove the chain cover by loosening the tensioning knob.
- Carefully place the chain around the sprocket and guide bar, ensuring the cutting edges face the correct direction.
- Position the guide bar onto the mounting studs.
- Replace the chain cover and hand-tighten the tensioning knob.
3.2 Adjusting Chain Tension
The MAXLANDER chainsaw features tool-free chain tensioning.
- With the chain cover hand-tightened, rotate the orange tensioning knob to adjust the chain tension.
- The chain should be snug against the guide bar, allowing it to be pulled freely by hand without excessive slack. There should be no more than 1/8 inch (3 mm) of slack at the center of the guide bar.
- Once tension is set, fully tighten the tensioning knob to secure the chain cover.

Figure 3.1: Visual guide for chain and bar installation, tension adjustment, and battery insertion.
3.3 Filling the Auto-Oiling System
The chainsaw is equipped with a 300ml oil tank for automatic chain lubrication.
- Ensure the chainsaw is on a level surface and the oil cap is clean.
- Unscrew the oil cap and fill the reservoir with high-quality bar and chain oil.
- Monitor the transparent oil window to avoid overfilling.
- Securely replace the oil cap.
Figure 3.2: Location of the oil cap for the auto-oiling system.
Figure 3.3: Filling the oil reservoir with bar and chain oil.
3.4 Battery Installation and Charging
The chainsaw operates with 40V (2x 20V) Lithium-ion batteries.
- Insert fully charged batteries into the battery compartments until they click into place.
- To charge, place the batteries into the dual-port charger. The charger allows for simultaneous charging of two batteries.
- Refer to the charger's indicator lights for charging status.

Figure 3.4: MAXLANDER 20V Lithium-ion batteries and dual-port charger.
4. Operating Instructions
4.1 Starting and Stopping the Chainsaw
- Ensure batteries are installed and the oil reservoir is filled.
- Engage the chain brake (if disengaged).
- Press and hold the safety switch (usually located on the top handle).
- While holding the safety switch, squeeze the trigger switch to start the chainsaw.
- To stop the chainsaw, release the trigger switch.
Figure 4.1: Location of the safety switch and trigger for operation.
4.2 Cutting Techniques
Always maintain a firm grip with both hands and keep the chainsaw close to your body for better control.
- Limbing: Remove branches from a fallen tree. Work from the bottom up, cutting smaller branches first.
- Bucking: Cut a fallen log into sections. Ensure the log is stable and supported to prevent pinching the guide bar.
- Felling: For felling trees, proper training and extreme caution are required. Always plan your escape route and ensure no one is in the fall zone.

Figure 4.2: Chainsaw in use, highlighting the multi-angle handle and ergonomic grip for various cutting positions.
5. Maintenance
Regular maintenance ensures optimal performance and extends the life of your chainsaw.
5.1 Chain and Guide Bar Maintenance
- Chain Sharpening: A sharp chain is essential for safe and efficient cutting. Sharpen the chain regularly or replace it when dull. Refer to the chain manufacturer's instructions for proper sharpening angles.
- Chain Tension: Check chain tension frequently, especially during initial use and after prolonged operation. Adjust as needed using the tool-free tensioning knob.
- Guide Bar Cleaning: Clean the guide bar groove and oil holes regularly to ensure proper lubrication. Flip the guide bar periodically to ensure even wear.
5.2 Oiling System
- Regularly check the oil level in the transparent oil window and refill as necessary.
- Use only recommended bar and chain oil.
5.3 General Cleaning and Storage
- After each use, clean the chainsaw body, chain, and guide bar of sawdust and debris.
- Remove batteries before cleaning or storing.
- Store the chainsaw in a dry, secure location, out of reach of children.
6. Troubleshooting
This section addresses common issues you might encounter with your chainsaw.
| Problem | Possible Cause | Solution |
|---|---|---|
| Chainsaw does not start | Batteries not inserted correctly or discharged; Safety switch not engaged; Chain brake engaged. | Ensure batteries are fully charged and properly inserted. Press the safety switch before squeezing the trigger. Disengage the chain brake. |
| Chain does not move | Chain brake engaged; Chain tension too tight; Obstruction in chain path. | Disengage the chain brake. Adjust chain tension. Remove any obstructions (with batteries removed). |
| Poor cutting performance | Dull chain; Incorrect chain tension; Insufficient oil. | Sharpen or replace the chain. Adjust chain tension. Refill oil reservoir. |
| Chainsaw overheats | Prolonged heavy use; Dull chain; Insufficient lubrication. | Allow the chainsaw to cool down. Sharpen or replace the chain. Ensure auto-oiling system is functioning and reservoir is full. |
7. Specifications
Key technical specifications for the MAXLANDER 40V Cordless Brushless 16-Inch Chainsaw.
- Brand: MAXLANDER
- Model: 16 In Chainsaw w/4.0Ah
- Power Source: Battery Powered
- Battery Type: 40V (2x 20V) Lithium-ion (4.0Ah included)
- Motor Type: Brushless
- Chain Speed: 26 ft/s
- RPM: >4000 RPM
- Guide Bar Length: 16 Inches
- Auto-Oiling System: Yes, with 300ml oil tank
- Chain Tensioning: Tool-Free
- Item Weight: Approximately 10.23 pounds (4.65 kg)
- Product Dimensions: 15.75"L x 8.66"W x 9.45"H

Figure 7.1: MAXLANDER 40V Cordless Brushless 16-Inch Chainsaw and included accessories.
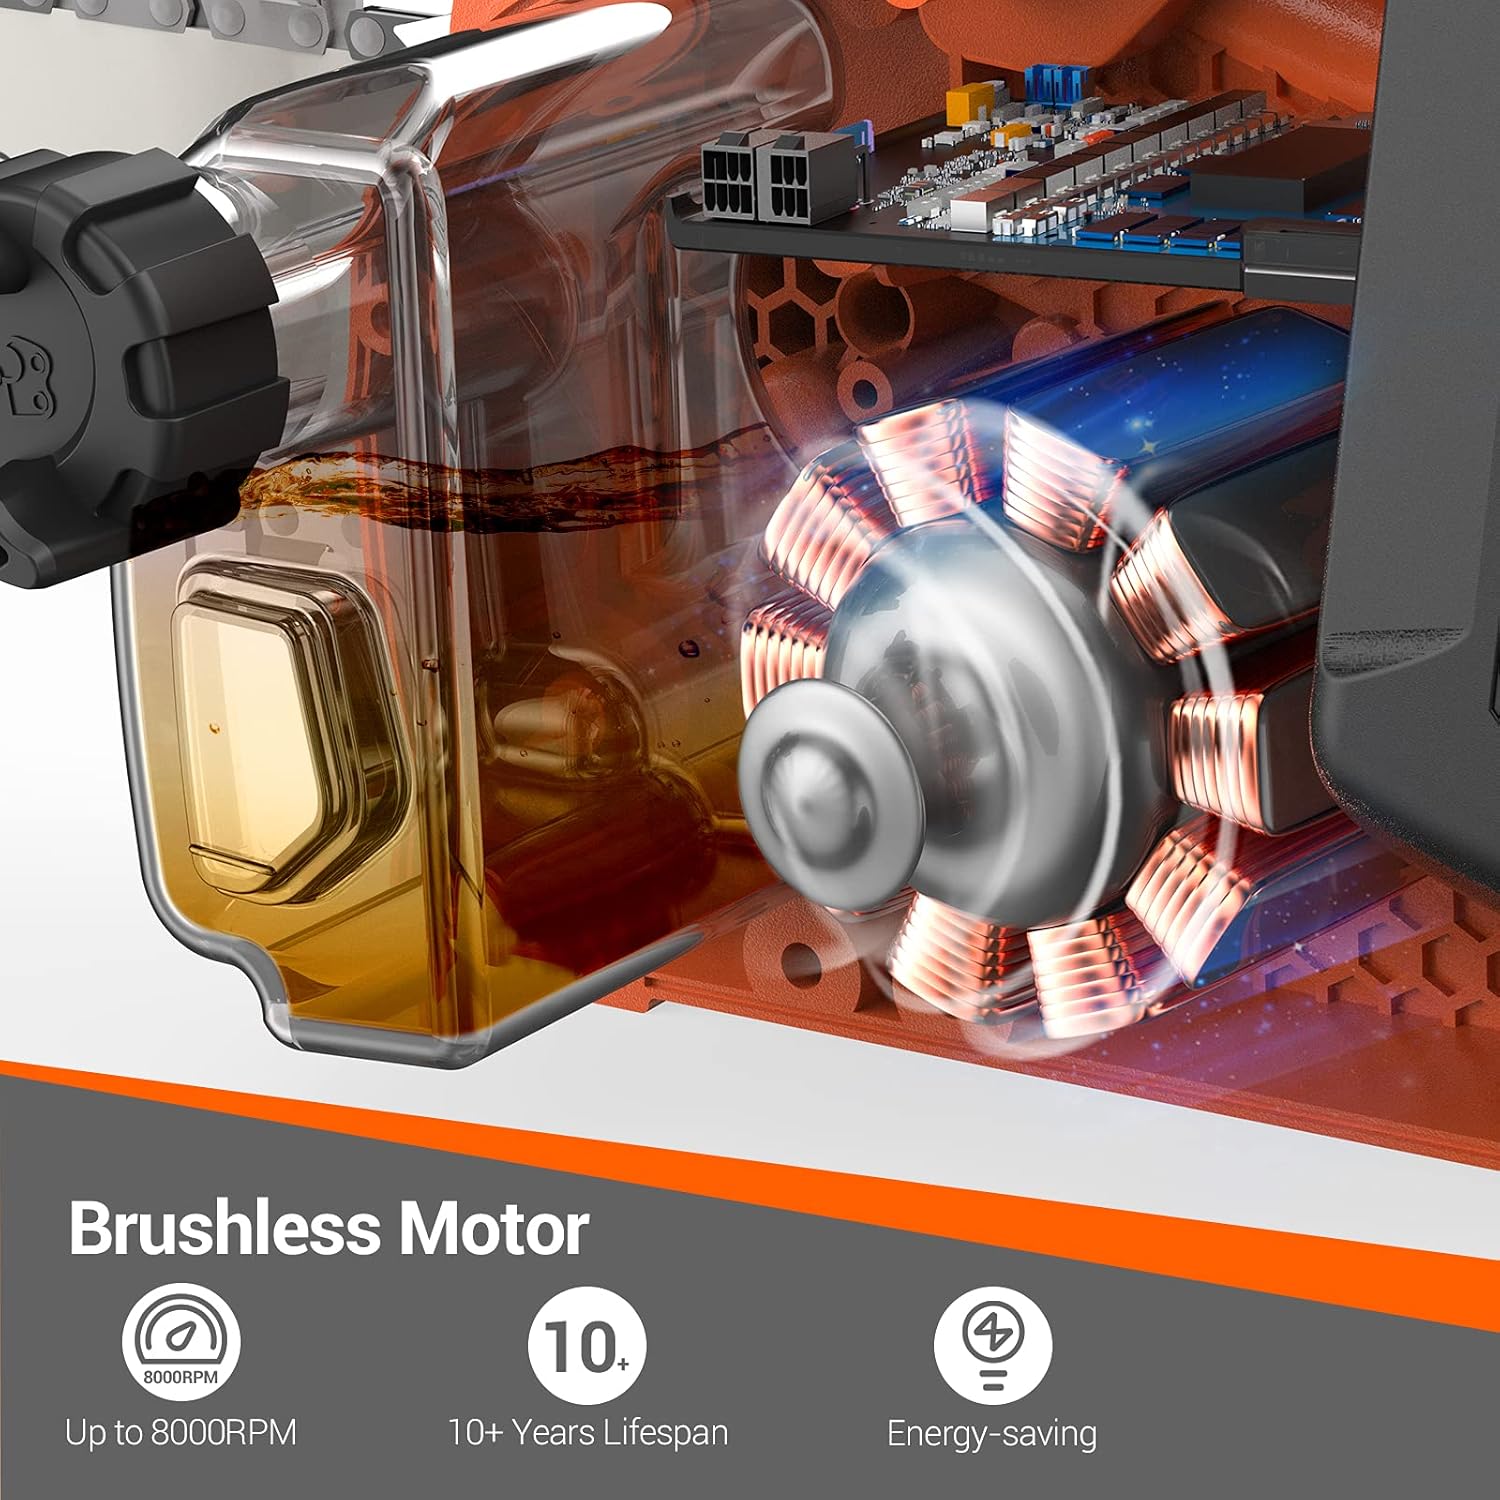
Figure 7.2: Illustration of the brushless motor technology, emphasizing its efficiency and durability.
8. Warranty and Support
For detailed warranty information, please refer to the warranty card included with your product packaging or visit the official MAXLANDER website.
For technical support, replacement parts, or any inquiries regarding your MAXLANDER chainsaw, please contact MAXLANDER customer service directly. Contact information can typically be found in your product documentation or on the manufacturer's website.


