
1. Introduction
This manual provides detailed instructions for the installation, operation, and maintenance of your Chieftec CI-02B-OP Cube PC Case. Please read this manual thoroughly before beginning installation to ensure proper setup and optimal performance of your computer system.
2. Safety Information
- Always disconnect the power supply from the wall outlet before performing any installation or maintenance inside the PC case.
- Be aware of sharp edges inside the case. Handle components carefully to avoid injury.
- Wear an anti-static wrist strap when handling internal components to prevent electrostatic discharge (ESD) damage.
- Ensure proper ventilation around the PC case to prevent overheating.
- Keep the case away from direct sunlight, heat sources, and moisture.
3. Package Contents
Before proceeding with installation, please verify that all components are present in your package. The Chieftec CI-02B-OP Cube PC Case package should include:
- Chieftec CI-02B-OP Cube PC Case
- Accessory kit (various screws, standoffs, cable ties, etc.)
- User Manual (this document)
4. Product Overview
The Chieftec CI-02B-OP Cube is a compact PC case designed for Micro ATX motherboards, offering a balance of size and functionality. It features a bottom-mounted power supply design and provides options for storage and cooling.
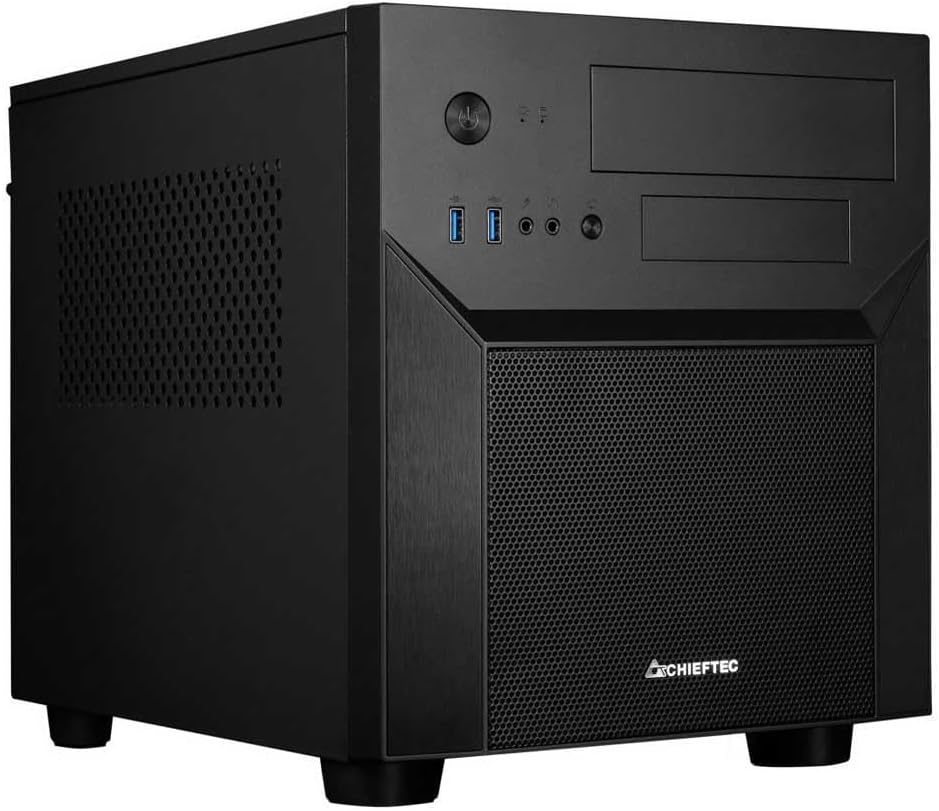
Figure 4.1: Chieftec CI-02B-OP Cube PC Case, front-left perspective, showing front panel ports and mesh intake.
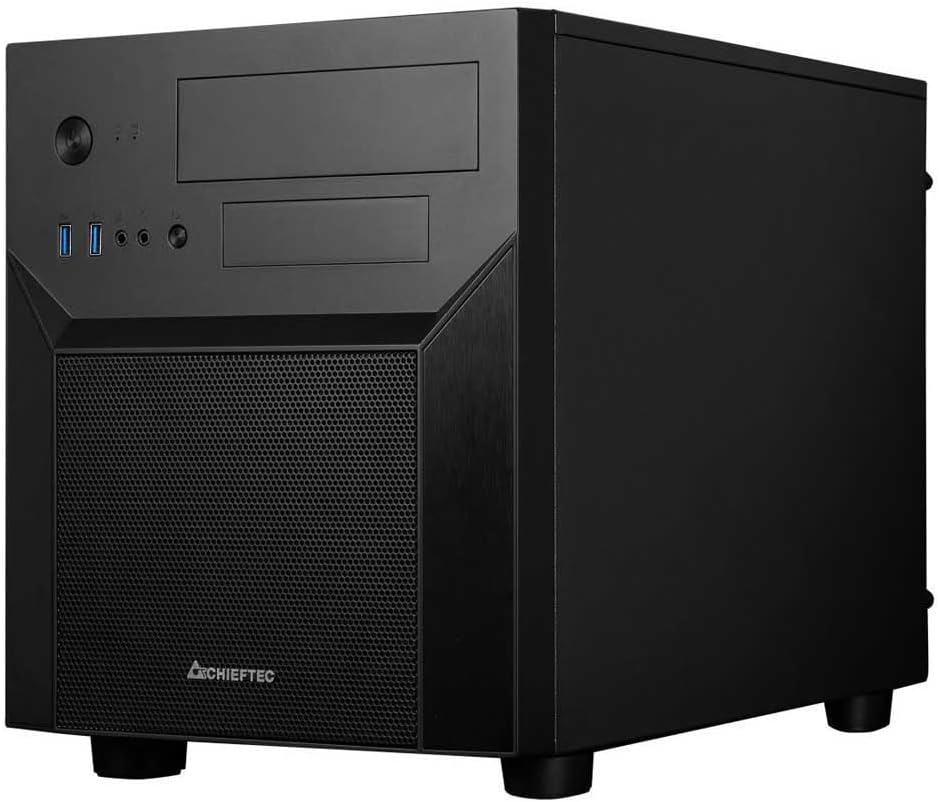
Figure 4.2: Chieftec CI-02B-OP Cube PC Case, front-right perspective, highlighting the compact form factor.
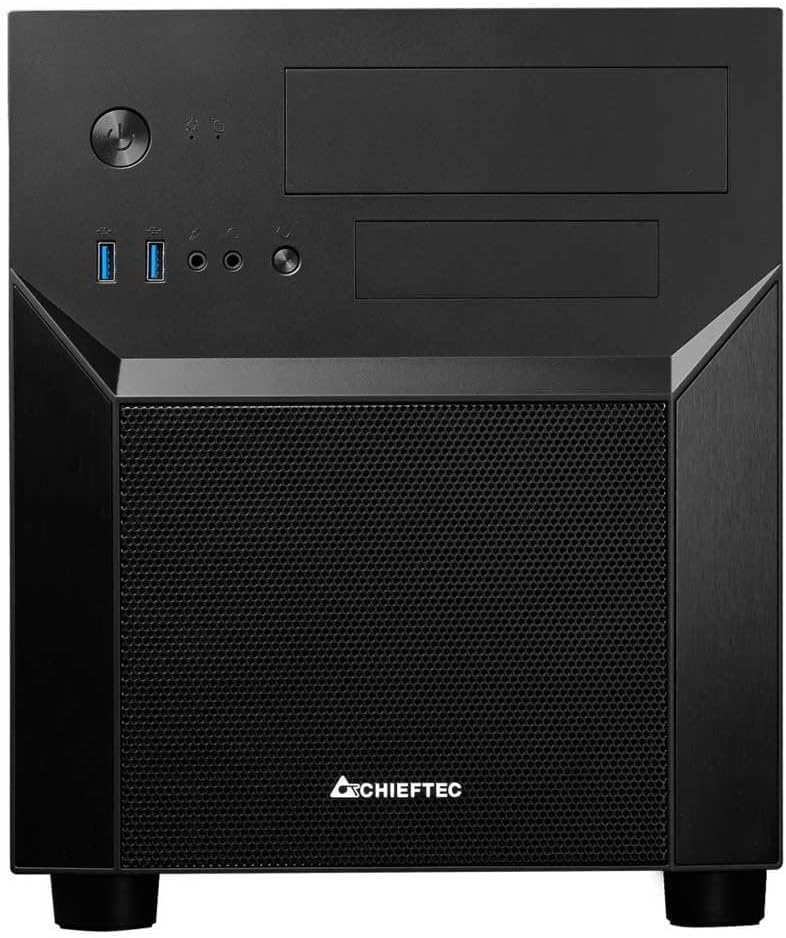
Figure 4.3: Front view of the Chieftec CI-02B-OP Cube PC Case, displaying the power button, USB ports, audio jacks, and optical drive bays.

Figure 4.4: Interior view of the Chieftec CI-02B-OP Cube PC Case, showing motherboard tray, drive bays, and cable routing options.

Figure 4.5: Top-down view of the Chieftec CI-02B-OP Cube PC Case, illustrating the top panel with ventilation and optical drive bays.
Front Panel Features:
- Power Button: To turn the system on or off.
- Reset Button: To restart the system.
- USB 3.0 Port (x1): For high-speed data transfer.
- USB 2.0 Port (x1): For standard data transfer and peripheral connections.
- Audio Jacks: Headphone and microphone ports.
- Optical Drive Bays: Two 5.25-inch bays for optical drives or other front-panel accessories.
5. Setup Instructions
Follow these steps to install your computer components into the Chieftec CI-02B-OP Cube PC Case.
- Prepare the Case:
- Place the case on a flat, stable surface.
- Remove the side panels by unscrewing the thumbscrews at the rear and sliding them off.
- Install the Motherboard:
- Install the I/O shield into the rear opening of the case.
- Align the Micro ATX motherboard with the pre-installed standoffs. If necessary, install additional standoffs from the accessory kit.
- Secure the motherboard with the appropriate screws.
- Install the Power Supply Unit (PSU):
- The CI-02B-OP supports a bottom-mounted PSU. Position the PSU in its designated bay.
- Secure the PSU to the rear of the case with screws.
- Install Storage Drives:
- Locate the drive bays for 3.5-inch HDDs and 2.5-inch SSDs.
- Mount your storage drives using the provided screws or tool-less mechanisms.
- For 5.25-inch optical drives, remove the front panel bay cover, slide the drive in, and secure it.
- Install Expansion Cards:
- Remove the necessary PCIe slot covers from the rear of the case.
- Insert your graphics card or other expansion cards into the motherboard's PCIe slots.
- Secure the cards with screws.
- Cable Management:
- Route all power and data cables through the designated cutouts and tie-down points to maintain good airflow and a clean interior.
- Connect all necessary cables to the motherboard, PSU, and drives.
- Reassemble the Case:
- Once all components are installed and cables are managed, slide the side panels back into place and secure them with the thumbscrews.
6. Operating Instructions
After successful assembly, connect your peripherals and power on the system.
- Connect Peripherals:
- Connect your monitor, keyboard, mouse, and other USB devices to the appropriate ports on the rear I/O panel or front panel.
- Connect Power:
- Plug the power cable into the PSU and then into a wall outlet.
- Ensure the PSU switch is in the 'ON' position.
- Power On:
- Press the power button on the front panel of the case to start your computer.
7. Maintenance
Regular maintenance helps ensure the longevity and optimal performance of your PC components.
- Dust Cleaning: Periodically clean dust filters (if present) and the interior of the case using compressed air. Dust accumulation can impede airflow and lead to overheating.
- Cable Management: Ensure cables remain neatly organized to prevent obstruction of airflow.
- Ventilation: Keep the case's ventilation openings clear of obstructions.
8. Troubleshooting
If you encounter issues, refer to the following common troubleshooting steps:
- No Power:
- Check if the power cable is securely connected to both the PSU and the wall outlet.
- Ensure the PSU's power switch is in the 'ON' position.
- Verify that the front panel power button cable is correctly connected to the motherboard.
- Overheating:
- Ensure all case fans are functioning correctly and installed in the proper orientation for airflow.
- Clean any dust accumulation from fans and heatsinks.
- Verify that the case has adequate ventilation and is not placed in an enclosed space.
- Front Panel Ports Not Working:
- Check that the USB and audio cables from the front panel are securely connected to the correct headers on the motherboard.
9. Specifications
| Feature | Specification |
|---|---|
| Model Name | CI-02B-OP |
| Brand | Chieftec |
| Case Type | Cube (Midi Tower) |
| Motherboard Compatibility | Micro ATX |
| Material | Aluminum |
| Color | Black |
| Item Weight | 4.4 pounds |
| Product Dimensions (LxWxH) | 19.69 x 19.69 x 11.02 inches |
| USB 2.0 Ports | 1 |
| USB 3.0 Ports | 1 |
| Power Supply Mounting Type | Bottom Mount |
| Cooling Method | Air |
| Fan Size | 320 Millimeters (referring to potential fan support) |
10. Warranty and Support
For warranty information and technical support, please refer to the official Chieftec website or contact your local retailer. Keep your proof of purchase for warranty claims.


