
OPL5 Waterproof Motorcycle Stereo Speakers with LED Lights & USB Power
Contents
OPL5 Motorcycle Speaker System User Manual
Model: Waterproof Motorcycle Stereo Speakers with LED Lights & USB Power
Introduction
Thank you for choosing the OPL5 Motorcycle Speaker System. This waterproof stereo speaker system is designed to enhance your riding experience with high-quality audio, integrated LED lighting, and convenient USB power. It is suitable for 5/8-7/8 inch handlebars on 12-volt motorcycles and other vehicles. Please read this manual thoroughly before installation and operation to ensure proper use and maximize the product's lifespan.
Safety Information
- Always ensure the product is securely mounted before riding.
- Do not attempt to disassemble or modify the speaker system. This may void the warranty and cause damage.
- Ensure all wiring connections are correct and insulated to prevent short circuits.
- Do not operate the system at excessively high volumes that could impair your ability to hear traffic or emergency vehicles.
- Keep the USB port covered when not in use to maintain waterproof integrity.
Package Contents
Please check the package for the following items:
- OPL5 Motorcycle Speaker Unit
- Wired Control Panel with USB Port
- Mounting Clamp (fits 5/8" - 7/8" handlebars)
- Installation Tools (e.g., Allen wrench)
- Power Cable
- User Manual (this document)
Product Overview

Figure 1: OPL5 Motorcycle Speaker System. This image shows the cylindrical speaker unit with a grey body and gold-colored ends, one of which features a speaker grille.
The OPL5 Motorcycle Speaker System combines a robust, waterproof speaker with a multi-functional wired control panel. It features integrated LED lights for enhanced visibility and style, and a USB port for charging devices.
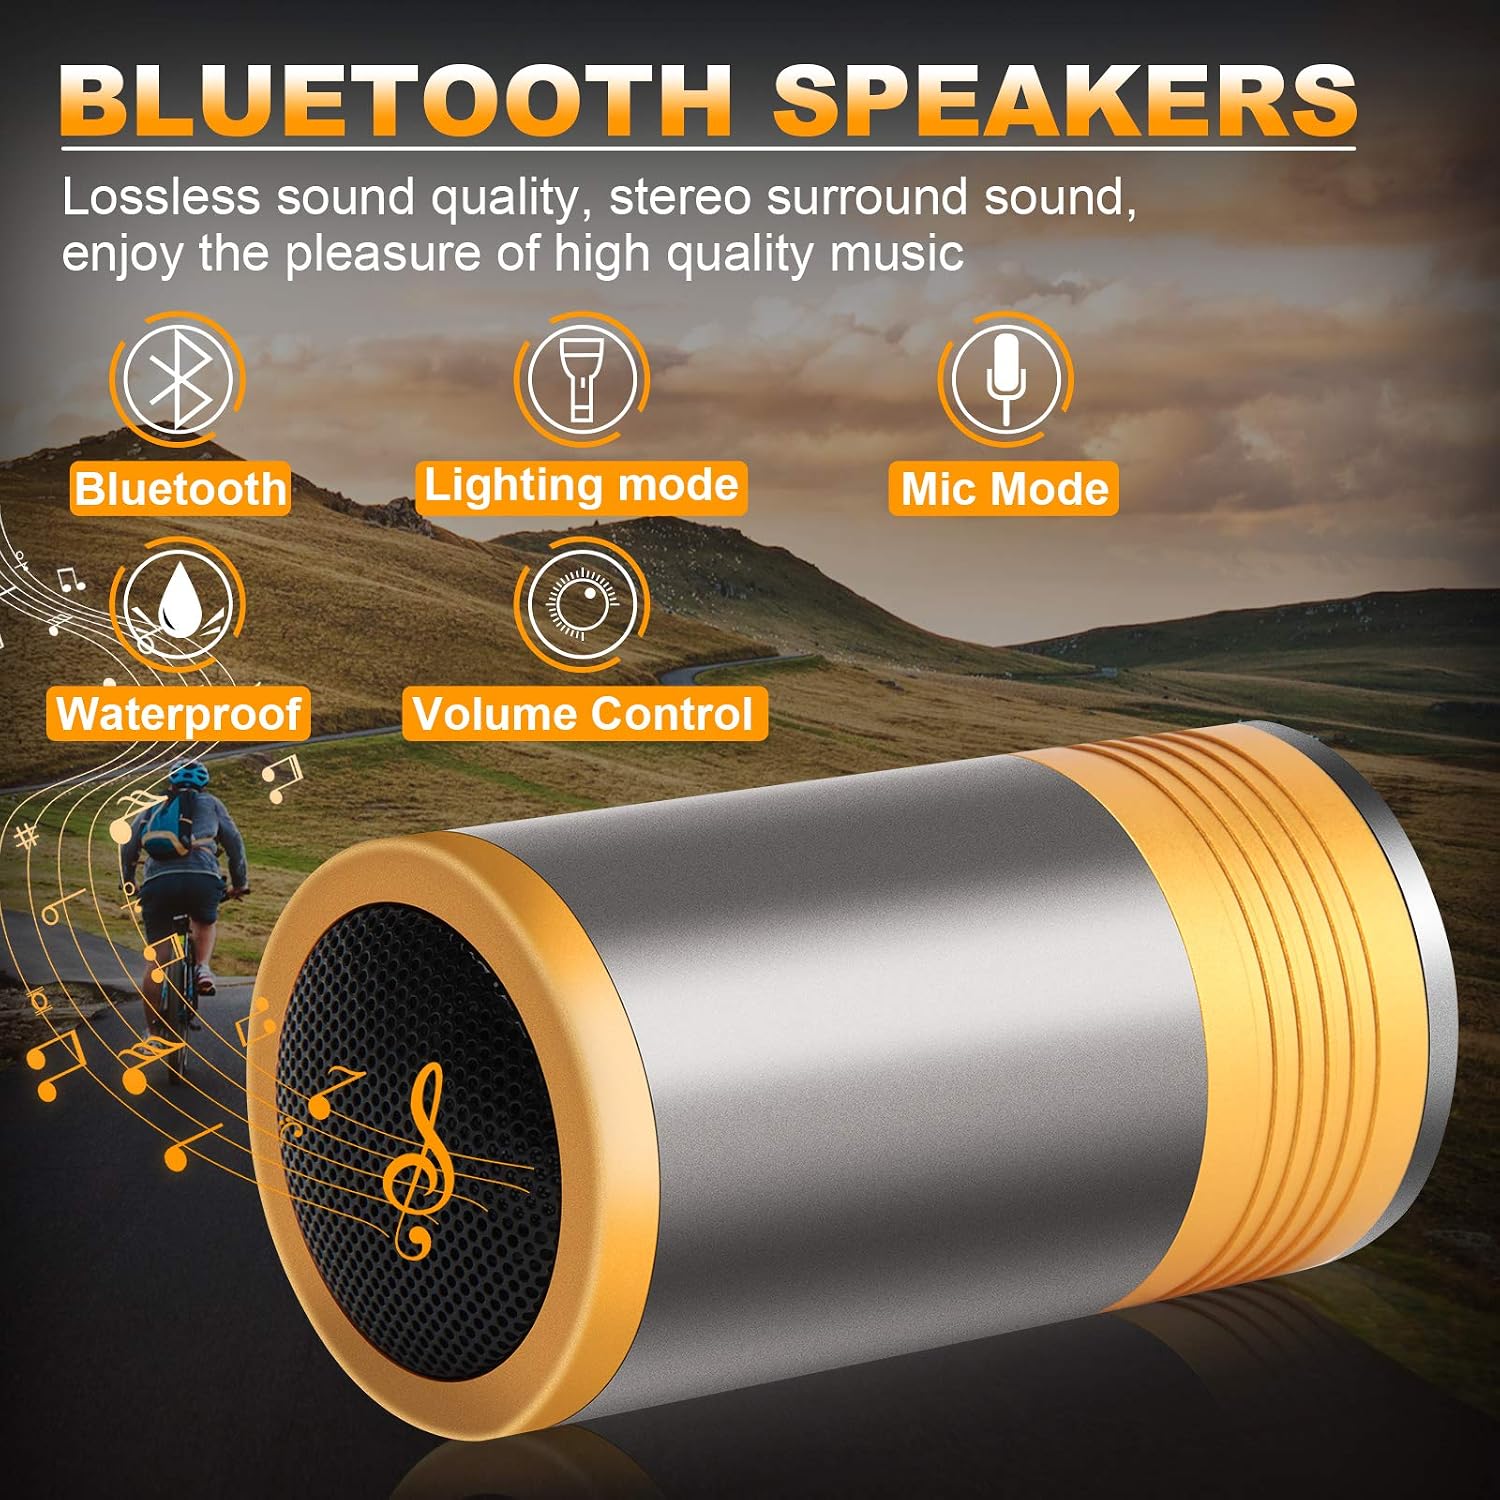
Figure 2: Key Features of the Bluetooth Speaker. This image highlights the main functionalities: Bluetooth connectivity, Lighting mode, Microphone mode, Waterproof design, and Volume Control.

Figure 3: Wired Control Panel. This image details the buttons on the control panel: Next track/Volume up, Previous track/Volume down, Play/Pause/Call/Hang up, Light control/on and off switch, and the Microphone. A USB port is also visible.
Components:
- Speaker Unit: Cylindrical, waterproof design with integrated LED lights.
- Wired Control Panel: Features buttons for audio control, lighting, call management, and a built-in microphone and USB charging port.
- Mounting Clamp: Designed for secure attachment to handlebars.
Setup and Installation
The OPL5 Motorcycle Speaker System is designed for easy installation on handlebars ranging from 5/8" to 7/8" in diameter. Ensure your vehicle is turned off before beginning installation.

Figure 4: Product Dimensions. This image provides the dimensions of the speaker unit (4.55 inches / 115mm length, 2.33 inches / 60mm diameter) and the control panel (3.1 inches / 79mm). It also indicates that the mounting clamp fits 5/8" to 7/8" handlebars.
- Choose Mounting Location: Select a suitable spot on your motorcycle's handlebar (5/8" - 7/8" diameter) that does not obstruct your view or control of the vehicle.
- Attach Mounting Clamp: Securely attach the provided mounting clamp to the chosen handlebar location using the included installation tools. Ensure it is tight and stable.
- Mount Speaker Unit: Slide the speaker unit onto the mounting clamp. The speakers have a specific direction; they should face towards the rider's head for optimal audio performance. Secure the speaker firmly to the clamp.
- Install Control Panel: Mount the wired control panel next to the speaker or in another easily accessible location on the handlebar.
- Connect Power: Connect the power cable from the speaker system to your motorcycle's 12-volt power source. Ensure correct polarity (red to positive, black to negative) and secure all connections. It is recommended to connect to a switched power source to prevent battery drain when the vehicle is off.
- Cable Management: Route all cables neatly and securely, away from moving parts or heat sources, using cable ties if necessary.

Figure 5: Installation Examples. This image displays various motorcycles and electric bikes with the OPL5 speaker system successfully installed on their handlebars, demonstrating typical mounting positions.
Operating Instructions
Power On/Off:
Once connected to your motorcycle's power, the system will power on with the vehicle's ignition. There is no separate power button on the unit itself.
Bluetooth Pairing:
- Ensure the speaker system is powered on.
- On your mobile device, enable Bluetooth and search for available devices.
- Select "OPL5 Speaker" (or similar name) from the list to pair.
- Once paired, you will hear a confirmation tone, and you can begin playing audio from your device.
Audio Control (via Wired Control Panel):
- Next Track / Volume Up: Press the "Next Track" button (usually marked with a forward arrow) to skip to the next song. Hold the button to increase volume.
- Previous Track / Volume Down: Press the "Previous Track" button (usually marked with a backward arrow) to go to the previous song. Hold the button to decrease volume.
- Play / Pause / Call: Press the "Play/Pause" button (usually marked with a play/pause icon) to play or pause music. When a call comes in, press this button to answer or hang up.
LED Lighting Modes:

Figure 6: Multiple Lighting Modes. This image shows the speaker mounted on a handlebar, illustrating the LED lights and the control button for switching between lighting modes.
The speaker system features three distinct LED lighting modes:
- Lighting Long On: LEDs remain continuously lit.
- Flashing: LEDs flash intermittently.
- Off: LEDs are turned off.
To switch between these modes, press the dedicated "Light Control" button on the wired control panel.
USB Power Output:
The USB port on the wired control panel provides power output for charging small electronic devices (e.g., smartphones). Ensure the USB port cover is securely closed when not in use to maintain the waterproof seal.
Voice Assistant Activation:
When your phone is paired via Bluetooth, quickly press the "Play/Pause/Call" button twice to activate your phone's voice assistant (e.g., Siri, Google Assistant). You can then issue commands such as "Navigate," "Answer the phone," "Send messages," or "Play music" through the speaker's microphone.
Maintenance
- Cleaning: Wipe the speaker and control panel with a soft, damp cloth. Do not use harsh chemicals or abrasive cleaners.
- Waterproof Integrity: Regularly check the rubber seals around the USB port and cable entries to ensure they are intact and properly seated.
- Connections: Periodically inspect all wiring connections for corrosion or looseness. Tighten or clean as necessary.
- Mounting: Ensure the speaker and control panel remain securely mounted to the handlebar. Tighten mounting screws if any looseness is detected.
Troubleshooting
| Problem | Possible Cause | Solution |
|---|---|---|
| No power to speaker. | Loose power connection; Blown fuse; Vehicle ignition off. | Check power cable connections; Inspect and replace fuse if necessary; Ensure vehicle ignition is on. |
| Cannot pair via Bluetooth. | Speaker not in pairing mode; Device Bluetooth off; Too far from device. | Ensure speaker is powered on; Turn on Bluetooth on your device; Move device closer to speaker (within 10 meters); Forget device on phone and re-pair. |
| No sound or low volume. | Volume too low on speaker or device; Incorrect audio source selected on device. | Increase volume using control panel and on your device; Verify correct audio output is selected on your phone. |
| LED lights not working. | Lights turned off; Malfunction. | Press the Light Control button to cycle through modes; If still not working, contact customer support. |
| USB charging not working. | USB cable faulty; Device not compatible; Speaker not powered. | Try a different USB cable; Ensure speaker is powered on; Check device compatibility. |
Specifications

Figure 7: Technical Specifications. This image displays detailed technical parameters including Signal-to-noise ratio, Channel separation, Harmonic distortion, Frequency response, and Power amplifier specifications like Output, Speaker impedance, Maximum output power, and Operating current range.
| Parameter | Value |
|---|---|
| Speaker Type | Outdoor |
| Special Feature | Waterproof |
| Recommended Uses | Handlebar (5/8" - 7/8" diameter) |
| Connectivity Protocol | Bluetooth |
| Connectivity Technology | Bluetooth, USB |
| Control Method | Voice, Button |
| Power Source | Corded Electric (12 Volt Vehicle) |
| Speaker Maximum Output Power | 10 Watts |
| Audio Output Mode | Stereo |
| Signal-to-noise ratio | >40dB |
| Channel separation (1KHz) | >23dB |
| Harmonic distortion (1KHz) | ≤5% |
| Frequency response | 100Hz-15KHz+6dB |
| Speaker impedance | 4-8Ω |
| Operating current range | 10-72V |
| Item Weight | 1.1 Pounds (approx. 0.5 kg) |
| Package Dimensions | 6.7 x 5.9 x 3.5 inches |
Warranty and Support
All OPL5 products are guaranteed for 1 YEAR from the date of purchase. This warranty covers defects in materials and workmanship under normal use.
What is Covered:
- Manufacturing defects.
- Malfunctions under normal operating conditions.
What is Not Covered:
- Damage caused by improper installation or misuse.
- Damage from accidents, abuse, or neglect.
- Unauthorized repairs or modifications.
- Normal wear and tear.
For warranty claims, technical support, or any questions regarding your OPL5 Motorcycle Speaker System, please do not hesitate to contact our customer service department. We are committed to answering all your questions and ensuring your satisfaction.
Contact Information: Please refer to your purchase documentation or the seller's contact details on the platform where you purchased the product for the most current support information.
Ask a question about this manual
Ask about setup, troubleshooting, compatibility, parts, safety, or missing instructions. Manuals+ will review the question and use this page’s manual context to help answer it.