Introduction
This manual provides essential information for the safe and efficient operation, installation, and maintenance of your Danby DWM120WDB-3 2-in-1 Laundry Combo. Please read this manual thoroughly before using the appliance and retain it for future reference.
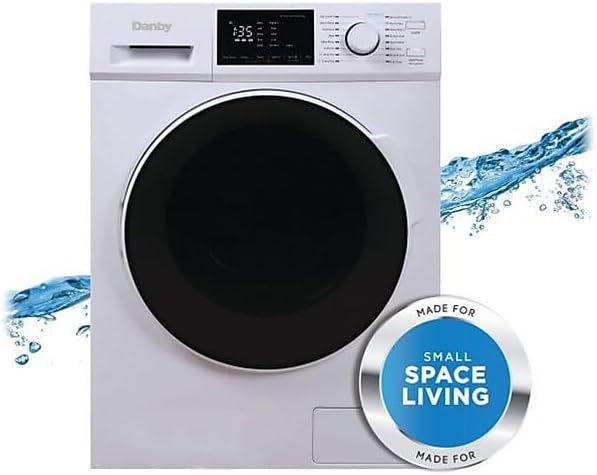
Figure 1: Danby DWM120WDB-3 2-in-1 Laundry Combo, designed for compact living spaces.
Safety Information
Always follow basic safety precautions when using electrical appliances to reduce the risk of fire, electric shock, and injury to persons. This appliance is for indoor use only. Do not install or store where it will be exposed to the weather or freezing temperatures. Ensure the appliance is properly grounded.
- Do not wash or dry articles that have been previously cleaned in, washed in, soaked in, or spotted with gasoline, dry-cleaning solvents, or other flammable or explosive substances.
- Do not allow children to play on or in the appliance. Close supervision is necessary when the appliance is used near children.
- Before servicing or cleaning, unplug the appliance or disconnect the power supply.
- Do not operate any appliance with a damaged cord or plug, or if it has been dropped or damaged in any manner.
- Keep the area around the exhaust opening and adjacent surrounding areas free from the accumulation of lint, dust, and dirt.
Setup and Installation
Unpacking
Carefully remove all packaging materials. Inspect the appliance for any shipping damage. Report any damage to your dealer immediately.
Location Requirements
Place the appliance on a firm, level floor. Ensure there is adequate space around the unit for proper ventilation and access for maintenance. The appliance dimensions are approximately 33 7/16 inches (Height) x 23 5/8 inches (Width) x 23 7/16 inches (Depth).
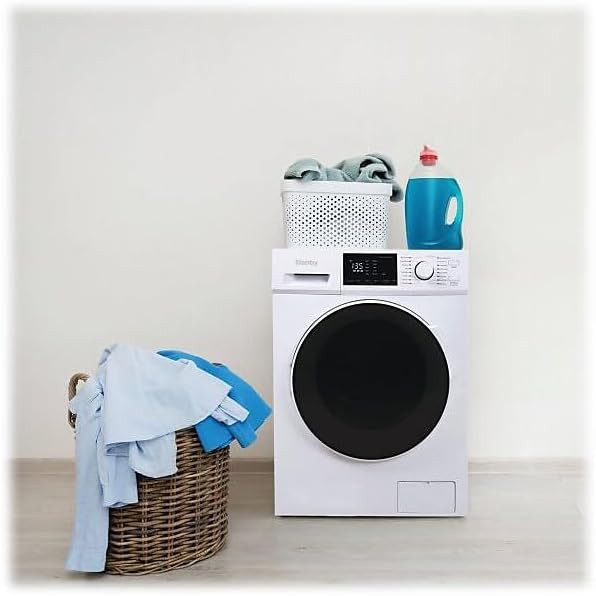
Figure 2: Appliance dimensions for installation planning.
Electrical Connection
This appliance requires a 120 Volt, 60 Hz, 15 Amp dedicated electrical supply. Ensure the electrical outlet is properly grounded. Do not use an extension cord.
Water Supply Connection
Connect the hot and cold water inlet hoses to the corresponding water faucets and to the appliance's inlet valves. Ensure all connections are tight to prevent leaks.
Drain Hose Connection
Securely attach the drain hose to the appliance and route it to a suitable drain (e.g., laundry tub, standpipe). Ensure the drain hose is not kinked or obstructed.
Operating Instructions
Control Panel Overview
The control panel features a digital display, program selector knob, and various function buttons for cycle customization.

Figure 3: Detailed view of the control panel.
Loading Laundry
Open the door and load clothes loosely into the drum. Do not overload the appliance. The maximum wash capacity is 27 lbs, and the maximum dry capacity is 17.6 lbs.
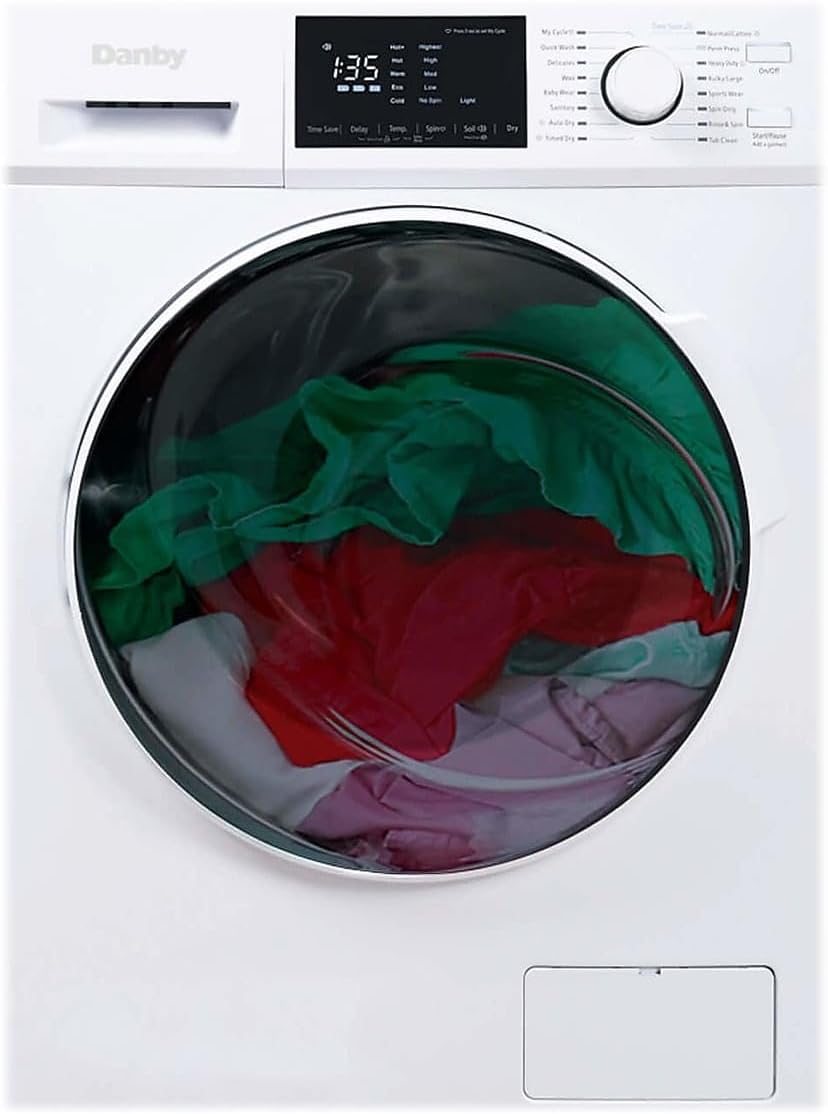
Figure 4: Proper loading of laundry into the drum.

Figure 5: Wash and dry capacity guidelines.
Adding Detergent and Fabric Softener
Use the single-compartment dispenser for both detergent and fabric softener. Refer to your detergent's instructions for recommended amounts.
Selecting a Program
Turn the program selector knob to choose from the 16 available wash/dry programs. These include 14 wash cycles and 2 drying cycles. Common wash cycles include Normal, Heavy Duty, and Delicates. Select the appropriate cycle based on fabric type and soil level.
Starting a Cycle
After selecting the program and adding detergent, press the Start/Pause button to begin the cycle. The digital display will show the remaining time.
Maintenance and Care
Cleaning the Drum
Regularly clean the stainless steel drum to prevent odors and residue buildup. Use a damp cloth and mild detergent, or run a dedicated drum clean cycle if available.

Figure 6: Interior view of the stainless steel drum.
Cleaning the Dispenser
Remove and clean the detergent dispenser drawer periodically to prevent clogs and mold growth.
Exterior Cleaning
Wipe the exterior surfaces with a soft, damp cloth. Avoid abrasive cleaners.
Lint Filter (Ventless Drying)
As this unit features ventless drying, it is crucial to regularly clean the lint filter to maintain drying efficiency. Refer to the appliance for the exact location and cleaning procedure of the lint filter.
Troubleshooting
Before contacting service, review the following common issues and their potential solutions:
| Problem | Possible Cause | Solution |
|---|---|---|
| Appliance does not start | Power cord unplugged; Door not closed properly; Circuit breaker tripped. | Ensure power cord is securely plugged in; Close door firmly; Reset circuit breaker. |
| Water leaks | Hoses loose; Drain hose kinked or clogged. | Tighten water inlet hoses; Check and clear drain hose. |
| Clothes not drying properly | Overloaded; Lint filter clogged; Incorrect dry cycle selected. | Reduce load size; Clean lint filter; Select appropriate dry cycle. |
| Excessive vibration | Appliance not level; Shipping bolts not removed. | Adjust leveling feet; Ensure all shipping bolts are removed (refer to installation guide). |
If the problem persists after attempting these solutions, please contact Danby customer support.
Specifications
| Feature | Detail |
|---|---|
| Model | DWM120WDB |
| Capacity (Wash) | 2.7 Cubic Feet (approx. 27 lbs) |
| Capacity (Dry) | Approx. 17.6 lbs |
| Voltage | 120 Volts |
| Frequency | 60 Hz |
| Number of Cycles | 16 (14 Wash, 2 Dry) |
| Drum Material | Stainless Steel |
| Control Type | Push Button / Rotary Knob |
| Drying Type | Ventless |
| Dimensions (H x W x D) | 33 7/16" x 23 5/8" x 23 7/16" |
| Included Components | Power Cord, Drain Hose, Venting Duct |
Warranty and Support
Your Danby DWM120WDB-3 2-in-1 Laundry Combo is covered by a manufacturer's warranty. Please refer to the warranty card included with your purchase for specific terms and conditions.
For technical assistance, troubleshooting not covered in this manual, or to inquire about warranty service, please contact Danby customer support. Contact information can typically be found on the Danby website or on your product registration card.
Danby Customer Support: www.danby.com/support/


