
1. Introduction
This manual provides essential information for the installation, operation, and maintenance of your EVGA 850 GT 80 Plus Gold 850W Fully Modular Power Supply. Please read this manual thoroughly before installation to ensure proper setup and safe operation.
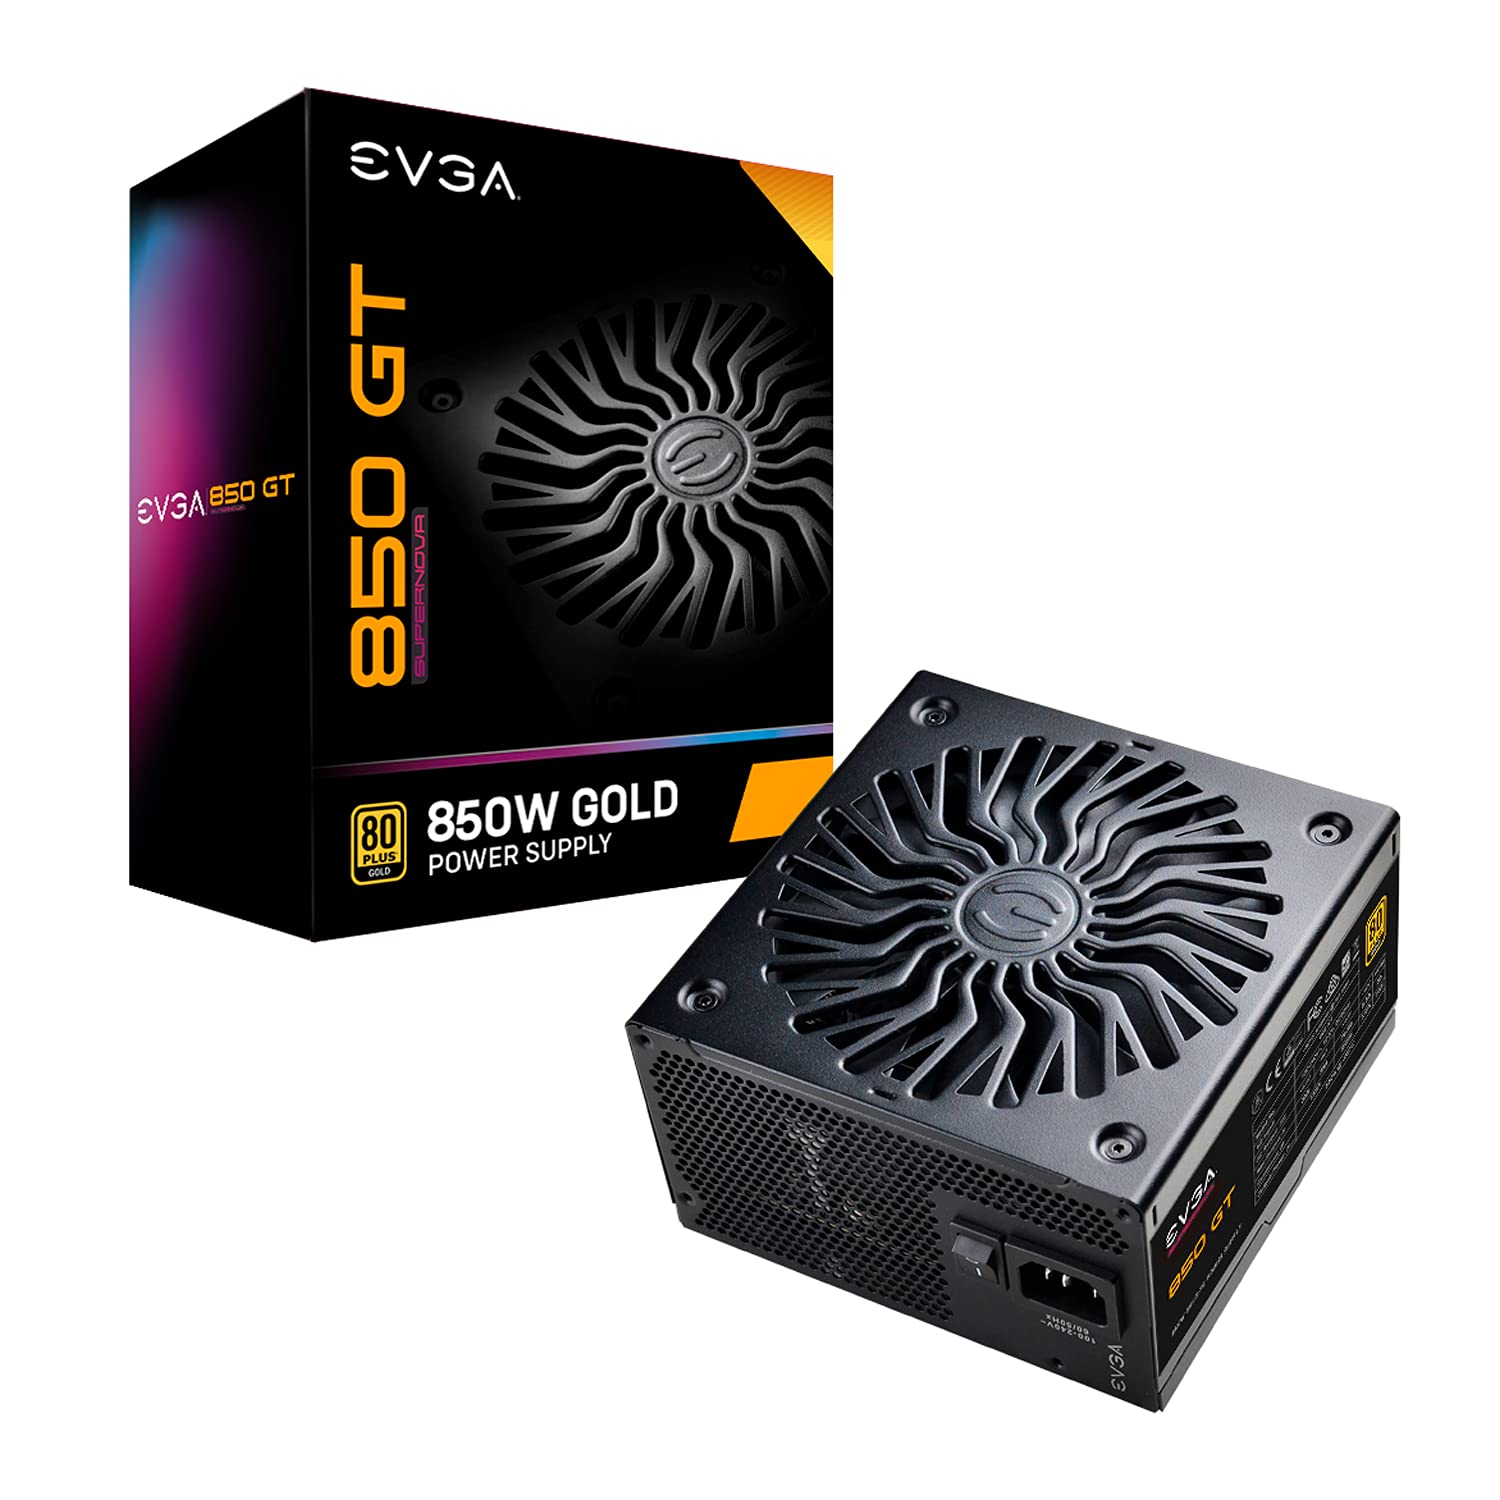
Figure 1.1: EVGA 850 GT Power Supply, top-down view showing the fan grille and product label.
2. Safety Information
Always observe the following safety precautions:
- Ensure the power supply is disconnected from the AC outlet before installation or removal.
- Do not open the power supply casing. High voltages are present inside, and there are no user-serviceable parts.
- Install the power supply in a well-ventilated area, away from heat sources and moisture.
- Use only the modular cables provided with this power supply. Using incompatible cables may damage the unit or connected components.
- Ensure all cables are securely connected before powering on the system.
3. Package Contents
Verify that all items are present in your package:
- EVGA 850 GT Power Supply Unit
- Modular Cable Set (various types for motherboard, CPU, PCIe, SATA, Peripherals)
- AC Power Cord
- Mounting Screws
- Power ON Self Tester
- User Manual (this document)
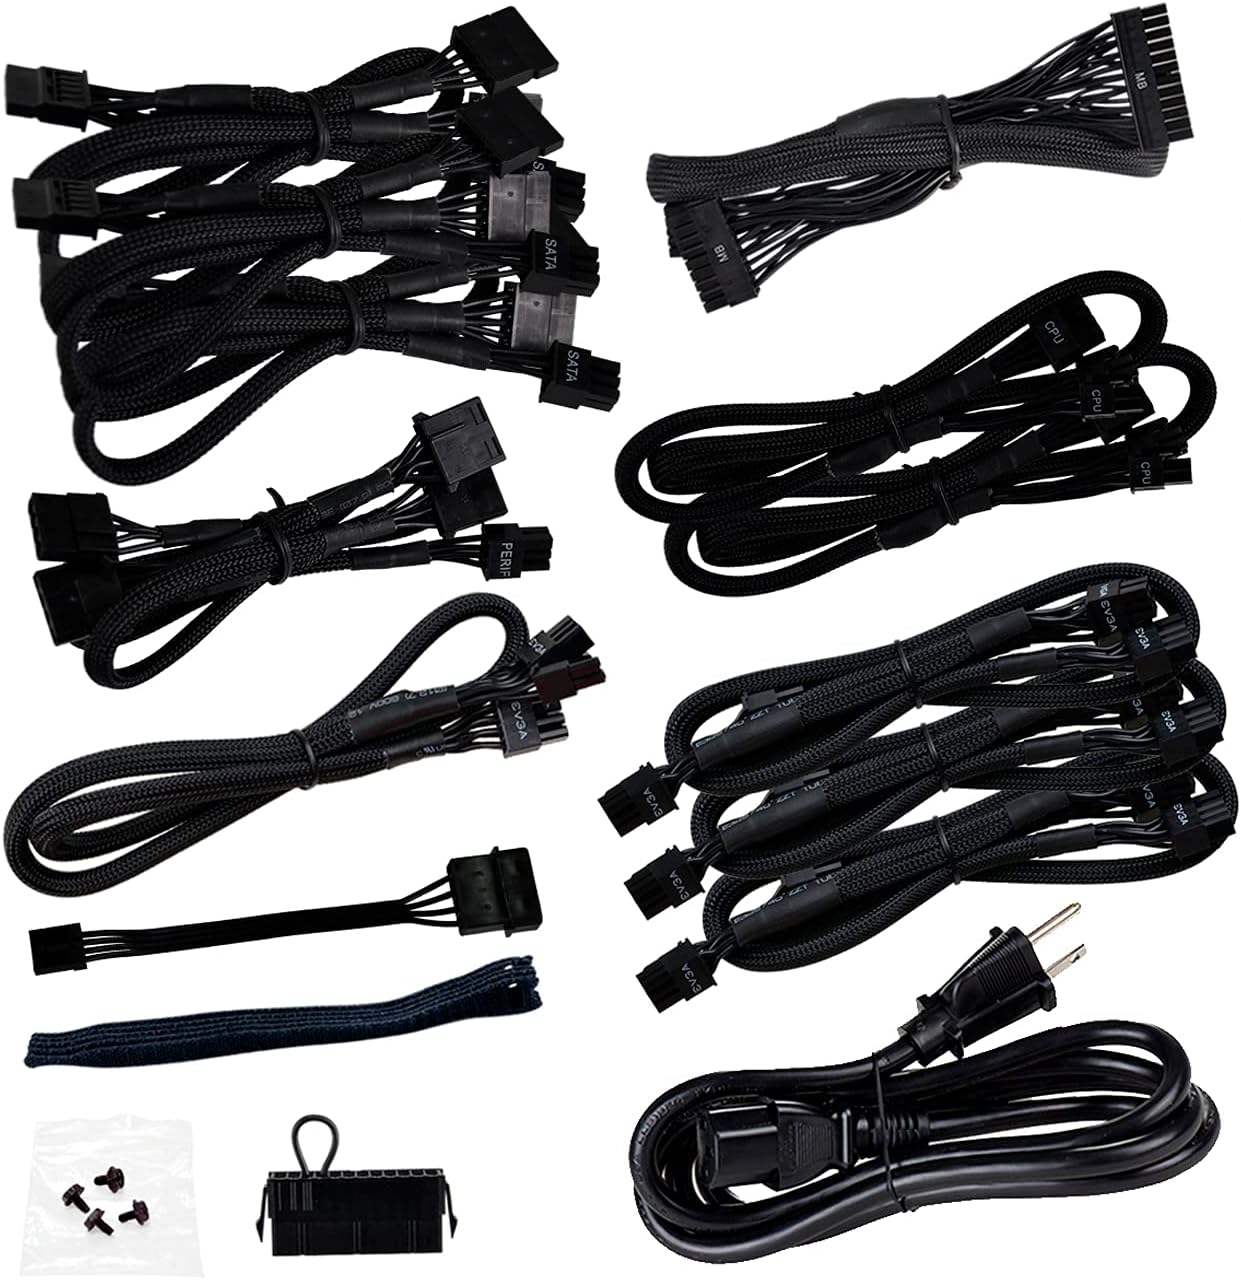
Figure 3.1: Included modular cables for the EVGA 850 GT Power Supply.
4. Product Features
The EVGA 850 GT Power Supply offers advanced features for reliable performance:
- 80 PLUS Gold Certified: Achieves 90% (115VAC) / 92% (220VAC~240VAC) efficiency or higher under typical loads.
- Fully Modular Design: Allows for custom cable management, reducing clutter and improving airflow within your PC case.
- Premium Components: Features 100% Japanese Capacitors for enhanced reliability and longevity.
- Advanced Protections: Includes Over Voltage Protection (OVP), Under Voltage Protection (UVP), Over Current Protection (OCP), Over Power Protection (OPP), Short Circuit Protection (SCP), and Dual Over Temperature Protection (OTP).
- Fluid Dynamic Bearing (FDB) Fan: A long-life 135mm fan provides quiet operation and increased lifespan.
- EVGA Auto ECO Mode: Optimizes fan speed for ultra-quiet operation under low to moderate loads.
- Compact Size: Designed with a compact 150mm length and width for easier installation in various PC cases.

Figure 4.1: Illustration of the fully modular design and Fluid Dynamic Bearing fan technology.

Figure 4.2: The compact 150mm length and width of the EVGA SuperNOVA GT series power supply.
5. Setup and Installation
5.1 Physical Installation
- Prepare your PC Case: Ensure your PC case has an available power supply mounting bay.
- Mount the Power Supply: Carefully slide the EVGA 850 GT into the designated bay. Secure it with the provided mounting screws.
- Connect Modular Cables: Identify the necessary cables for your motherboard (24-pin ATX), CPU (4+4 pin or 8-pin EPS), graphics card(s) (6+2 pin PCIe), SATA devices (SSDs/HDDs), and other peripherals. Plug these cables into the corresponding ports on the power supply.

Figure 5.1: Modular cable connection ports on the EVGA 850 GT Power Supply. Ensure correct cable orientation.
- Connect to Components: Route the modular cables to your motherboard, CPU, graphics card(s), and storage devices. Ensure all connections are firm and correctly seated.
- Cable Management: Utilize your PC case's cable management features to route cables neatly, improving airflow and aesthetics.
- Connect AC Power: Once all internal connections are made, connect the AC power cord to the power supply's AC inlet and then to a wall outlet or surge protector.
5.2 Using the Power ON Self Tester
The included Power ON Self Tester can be used to verify basic functionality of the power supply before connecting it to your system. This is useful for initial checks or troubleshooting.
- Connect the 24-pin ATX cable from the power supply to the self-tester.
- Connect the AC power cord to the power supply and a wall outlet.
- Flip the power switch on the back of the PSU to the 'ON' position.
- If the power supply is functioning correctly, the fan should spin briefly, and the self-tester's indicator light (if present) should illuminate.
- Disconnect the AC power and the self-tester once testing is complete.
Video 5.1: A brief product overview demonstrating the EVGA 850 GT Power Supply and its included cables.
6. Operating Instructions
After successful installation, operating your EVGA 850 GT Power Supply is straightforward:
- Ensure the power switch on the back of the power supply is in the 'OFF' position before connecting the AC power cord.
- Connect the AC power cord to the power supply and a grounded wall outlet.
- Flip the power switch on the back of the power supply to the 'ON' position.
- Press the power button on your computer case to start your system.
The EVGA 850 GT features an Auto ECO Mode. In this mode, the fan will remain off under low to moderate loads for silent operation. The fan will automatically activate as the load increases to maintain optimal temperatures.

Figure 6.1: Rear view of the EVGA 850 GT Power Supply, showing the AC inlet and power switch.
7. Maintenance
Minimal maintenance is required for the EVGA 850 GT Power Supply:
- Dust Removal: Periodically clean the exterior of the power supply and the fan grille to prevent dust buildup, which can impede airflow and cooling. Use compressed air or a soft brush. Ensure the power supply is off and unplugged before cleaning.
- Cable Inspection: Occasionally check all modular cable connections to ensure they remain secure.
- Environmental Conditions: Ensure your PC operates in a clean, dry, and well-ventilated environment to prolong the lifespan of the power supply and other components.
8. Troubleshooting
If you encounter issues with your EVGA 850 GT Power Supply, consider the following troubleshooting steps:
8.1 No Power
- Verify the AC power cord is securely connected to both the power supply and the wall outlet.
- Ensure the power switch on the back of the power supply is in the 'ON' position.
- Check the wall outlet by plugging in another device to confirm it has power.
- Use the Power ON Self Tester (Section 5.2) to confirm the power supply is functional outside of the system.
- Ensure all modular cables (especially the 24-pin ATX and CPU power) are correctly and firmly seated in both the power supply and the motherboard.
8.2 System Instability or Random Shutdowns
- Ensure your system's power requirements do not exceed the 850W capacity of the power supply.
- Check for proper ventilation within your PC case to prevent overheating of components, including the PSU.
- Verify all power connections to components (motherboard, CPU, GPU) are secure. Loose connections can cause instability.
- If possible, test the power supply with a different set of components or in another system to isolate the issue.
8.3 Fan Not Spinning
- The EVGA 850 GT features an Auto ECO Mode where the fan remains off under low loads. The fan will activate automatically as the system load increases. This is normal operation.
- If the fan does not spin under heavy load, ensure there is no obstruction to the fan blades and that the power supply is receiving adequate airflow.
If issues persist after following these steps, contact EVGA customer support for further assistance.
9. Specifications
| Feature | Specification |
|---|---|
| Model Name | SuperNOVA 850 GT |
| Model Number | 220-GT-0850-Y1 |
| Brand | EVGA |
| Output Wattage | 850W |
| 80 PLUS Rating | Gold |
| Form Factor | ATX |
| Power Supply Design | Fully Modular |
| Cooling Method | Air (Fluid Dynamic Bearing Fan) |
| Number of Fans | 1 |
| Input Voltage | 115-120V (Min-Max) |
| Item Dimensions (L x W x H) | 5.9 x 5.9 x 3.38 inches (150mm x 150mm x 86mm) |
| Item Weight | 6 pounds |
| Compatible Devices | Personal Computer |
| UPC | 843368068080 |

Figure 9.1: Side label of the EVGA 850 GT Power Supply detailing electrical specifications.

Figure 9.2: Detailed power chart and list of protection features (OVP, OCP, OPP, SCP, UVP, Dual OTP).

Figure 9.3: Efficiency and noise level charts for the 850 GT Power Supply.
10. Warranty Information
The EVGA 850 GT Power Supply comes with a 7-year warranty. For detailed warranty terms and conditions, please refer to the official EVGA website or the warranty card included with your product. Keep your proof of purchase for warranty claims.
11. Support
For technical support, product registration, or further inquiries, please visit the official EVGA support website:
You may also find additional resources and FAQs on their website.


