
1. Introduction
Thank you for choosing the Prem-I-Air 14000 BTU 4-in-1 Portable Air Conditioner, Model EH1926. This unit is designed to provide customized indoor climate control with its versatile functions: air conditioning, dehumidifier, fan, and sleep mode. Featuring a powerful 14000 BTU cooling capacity, a programmable 24-hour timer, and a convenient remote control, this appliance is ideal for effectively cooling large spaces of 20-28 m².
This manual provides essential information for the safe and efficient operation, installation, and maintenance of your new air conditioner. Please read it thoroughly before use and retain it for future reference.

Figure 1: Prem-I-Air 14000 BTU Portable Air Conditioner
2. Important Safety Instructions
To reduce the risk of fire, electric shock, or injury when using your air conditioner, follow these basic precautions:
- Read all instructions before using the appliance.
- This appliance is for indoor use only.
- Ensure the power supply matches the voltage specified on the rating label.
- Always plug the unit into a grounded electrical outlet.
- Do not operate the unit with a damaged cord or plug. If the supply cord is damaged, it must be replaced by the manufacturer, its service agent, or similarly qualified persons to avoid a hazard.
- Do not block air inlets or outlets. Maintain at least 20 cm clearance around the unit.
- Do not insert objects into the air vents.
- Do not use the appliance in wet environments such as bathrooms or laundries.
- Keep the appliance away from heat sources and direct sunlight.
- Always turn off and unplug the unit before cleaning or performing any maintenance.
- The appliance contains R290 refrigerant. R290 is a flammable refrigerant. Handle with care.
- Do not puncture or burn the refrigerant circuit.
- This appliance can be used by children aged 8 years and above and persons with reduced physical, sensory or mental capabilities or lack of experience and knowledge if they have been given supervision or instruction concerning use of the appliance in a safe way and understand the hazards involved.
- Children shall not play with the appliance. Cleaning and user maintenance shall not be made by children without supervision.
3. Package Contents
Carefully unpack your Prem-I-Air Portable Air Conditioner and check that all items are present and in good condition. If any items are missing or damaged, contact your retailer immediately.
- Prem-I-Air Portable Air Conditioner Unit (Model EH1926)
- Remote Control
- Exhaust Hose
- Window Vent Kit (includes adapters for sliding and hinged windows)
- Drain Hose
- Dust Cover
- User Manual
4. Product Features
The Prem-I-Air EH1926 Portable Air Conditioner is equipped with advanced features for optimal performance and user convenience:
- Powerful Cooling: 14000 BTU cooling capacity, suitable for rooms up to 28 m².
- 4-in-1 Functionality: Offers Air Conditioning, Fan, Dehumidifier, and Sleep modes.
- Digital Display & Remote Control: User-friendly interface for easy operation and full control over settings.
- 24-Hour Timer: Programmable timer for automatic on/off operation.
- Adjustable Thermostat: Temperature control in both °C and °F.
- Energy Efficient: Class A energy efficiency rating with R290 refrigerant, which is environmentally friendly.
- Window Vent Kits: Includes two easy-to-install kits compatible with sliding and hinged windows.
- Portability: Equipped with 4 durable swivel wheels and integrated side handles for easy movement between rooms.
- Low Noise Sleep Mode: Designed to minimize energy consumption and noise during nighttime operation.

Figure 2: Key Performance Indicators

Figure 3: Versatile 4-in-1 Modes
5. Setup and Installation
5.1 Positioning the Unit
- Place the air conditioner on a flat, stable surface.
- Ensure there is at least 20 cm of clear space around the unit for proper airflow.
- Position the unit near a window or door where the exhaust hose can be vented outdoors.
5.2 Installing the Window Vent Kit
The unit comes with two window vent kits for various window types (sliding and hinged). Follow these steps for installation:
- Attach the exhaust hose to the air outlet on the back of the unit. Ensure it is securely fastened.
- Extend the exhaust hose and attach the window adapter to the other end.
- For Sliding Windows: Adjust the window seal plate to fit the window opening. Secure it in place. Insert the window adapter into the opening of the seal plate.
- For Hinged Windows: Use the provided fabric window seal kit. Attach the adhesive hook tape around the inside of your window frame and the window itself. Attach the fabric seal to the hook tape, ensuring the zipper is accessible. Open the zipper and pass the exhaust hose through the opening, then close the zipper around the hose.
- Ensure the exhaust hose is as straight and short as possible to maximize cooling efficiency. Avoid sharp bends.
- Close the window as much as possible to seal the opening around the exhaust hose, preventing hot air from re-entering the room.

Figure 4: Window Seal Kit Installation for Hinged Windows

Figure 5: Easy Installation for Various Window Types
6. Operating Instructions
6.1 Control Panel
The unit features a digital LED control panel on the top for direct operation. Refer to the markings on the panel for specific button functions (e.g., Power, Mode, Fan Speed, Timer, Temperature Up/Down).
6.2 Remote Control
The included remote control provides convenient access to all functions from a distance. Ensure the remote has batteries installed and is pointed towards the unit's receiver.

Figure 6: Remote Control Functions
6.3 Operating Modes
Press the 'Mode' button on the control panel or remote to cycle through the available modes:
- Cool Mode (Air Conditioning): Provides powerful cooling. Set your desired temperature using the Up/Down arrows. The unit will cool until the room reaches the set temperature.
- Fan Mode: Circulates air without cooling. You can adjust the fan speed (Low, Medium, High) using the 'Fan Speed' button.
- Dry Mode (Dehumidifier): Reduces humidity in the room. The unit will operate as a dehumidifier, extracting moisture from the air. The fan speed is typically fixed in this mode.
- Sleep Mode: Designed for quiet and energy-efficient operation during sleep. In this mode, the unit gradually adjusts the temperature and fan speed to maintain a comfortable environment while minimizing noise and power consumption.

Figure 7: Sleep Mode Operation
6.4 Timer Function
Use the 'Timer' button to set a delayed start or stop time for the unit. Press the 'Timer' button, then use the Up/Down arrows to select the desired hours (1-24). The timer indicator will light up when active.
7. Maintenance
Regular maintenance ensures optimal performance and extends the lifespan of your air conditioner. Always unplug the unit from the power outlet before cleaning or servicing.
7.1 Cleaning the Air Filter
The air filter should be cleaned every two weeks, or more frequently depending on usage and air quality. A dirty filter reduces cooling efficiency and airflow.
- Turn off and unplug the air conditioner.
- Locate and remove the air filter from the back or side of the unit (refer to the diagram in your printed manual for exact location).
- Wash the filter under warm, running water with a mild detergent.
- Rinse thoroughly and allow the filter to air dry completely before re-installing. Do not expose to direct sunlight.
7.2 Draining Water
During dehumidification or cooling, water will accumulate inside the unit. The unit has an internal water tank. When the tank is full, the unit will stop operating and display an error code (e.g., 'FL').
- Turn off and unplug the air conditioner.
- Place a shallow pan or bucket under the drain outlet at the bottom rear of the unit.
- Remove the drain plug to allow water to flow out.
- Once all water has drained, replace the drain plug securely.
- For continuous drainage, attach the provided drain hose to the continuous drain outlet and direct it to a suitable drain.
7.3 Storage
When storing the unit for an extended period, especially during off-season:
- Drain all accumulated water completely.
- Clean the air filter.
- Run the unit in fan-only mode for a few hours to dry the internal components.
- Unplug the power cord and coil it neatly.
- Cover the unit with the provided dust cover to protect it from dust and dirt.
- Store the unit in a dry, cool place.
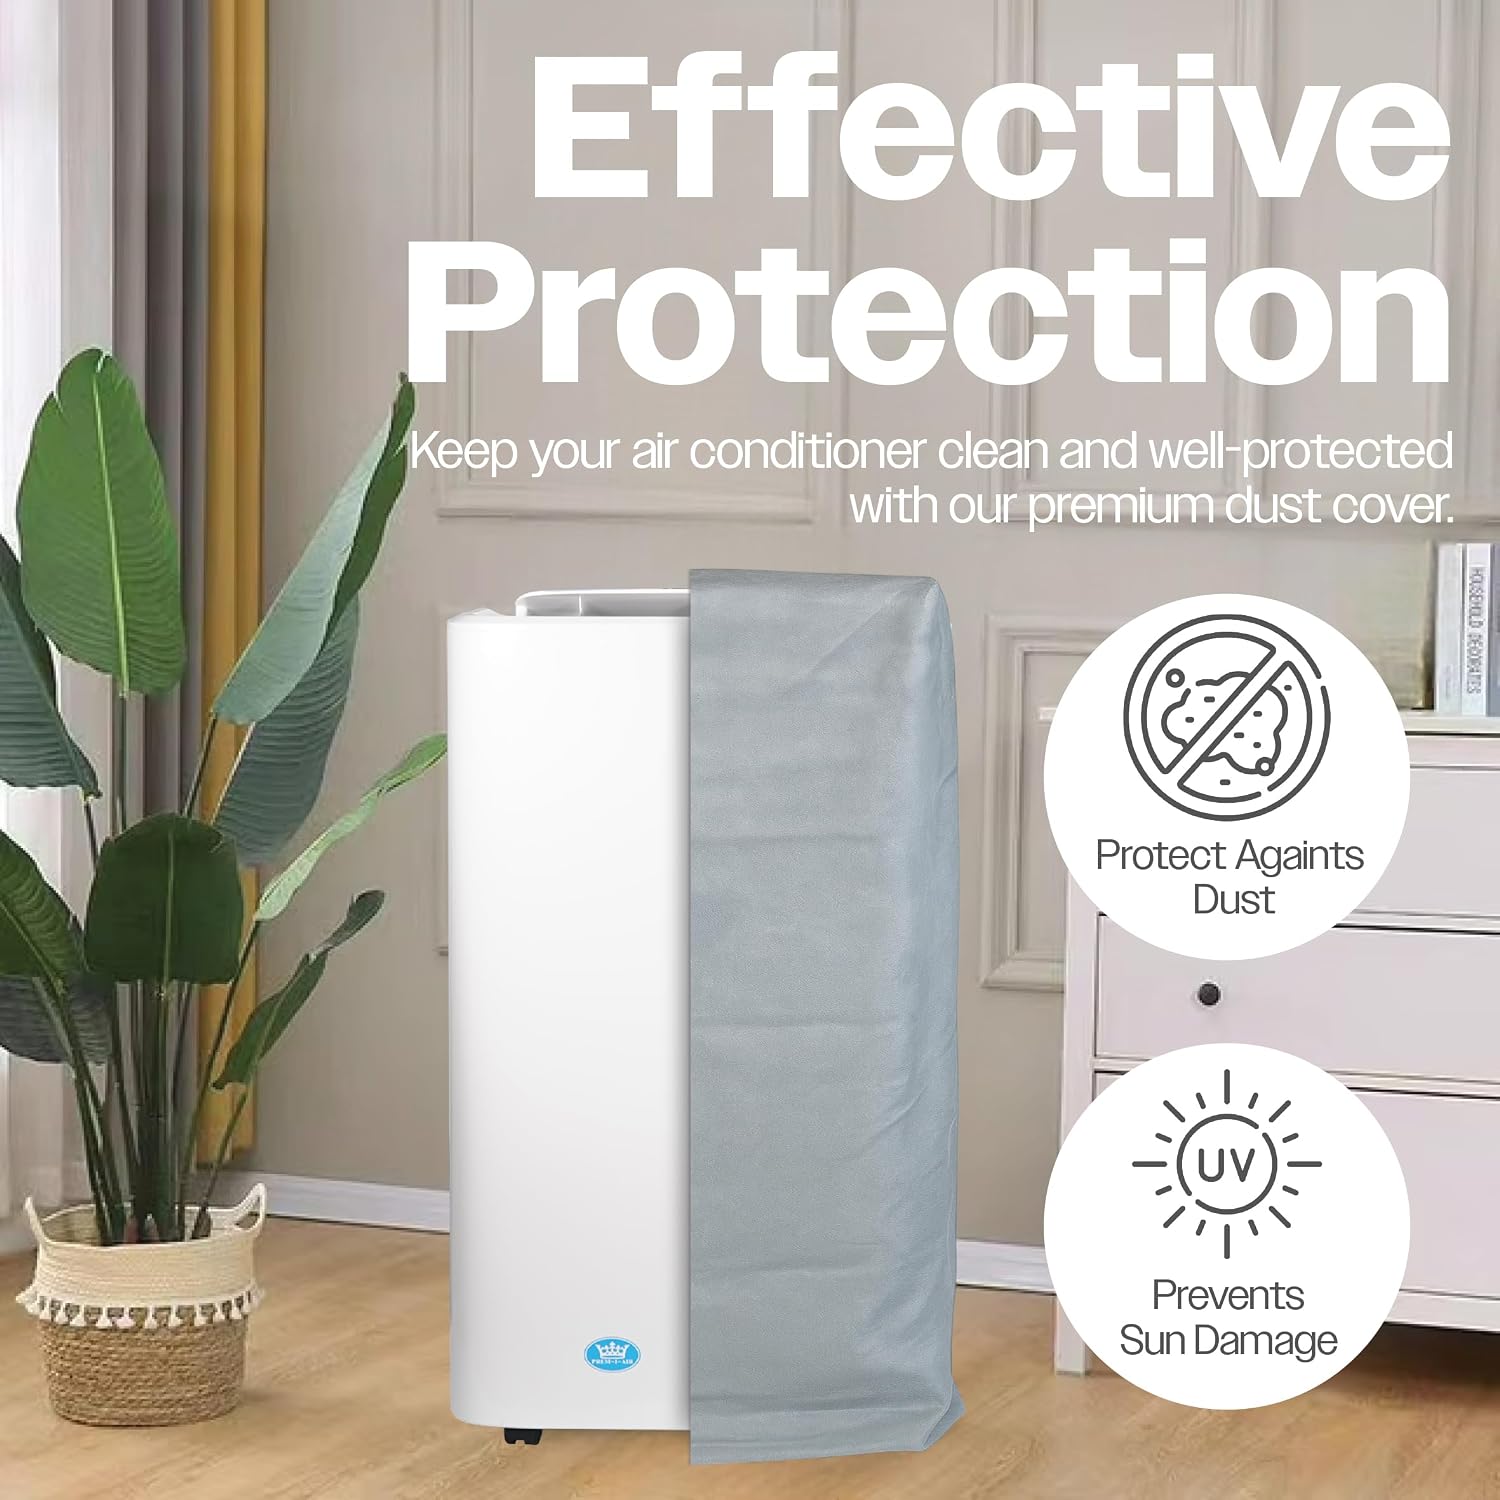
Figure 8: Using the Dust Cover for Protection
8. Troubleshooting
Before contacting customer support, please refer to the following table for common issues and their solutions:
| Problem | Possible Cause | Solution |
|---|---|---|
| Unit does not turn on | No power supply Power cord not plugged in Full water tank (FL error) | Check power outlet and circuit breaker Ensure power cord is securely plugged in Drain the water tank |
| Unit does not cool effectively | Air filter is dirty Exhaust hose not properly installed or blocked Room size too large Windows/doors open Temperature setting too high | Clean the air filter Check exhaust hose for kinks or blockages, ensure proper window sealing Ensure unit is suitable for room size (max 28 m²) Close all windows and doors Lower the set temperature |
| Unit is noisy | Unit not on a level surface Air filter dirty Normal operating sounds | Place unit on a flat, stable surface Clean the air filter Some noise from the compressor and fan is normal. Sleep mode can reduce noise. |
| Water leaking from unit | Drain plug not securely closed Unit tilted Continuous drain hose blocked | Ensure drain plug is tightly closed Place unit on a level surface Check continuous drain hose for blockages or kinks |
| Remote control not working | Batteries dead or incorrectly inserted Obstruction between remote and unit | Replace batteries, check polarity Remove any obstructions, ensure remote is pointed at the unit's receiver |
9. Technical Specifications
| Feature | Specification |
|---|---|
| Model Number | EH1926 |
| Cooling Capacity | 14000 BTU |
| Power Source | Corded Electric |
| Voltage | 230 Volts |
| Refrigerant | R290 |
| Dehumidification Capacity | 31 Liters/day |
| Noise Level | 65 Decibels (max) |
| Energy Efficiency | Class A |
| Recommended Floor Area | Up to 28 m² |
| Product Dimensions (D x W x H) | 36D x 42W x 72H cm |
| Weight | 29 kg |
| Control Method | Remote Control, Digital Control Panel |
| Compressor Type | Rotary Scroll |
| Warranty Type | Limited |

Figure 9: Product Dimensions
10. Warranty and Support
10.1 Limited Warranty
This Prem-I-Air product comes with a limited warranty. Please refer to the warranty card included in your package or contact your retailer for specific terms and conditions. The warranty covers manufacturing defects under normal use conditions.
10.2 Customer Support
If you encounter any issues not covered in the troubleshooting section or require further assistance, please contact Prem-I-Air customer support. Have your model number (EH1926) and purchase details ready when contacting support.
For contact information, please visit the official Prem-I-Air website or refer to the documentation provided with your purchase.


