1. Introduction
Thank you for choosing the Inalsa MyRobo Robot Vacuum Cleaner. This device is designed to provide efficient and convenient cleaning for your home, offering 4-in-1 functionality: vacuuming, mopping, sweeping, and scrubbing. Please read this manual thoroughly before operating the appliance to ensure safe and optimal performance. Keep this manual for future reference.
2. Important Safety Instructions
- Read all instructions before using this appliance.
- This appliance is for indoor household use only. Do not use outdoors or on commercial surfaces.
- Do not allow children to operate the robot. Supervise children and pets when the robot is operating.
- Do not handle the charging dock or robot with wet hands.
- Keep hair, loose clothing, fingers, and all parts of the body away from openings and moving parts.
- Do not pick up anything that is burning or smoking, such as cigarettes, matches, or hot ashes.
- Do not use to pick up flammable or combustible liquids, such as gasoline, or use in areas where they may be present.
- Do not use the robot without the dustbin and filters properly installed.
- Ensure the charging dock is placed against a wall on a level surface, free from obstacles.
- Turn off the power switch and remove the battery before cleaning or performing maintenance.
- Use only the original adapter and charging dock provided by the manufacturer.
- If the power cord is damaged, it must be replaced by the manufacturer or its service agent to avoid a hazard.
3. Package Contents
Verify that all components are present and in good condition:
- 1 x Inalsa MyRobo Robot Vacuum Cleaner Unit
- 1 x Cleaning Brush
- 1 x Side Brush Set (2 brushes)
- 1 x Water Tank
- 1 x Mop Cloth
- 1 x Charging Dock
- 1 x Power Adapter
- 1 x Dust Collector (Dustbin)
- 1 x Remote Control
- 1 x Instruction Manual cum Warranty Card

This image displays the Inalsa MyRobo Robot Vacuum Cleaner, a circular device with a black and gold finish, alongside its rectangular remote control. The robot features a power button and the 'Inalsa MyRobo' logo on its top surface. The remote control has a digital display and various control buttons.
4. Product Overview
4.1 Robot Components
- Top Cover: Access to dustbin.
- Power Button: Start/Pause cleaning, power on/off.
- Sensors: Proximity, anti-shock, and anti-fall sensors for navigation.
- Side Brushes: Sweep debris into the suction path.
- Driving Wheels: Allow movement across various surfaces.
- Charging Contacts: Connect with the charging dock.
- Dustbin: Collects dry debris.
- Water Tank: Holds water for mopping/scrubbing.
- Mop Cloth: Attaches to the water tank for wet cleaning.
4.2 Remote Control
The remote control allows you to manage all functions of the robot vacuum cleaner.

This image shows a hand holding the black remote control for the Inalsa MyRobo. The remote has a small digital display at the top, directional buttons, and various function buttons for controlling the robot's cleaning modes and scheduling.
- Power Button: Turns the robot on/off or starts/pauses cleaning.
- Directional Buttons: Manually control the robot's movement.
- Home Button: Sends the robot back to the charging dock.
- Mode Button: Cycles through cleaning modes.
- Schedule Button: Sets the weekly cleaning schedule.
- Spot Cleaning Button: Initiates spiral cleaning in a specific area.
5. Setup
5.1 Unpacking and Preparation
- Remove all packaging materials from the robot and its accessories.
- Remove any protective films from the robot's body and sensors.
- Clear the cleaning area of any loose cables, small objects, or fragile items that could obstruct the robot or be damaged.
5.2 Installing Side Brushes
Press the side brushes onto the square posts at the bottom of the robot until they click into place. Ensure they are securely attached.
5.3 Charging Dock Placement
- Place the charging dock against a wall in an open, uncluttered area.
- Ensure there is at least 1 meter (3 feet) of clear space on both sides of the dock and 2 meters (6 feet) in front of it.
- Connect the power adapter to the charging dock and plug it into a wall outlet. Ensure the indicator light on the dock illuminates.
5.4 Initial Charging
Before first use, fully charge the robot. You can place the robot directly onto the charging dock, aligning its charging contacts with those on the dock. The robot will automatically begin charging. A full charge typically takes several hours.
6. Operating Instructions
6.1 Powering On/Off
- To Power On: Press and hold the power button on the robot for a few seconds until the indicator light illuminates.
- To Power Off: Press and hold the power button on the robot for a few seconds until the indicator light turns off.
6.2 Starting a Cleaning Cycle
Press the power button on the robot or the remote control to start cleaning. The robot will automatically begin cleaning in Auto mode.
6.3 Cleaning Modes
Use the "Mode" button on the remote control to select from the following cleaning modes:
- Auto Cleaning: The robot intelligently navigates and cleans the entire floor area.
- Random Cleaning: The robot cleans in a random pattern, suitable for open spaces.
- Edge Cleaning: The robot cleans along walls and furniture edges.
- Spiral Cleaning (Spot Cleaning): The robot cleans a concentrated area in a spiral pattern. Activate via the remote.
- Manual Control: Use the directional buttons on the remote to guide the robot.
- Home Cleaning: Sends the robot back to the charging dock.

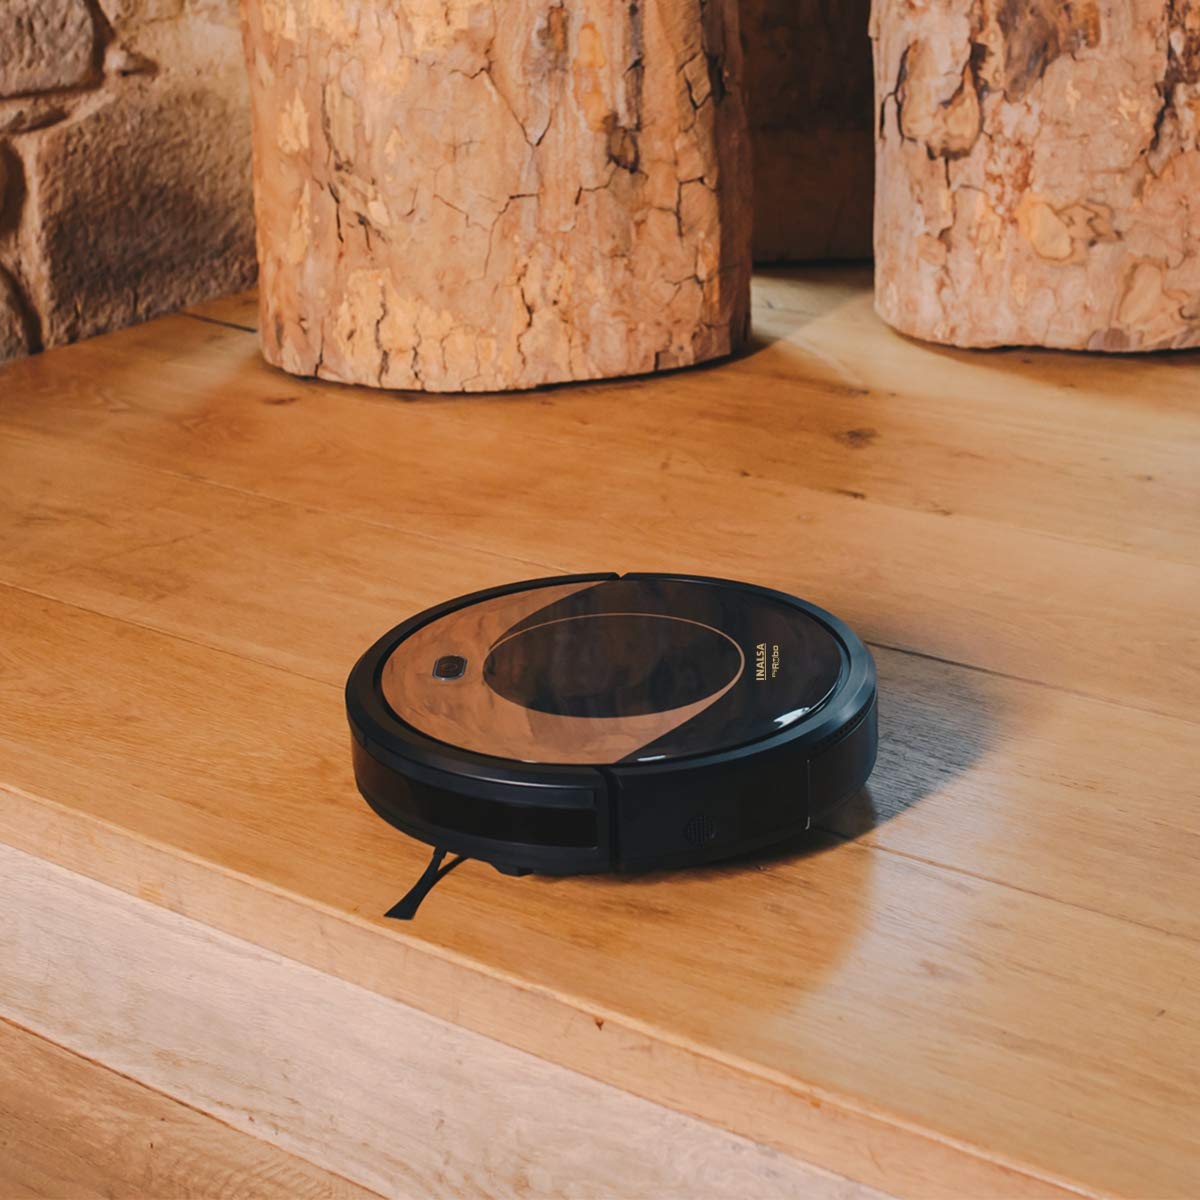
This image shows the Inalsa MyRobo robot vacuum cleaner moving along the edge of a wooden floor, demonstrating its edge cleaning capability. The side brushes are visible, designed to sweep debris from corners and edges into the robot's path.
6.4 Scheduling Cleaning
Use the "Schedule" button on the remote control to set a weekly cleaning program. Refer to the remote control section in this manual for detailed instructions on setting the time and schedule.
6.5 Using the Mopping Function
- Open the water tank and fill it with clean water. Do not use cleaning solutions that may clog the nozzle.
- Attach the mop cloth securely to the bottom of the water tank.
- Remove the dustbin and insert the filled water tank into the robot.
- Start a cleaning cycle. The robot will now vacuum and mop simultaneously.
- After mopping, remove the water tank, empty any remaining water, and clean the mop cloth.
6.6 Auto-Charging
When the battery level is low, or a cleaning cycle is complete, the robot will automatically return to its charging dock. Ensure the charging dock is accessible and powered on.

This image shows the Inalsa MyRobo robot vacuum cleaner positioned under a bed, demonstrating its ability to clean in low-clearance areas. The robot's slim profile allows it to access spaces that are typically difficult to reach with traditional vacuum cleaners.
7. Maintenance
Regular maintenance ensures optimal performance and extends the lifespan of your Inalsa MyRobo.
7.1 Emptying the Dustbin (After each use)
- Press the dustbin release button and pull out the dustbin.
- Open the dustbin cover and empty its contents into a trash bin.
7.2 Cleaning Filters (Weekly or as needed)
- Remove the filters (EPA, sponge, anti-bacteria) from the dustbin.
- Tap the filters gently to remove dust. Do not wash EPA filters with water.
- The sponge and anti-bacteria filters can be rinsed with water. Ensure they are completely dry before reinserting.
- Replace filters every 3-6 months, depending on usage.
7.3 Cleaning Side Brushes (Monthly or as needed)
Remove the side brushes by pulling them upwards. Remove any hair or debris wrapped around them. Reinstall them securely.
7.4 Cleaning Sensors (Monthly)
Wipe the anti-drop sensors (located on the bottom of the robot) and the anti-collision sensors (located on the bumper) with a clean, dry cloth. Keep them free of dust for proper navigation.
This image shows the Inalsa MyRobo robot vacuum cleaner positioned close to the edge of a raised wooden platform. This illustrates the function of its anti-fall sensors, which prevent the robot from falling off ledges or stairs by detecting drops.
7.5 Cleaning the Water Tank and Mop Cloth (After each mopping use)
Empty any remaining water from the tank. Rinse the water tank and mop cloth with clean water. Allow them to air dry completely before storing or re-using.
8. Troubleshooting
| Problem | Possible Cause | Solution |
|---|---|---|
| Robot does not turn on. | Low battery; Power switch off. | Charge the robot; Ensure the main power switch is on. |
| Robot does not charge. | Charging contacts dirty; Charging dock not powered. | Clean charging contacts on robot and dock; Ensure dock is plugged in and powered. |
| Robot gets stuck frequently. | Obstacles (cables, rugs); Sensors dirty. | Clear the cleaning area; Clean all sensors. |
| Poor cleaning performance. | Dustbin full; Filters clogged; Side brushes worn. | Empty dustbin; Clean/replace filters; Clean/replace side brushes. |
| Robot does not return to charging dock. | Dock obstructed; Robot too far from dock. | Ensure clear space around dock; Manually place robot near dock. |
9. Specifications
| Feature | Detail |
|---|---|
| Brand | Inalsa |
| Model Name | MyRobo |
| Functions | 4-in-1: Vacuum, Mop, Sweep, Scrub |
| Cleaning Modes | Auto, Random, Edge, Spiral, Manual, Home |
| Filter Type | Anti-bacteria, HEPA, Sponge |
| Dustbin Capacity | 450 ml |
| Water Tank Capacity | 300 ml (water), 250 ml (solid) |
| Battery Life | Up to 90 Minutes |
| Control Method | Remote Control |
| Dimensions (LxWxH) | 32 x 32 x 8 Centimeters |
| Item Weight | 2 kg 500 g |
| Special Features | Hepa Filter, Week Program, Auto Charging, Proximity/Anti-shock/Anti-fall Sensors |
10. Warranty and Support
The Inalsa MyRobo Robot Vacuum Cleaner comes with a 1-year warranty from the date of purchase. Please refer to the included Warranty Card for detailed terms and conditions.
For technical support, service, or warranty claims, please contact Inalsa customer service. Contact details can typically be found on the Inalsa official website or on your warranty card.


