1. Introduction
This manual provides essential information for the proper installation, operation, and maintenance of the Waterway Plastics 550-0260 Drain Cap Assembly. This component is designed for use with Waterway Pro Clean Plus filter systems. Adhering to these instructions will help ensure optimal performance and longevity of the drain cap.
The Waterway Plastics 550-0260 Drain Cap Assembly is a threaded cap used to seal the drain port of compatible pool and spa filter systems. It is constructed from durable plastic and features an NPT thread type for a secure connection.
2. Product Overview

Figure 1: Angled view of the Waterway Plastics 550-0260 Drain Cap Assembly, showing the ribbed exterior and internal threading.
The 550-0260 Drain Cap Assembly is a critical component for maintaining the integrity of your pool or spa filter system. It prevents water leakage from the drain port when not in use and allows for controlled draining when removed. The cap features a robust design with external ribs for improved grip during installation and removal.

Figure 2: Top view of the drain cap, displaying the Waterway logo and the model number '519-0280' (an internal part number related to the cap itself, often found on the top surface).
3. Setup and Installation
Proper installation of the drain cap is crucial to prevent leaks. Follow these steps:
- Ensure System is Off: Before beginning, turn off all pumps and filtration systems. Close any valves that might lead to water flow through the drain port.
- Inspect Drain Port: Examine the drain port threads on your filter system for any debris, damage, or old sealant material. Clean if necessary.
- Apply Thread Sealant (Optional but Recommended): For a watertight seal, apply a suitable thread sealant (e.g., PTFE tape or pipe thread compound) to the external threads of the drain port. Wrap PTFE tape clockwise around the threads 2-3 times.
- Thread the Cap: Align the internal threads of the 550-0260 Drain Cap Assembly with the external threads of the drain port. Carefully turn the cap clockwise by hand until it is finger-tight.
- Tighten Securely: Using firm hand pressure, tighten the cap an additional 1/4 to 1/2 turn past finger-tight. Avoid overtightening, as this can damage the cap or the drain port threads. The ribbed exterior of the cap (see Figure 3) provides enhanced grip for this step.

Figure 3: Side view of the drain cap, highlighting the external ribs designed for better grip during installation and removal.
4. Operating Instructions
The drain cap's primary function is to seal the drain port. To operate:
- Sealing: Ensure the cap is securely tightened as described in the installation section. This prevents water from escaping the filter system.
- Draining: To drain the filter system, first ensure the pump is off and the system is depressurized. Slowly unscrew the drain cap counter-clockwise until water begins to flow out. Remove the cap completely to allow full drainage.
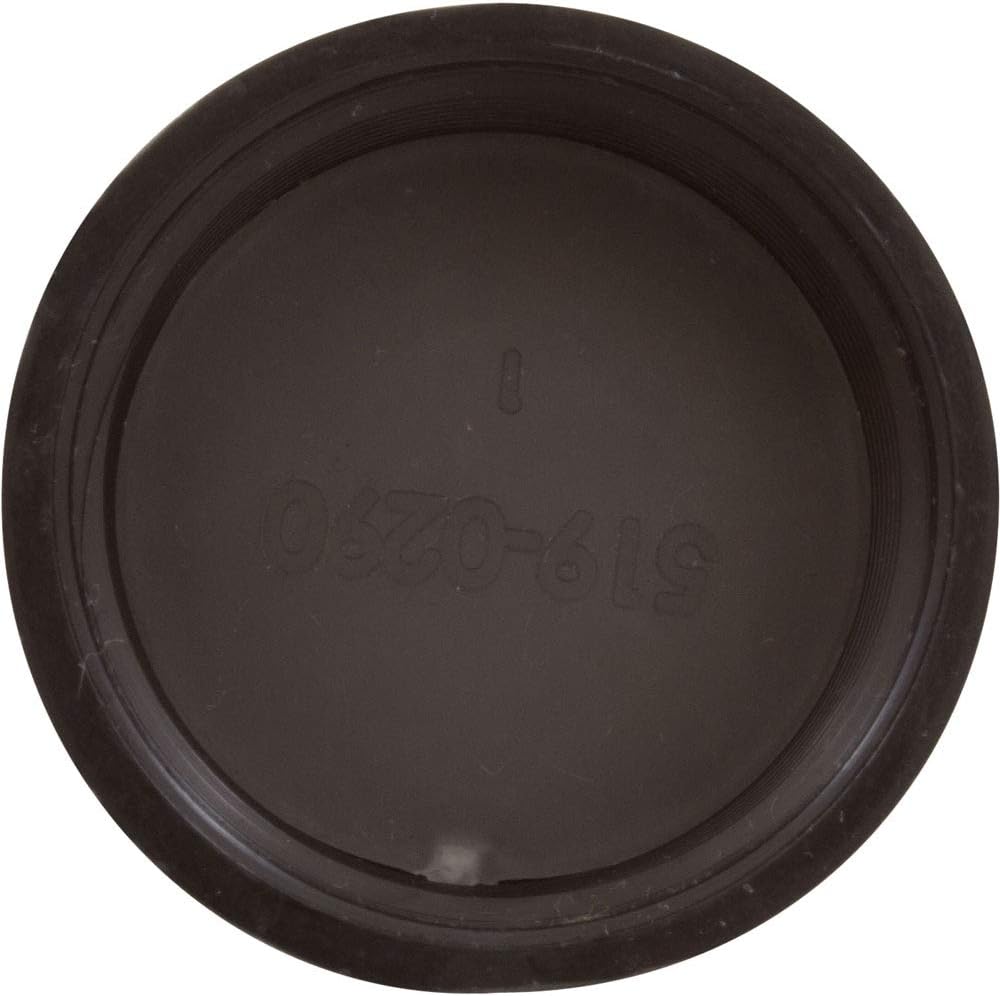
Figure 4: Internal view of the drain cap, showing the NPT threads and the inner surface where the part number '519-0280' is also visible.
5. Maintenance
Regular maintenance helps extend the life of your drain cap:
- Inspection: Periodically inspect the drain cap for cracks, wear, or damage, especially before and after seasonal use.
- Cleaning: If debris or mineral deposits accumulate on the threads, clean the cap with a soft brush and mild detergent. Rinse thoroughly with clean water.
- Thread Sealant: When reinstalling the cap after removal for maintenance or draining, it is recommended to reapply fresh thread sealant to ensure a proper seal.

Figure 5: Top-down view of the drain cap, clearly showing the Waterway logo and the internal part number '519-0280'.
6. Troubleshooting
| Problem | Possible Cause | Solution |
|---|---|---|
| Water leak from drain port | Cap not tightened sufficiently | Tighten cap firmly by hand. |
| Water leak from drain port | Damaged threads on cap or port | Inspect threads. Replace cap if damaged. If port threads are damaged, consult a professional. |
| Water leak from drain port | No or insufficient thread sealant | Remove cap, clean threads, and reapply PTFE tape or pipe thread compound. |
| Cap difficult to remove or install | Overtightened or mineral buildup | Ensure proper tightening. Clean threads if mineral buildup is present. |
7. Specifications
- Model Number: 550-0260
- Brand: Waterway Plastics
- Connector Type: Cap
- Thread Type: NPT (National Pipe Taper)
- Product Dimensions (L x W x H): Approximately 2.5 x 1.75 x 1.5 inches
- Item Weight: Approximately 0.48 ounces
- Material: Plastic
- UPC: 731946791195
8. Warranty and Support
For specific warranty information regarding the Waterway Plastics 550-0260 Drain Cap Assembly, please refer to the documentation provided with your Waterway Pro Clean Plus filter system or contact Waterway Plastics directly. Warranty terms typically cover manufacturing defects.
For technical support or further assistance, please contact your product retailer or the manufacturer, Waterway Plastics, through their official customer service channels.


