1. Introduction
This manual provides essential instructions for the safe and proper use, assembly, and maintenance of your Chicco Bravo 3-in-1 Trio Travel System. This system includes the Bravo Quick-Fold Stroller and the KeyFit 30 Infant Car Seat with its base. Please read this manual thoroughly before using the product and retain it for future reference.
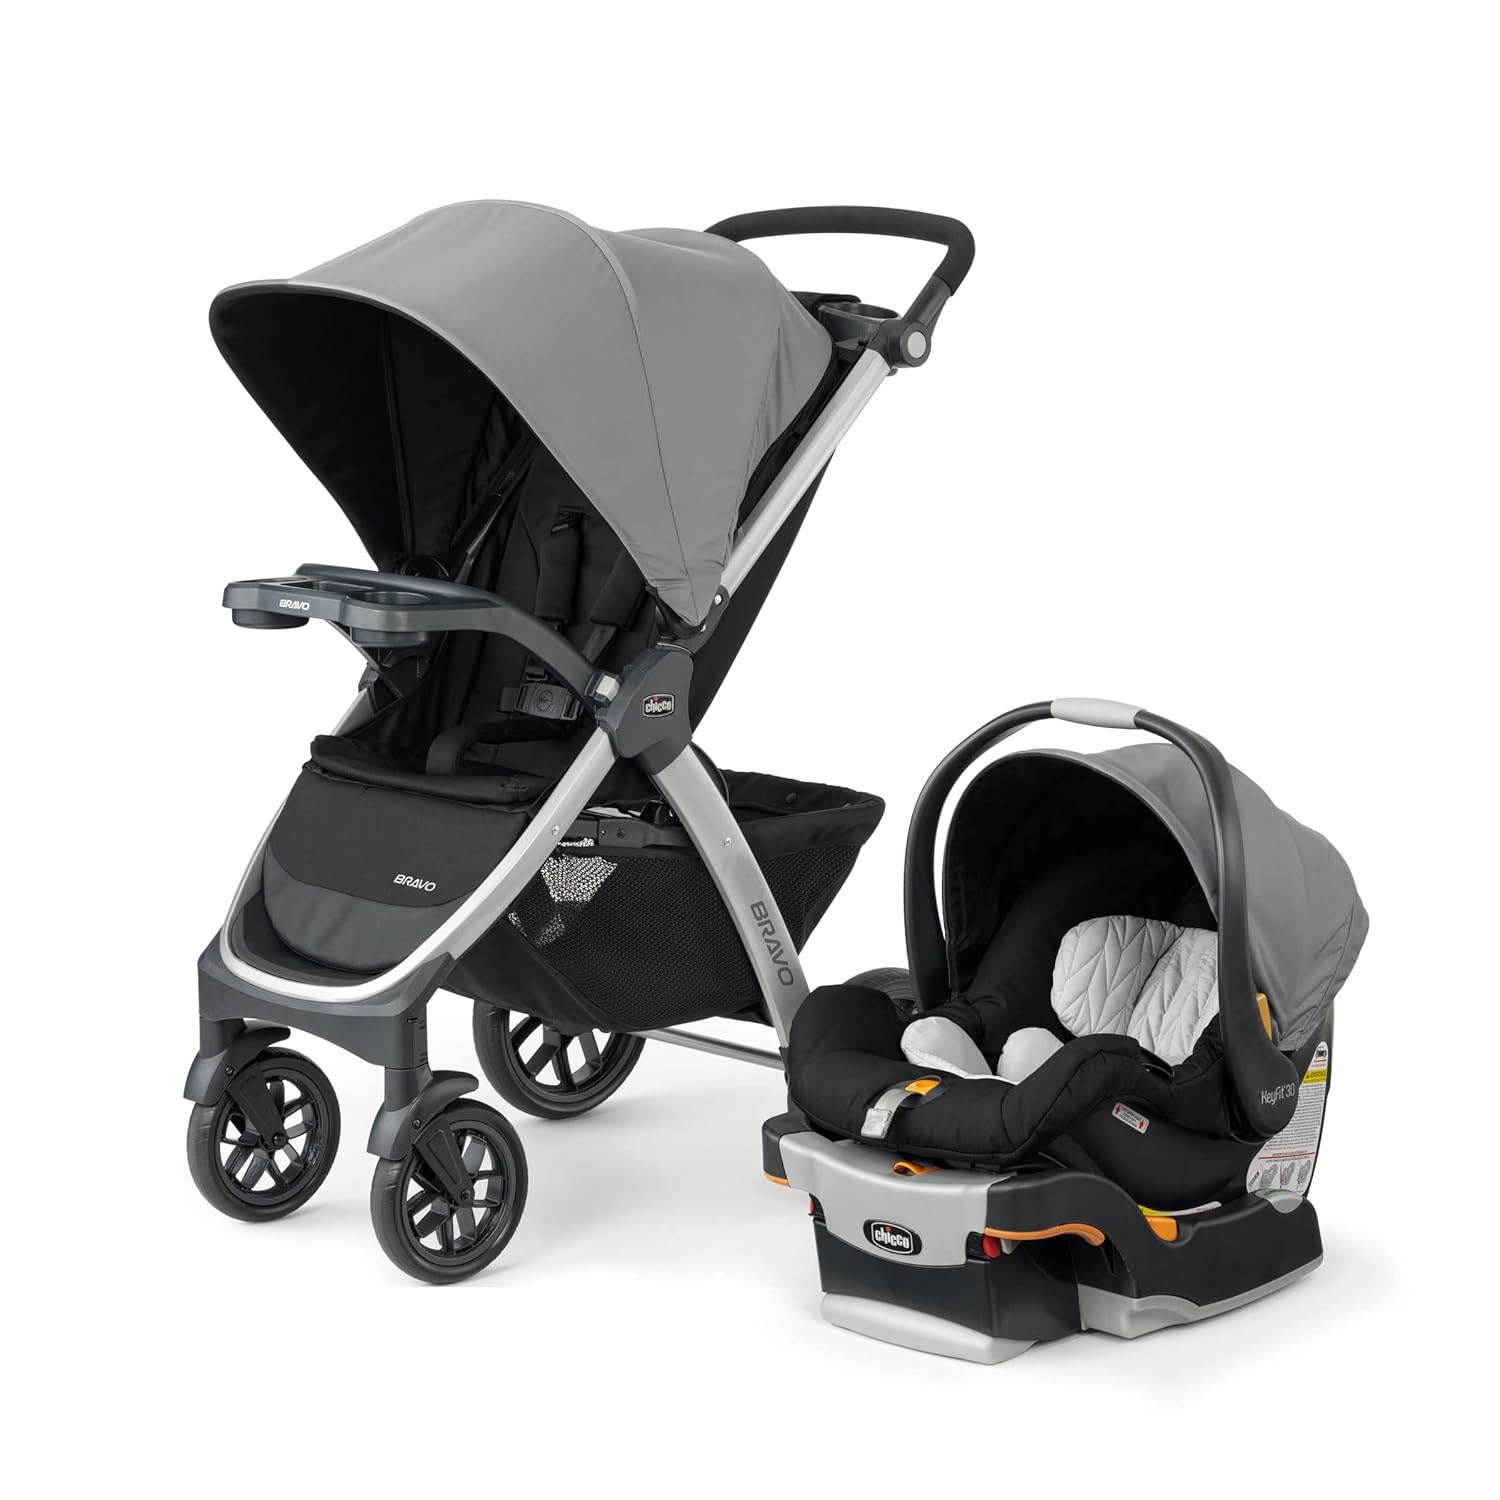
Image 1.1: The Chicco Bravo 3-in-1 Trio Travel System, featuring the Bravo Quick-Fold Stroller and the KeyFit 30 Infant Car Seat.
Product Overview
The Chicco Bravo Trio Travel System is designed to adapt to your child's growth, offering three distinct modes of use:
- Lightweight Frame Carrier: For use with the KeyFit 30 Infant Car Seat only.
- Versatile Travel System: Combines the stroller with the KeyFit 30 Infant Car Seat.
- Full-Size Toddler Stroller: For older infants and toddlers.
Included Components
- Bravo Quick-Fold Stroller
- KeyFit 30 Infant Car Seat
- KeyFit 30 Car Seat Base
- 2 Removable Cup Holders
- Stroller Cover/Canopy
2. Setup and Assembly
Follow these steps to assemble your Chicco Bravo 3-in-1 Trio Travel System.
2.1 Stroller Assembly
- Unfold the Stroller: Release the folding latch and unfold the stroller frame until it locks into place. Ensure all locking mechanisms are engaged.
- Attach Wheels: Securely attach the front and rear wheels to the stroller frame. Listen for a click to confirm they are properly installed.
- Install Child Tray: Attach the child tray to the designated slots on the stroller frame. This tray is essential for securing the infant car seat.
- Attach Canopy: Position and attach the stroller canopy to the frame.
- Insert Cup Holders: Place the removable cup holders into the parent tray.

Image 2.1: The Chicco Bravo Stroller demonstrating its three configurations: frame carrier, travel system, and full-size toddler stroller.
2.2 KeyFit 30 Infant Car Seat Base Installation
The KeyFit 30 car seat base can be installed using either the vehicle's LATCH system or the vehicle's seat belt.
- Position the Base: Place the car seat base on the vehicle seat.
- Adjust Recline: Use the ReclineSure™ Spring-Loaded Leveling Foot to achieve the correct recline angle, indicated by the RideRight™ Bubble Level-Indicators.
- LATCH Installation:
- Connect the premium LATCH connectors to your vehicle's lower anchors.
- Press down firmly on the base and use the SuperCinch™ Force-Multiplying LATCH Tightener to secure the base tightly.
- Seat Belt Installation:
- Route the vehicle's lap and shoulder belt through the designated belt path on the base.
- Engage the integrated lock-offs to secure the seat belt tightly.
- Verify Installation: Ensure the base does not move more than one inch side-to-side or front-to-back at the belt path.

Image 2.2: Proper installation of the KeyFit 30 Infant Car Seat base using the vehicle's LATCH system or seat belt.
3. Operation
3.1 Using the Stroller
- Adjusting the Handle: The multi-position push handle can be adjusted in height for parent comfort. Locate the adjustment buttons on the sides of the handle and press to extend or retract.
- Reclining the Seat: The stroller seat features a one-hand, multi-position recline. Locate the recline lever or button behind the seat and adjust to the desired position.
- Canopy Adjustment: The UPF 50+ canopy can be extended or retracted to provide shade and protection. It also includes a peek-a-boo mesh window for visibility.
- Braking: The rear-linked foot brake secures the stroller. Press down on the brake pedal to engage and lift to release. Always engage the brake when the stroller is stationary.
- Storage Basket: Utilize the large storage basket with two organizer pockets and mesh sides for visibility. Access is available from both the front and rear.

Image 3.1: Adjusting the UPF 50+ canopy on the Chicco Bravo Stroller for optimal sun protection.

Image 3.2: A woman pushing the Chicco Bravo Stroller with the KeyFit 30 Infant Car Seat securely attached, demonstrating ease of use.
3.2 Attaching/Detaching the KeyFit 30 Infant Car Seat
- To Stroller:
- Ensure the stroller seat is in the upright position or removed for frame carrier mode.
- Align the KeyFit 30 Infant Car Seat with the child tray on the stroller.
- Lower the car seat onto the tray until it clicks securely into place. No adapter is needed.
- Always pull up on the car seat to ensure it is firmly attached before use.
- From Stroller:
- Locate the release handle on the back of the KeyFit 30 Infant Car Seat.
- Squeeze the handle and lift the car seat straight up from the stroller tray.
- To Car Seat Base:
- Align the KeyFit 30 Infant Car Seat with the installed car seat base.
- Lower the car seat onto the base until it clicks securely into place.
- Always pull up on the car seat to ensure it is firmly attached before driving.
- From Car Seat Base:
- Locate the release handle on the back of the KeyFit 30 Infant Car Seat.
- Squeeze the handle and lift the car seat straight up from the base.

Image 3.3: The KeyFit 30 Infant Car Seat being securely clicked into the Bravo Stroller frame, demonstrating the travel system configuration.
3.3 Folding the Stroller
The Bravo Stroller features a one-hand smart fold design.
- Ensure the stroller seat is in the upright position.
- Locate the folding mechanism (usually a handle or button on the handlebar).
- Activate the mechanism and push the handlebar forward. The stroller will fold compactly.
- The stroller is designed to stand independently on its wheels when folded, preventing the parent handle from touching the ground.

Image 3.4: The Chicco Bravo Stroller in its compact, folded state, highlighting its ease of storage.
4. Maintenance and Care
Regular maintenance ensures the longevity and safe operation of your travel system.
- Cleaning Fabric: The fabric components (seat pad, canopy) are generally easy to clean. Refer to the care tag on the fabric for specific washing instructions. Typically, spot cleaning with mild soap and cold water is recommended.
- Cleaning Frame: Wipe the stroller frame and plastic parts with a damp cloth and mild soap. Dry thoroughly.
- Wheel Maintenance: Periodically check the wheels for debris and ensure they rotate freely. The treaded tires and all-wheel suspension are designed for various terrains.
- Harness System: Inspect the 5-point harness system regularly for wear and tear. Ensure all buckles and adjusters function correctly.
- Storage: Store the travel system in a clean, dry place away from direct sunlight and extreme temperatures.
5. Troubleshooting
This section addresses common issues you might encounter. For problems not listed here, please contact customer support.
| Problem | Possible Cause | Solution |
|---|---|---|
| Stroller does not fold or unfold smoothly. | Folding mechanism is jammed or not fully engaged/disengaged. | Ensure all components are clear of the folding mechanism. Apply light pressure and re-attempt the fold/unfold. Check for debris. |
| Car seat does not click into stroller or base. | Improper alignment or obstruction. | Ensure the car seat is correctly aligned with the child tray or base. Check for any obstructions. Apply firm, even pressure until a click is heard. |
| Wheels are stiff or squeaky. | Accumulated dirt/debris or lack of lubrication. | Clean wheels and axles thoroughly. Apply a silicone-based lubricant to moving parts if necessary. |
| Harness straps are difficult to adjust. | Straps are twisted or buckle is obstructed. | Untwist straps and ensure they are routed correctly. Clear any obstructions from the buckle. |
6. Specifications
| Feature | Detail |
|---|---|
| Brand | Chicco |
| Model Number | 00079632920070 |
| UPC | 049796612059 |
| Color | Camden (Black/Grey) |
| Materials | Ethylene Vinyl Acetate (EVA), Foam, Metal, Plastic, Polyester |
| Age Range Description | Infant, Newborn, Toddler, Kid |
| Stroller Type | Standard Stroller, Travel System |
| Harness Type | 5 Point |
| Seating Capacity | 1 |
| Item Weight | 24.9 Pounds (Stroller) |
| Item Dimensions (L x W x H) | 35.2"L x 22.8"W x 42.7"H |
| Folded Size | 15"L x 22.8"W x 29"H |
| Car Seat Weight Capacity (KeyFit 30) | Up to 30 Pounds |
| Stroller Maximum Weight Recommendation | 50 Pounds |
| Rear Facing Stroller Maximum Height | 31 Inches |
| Wheel Diameter (Front/Rear) | Front: 7.5 Inches, Rear: 10.3 Inches |
| Installation Type (Car Seat Base) | LATCH or Seat Belt |
| Certifications | JPMA Certified, Meets ASTM Standards |

Image 6.1: Dimensional overview of the Chicco Bravo Stroller with the KeyFit 30 Infant Car Seat attached.
7. Warranty and Support
7.1 Manufacturer's Warranty
The Chicco Bravo 3-in-1 Trio Travel System comes with a 1-year limited warranty from the manufacturer, Artsana USA, Inc. This warranty covers defects in materials and workmanship under normal use. Please retain your proof of purchase for warranty claims.
For full details regarding warranty coverage, limitations, and how to make a claim, please refer to the warranty card included with your product or visit the official Chicco website.
7.2 Customer Support
If you have any questions, require assistance with assembly, operation, or troubleshooting, or need to make a warranty claim, please contact Chicco customer support:
- Website: Visit the official Chicco website for FAQs, product registration, and contact information.
- Phone: Refer to the contact details provided on the product packaging or the Chicco website.
- Online Resources: Additional instructional videos and guides may be available on the Chicco website.
Always provide your product model number (00079632920070) and date of purchase when contacting support to expedite assistance.