1. Safety Information
WARNING: Before operating this welding machine, read and understand all safety warnings, instructions, illustrations, and specifications provided with this product. Failure to follow all instructions listed below may result in electric shock, fire, and/or serious injury.
- Electric Shock: Welding current can cause electric shock. Do not touch live electrical parts. Wear dry, insulating gloves and protective clothing. Ensure the work area is dry and well-ventilated.
- Fumes and Gases: Welding produces fumes and gases. Avoid breathing these fumes. Work in a well-ventilated area or use an approved respirator.
- Arc Rays: Arc rays can burn eyes and skin. Wear a welding helmet with appropriate shade filter and protective clothing. Protect bystanders with non-flammable screens.
- Fire and Explosion: Welding sparks and hot metal can cause fire or explosions. Keep flammable materials away from the work area. Have a fire extinguisher readily available.
- Burns: Hot metal and electrodes can cause severe burns. Do not touch hot parts with bare hands. Allow equipment to cool before handling.
- Thermostatic Protection: This machine is equipped with thermostatic protection. If the machine overheats, it will automatically cut the welding current and activate the cooling fan. Allow the machine to cool down before resuming operation.
- IP21S Rating: This machine is protected against condensation and vertically falling water drops. Do not expose to heavy rain or immerse in water.
2. Product Overview
The AWELCO MIKRO 164 is a digital inverter welding machine designed for MMA (Manual Metal Arc) welding. It is suitable for welding stainless steel, cast iron, and steel using electrodes with diameters ranging from 1.6 mm to 4.0 mm. This compact and powerful unit delivers up to 140 Amperes, making it ideal for various maintenance and repair welding tasks.
Key features include:
- Digital Display: For precise current control.
- ANTI-STICK Technology: Prevents the electrode from sticking to the workpiece by cutting the electrical flow.
- Assisted Ignition: Pre-heats the electrode for quick and easy arc striking.
- HOT FORCE Ventilation: Optimized cooling system to reduce downtime.
- Stabilized Arc: Ensures a constant welding intensity for consistent results.
- Thermostatic Protection: Automatically cuts current and activates cooling fan in case of overheating.
- Generator Compatible: Can be used with appropriate power generators.
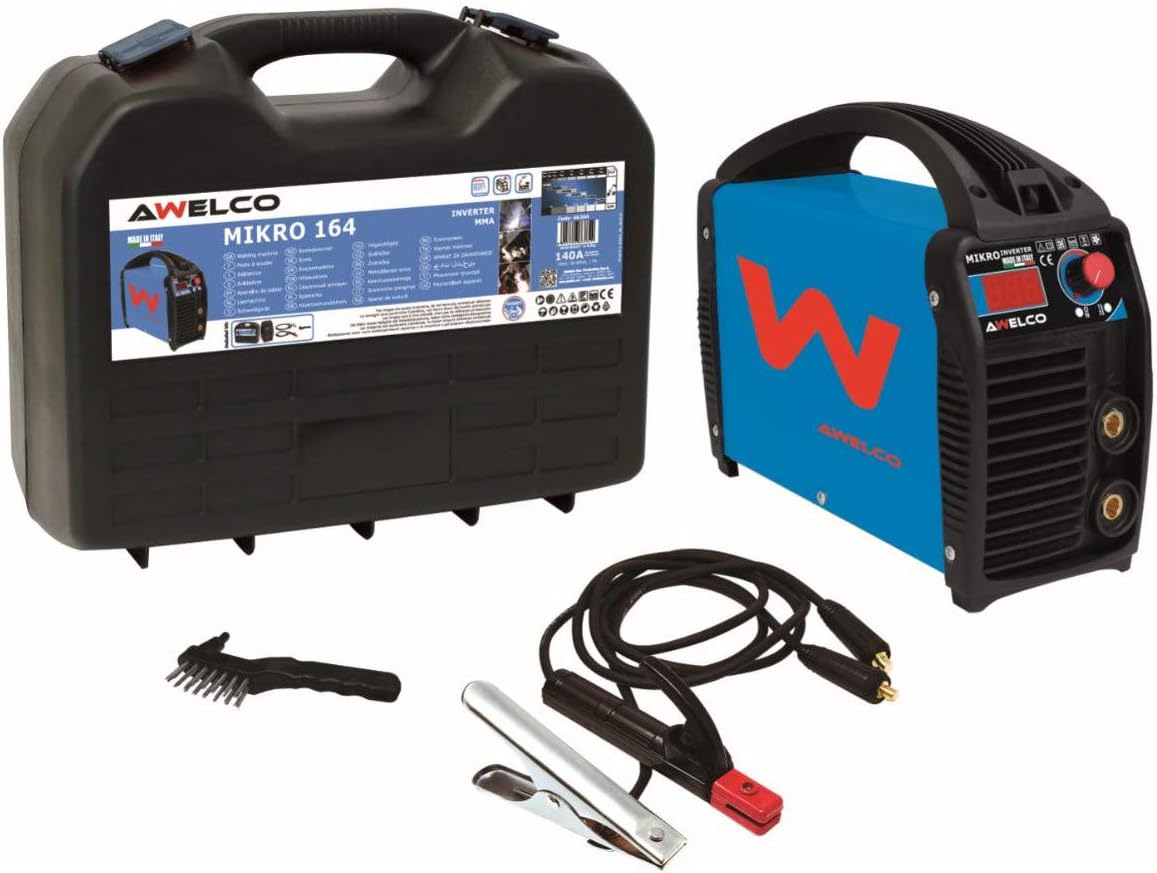
Figure 1: AWELCO MIKRO 164 Inverter Welding Machine, carrying case, electrode holder, ground clamp, and wire brush.
3. Package Contents
Upon opening the package, verify that all items are present and undamaged:
- AWELCO MIKRO 164 Inverter Welding Machine
- Carrying Case
- Electrode Holder with Cable
- Ground Clamp with Cable
- Wire Brush / Chipping Hammer
- User Manual (this document)
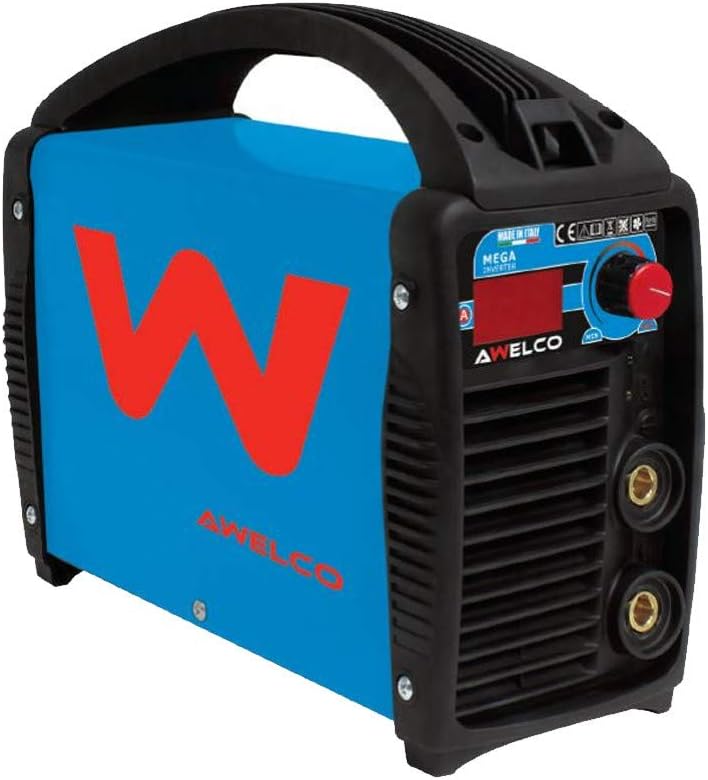
Figure 2: Close-up view of the AWELCO MIKRO 164 welding machine's front panel and side ventilation.
4. Technical Specifications
| Specification | Value |
|---|---|
| Model Number | PR3797 |
| Brand | Awelco |
| Input Voltage | 230 Volts |
| Output Current | Up to 140 Amperes |
| Power | 3.22E+4 (32.2 kW or kVA, consult product label for exact unit) |
| Compatible Electrode Diameter | 1.6 mm to 4.0 mm |
| Welding Process | MMA (Manual Metal Arc) |
| Display Type | Digital |
| Protection Class | IP21S |
| Generator Compatibility | Yes |
5. Setup
- Placement: Position the welding machine on a stable, level surface in a well-ventilated area, away from flammable materials. Ensure adequate space around the machine for cooling.
- Power Connection: Connect the machine's power cord to a suitable 230V single-phase power outlet. Ensure the power supply can handle the machine's power requirements. If using a generator, ensure it meets the necessary specifications.
- Ground Clamp Connection: Connect the ground clamp cable to the appropriate terminal on the welding machine (usually marked with a negative (-) symbol or ground symbol). Securely attach the ground clamp to the workpiece or a clean, bare metal part of the welding table, ensuring good electrical contact.
- Electrode Holder Connection: Connect the electrode holder cable to the appropriate terminal on the welding machine (usually marked with a positive (+) symbol). Insert the desired electrode into the electrode holder, ensuring it is held firmly.
- Electrode Selection: Choose an electrode appropriate for the material type and thickness you intend to weld, and within the 1.6 mm to 4.0 mm diameter range.
- Personal Protective Equipment (PPE): Always wear appropriate PPE, including a welding helmet with the correct shade, welding gloves, flame-resistant clothing, and safety shoes, before turning on the machine.
6. Operating Instructions
- Power On: Turn on the welding machine using the main power switch. The digital display will illuminate.
- Set Welding Current: Adjust the welding current (Amperes) using the control knob on the front panel. Refer to the electrode manufacturer's recommendations for the appropriate current setting for your chosen electrode and material.
- Prepare Workpiece: Ensure the workpiece is clean, free of rust, paint, oil, or other contaminants that could affect weld quality.
- Strike the Arc:
- Scratch Start Method: Lightly scratch the electrode tip across the workpiece like striking a match. As soon as the arc ignites, lift the electrode slightly to maintain the arc length.
- Tap Start Method: Tap the electrode tip gently on the workpiece. As soon as the arc ignites, lift the electrode slightly.
The Assisted Ignition feature helps pre-heat the electrode for easier arc striking.
- Maintain Arc Length and Travel Speed: Maintain a consistent arc length (typically equal to the electrode diameter) and a steady travel speed to produce a uniform weld bead.
- ANTI-STICK Feature: If the electrode accidentally sticks to the workpiece, the ANTI-STICK technology will automatically reduce the current, allowing you to easily detach the electrode without damaging the machine or the electrode.
- Overheating Protection: If the machine's internal temperature becomes too high, the Thermostatic Protection will activate, stopping the welding current and engaging the cooling fan. Allow the machine to cool down before continuing. The HOT FORCE Ventilation system is designed to minimize cooling time.
- Finish Welding: When finished, lift the electrode from the workpiece to break the arc. Turn off the welding machine.
- Post-Weld Cleaning: Use the wire brush/chipping hammer to remove slag from the weld bead.
7. Maintenance
Regular maintenance ensures the longevity and safe operation of your welding machine.
- Cleaning: Periodically clean the exterior of the machine with a dry, soft cloth. Use compressed air to blow out dust and debris from the ventilation openings. Ensure the machine is unplugged before cleaning.
- Cable Inspection: Regularly inspect all welding cables (electrode holder and ground clamp) for cuts, cracks, or damaged insulation. Replace damaged cables immediately.
- Connection Points: Ensure all electrical connections are tight and free of corrosion.
- Storage: Store the welding machine in its carrying case in a dry, clean environment, away from direct sunlight and extreme temperatures.
- Spare Parts: Information regarding the availability of spare parts is currently unavailable. For service or repair, contact Awelco customer support.
8. Troubleshooting
| Problem | Possible Cause | Solution |
|---|---|---|
| Machine does not power on | No power from outlet; faulty power cord; internal fuse blown. | Check power outlet and circuit breaker. Inspect power cord. Contact qualified service personnel if fuse is suspected. |
| No arc or weak arc | Poor ground connection; incorrect current setting; damp or old electrode; faulty electrode holder/cable. | Ensure ground clamp has good contact. Adjust current. Use dry, fresh electrodes. Check cable connections. |
| Electrode sticks frequently | Low current setting; improper arc striking technique; ANTI-STICK feature not functioning. | Increase welding current. Practice arc striking. If ANTI-STICK fails, contact support. |
| Machine overheats and shuts down | Exceeding duty cycle; poor ventilation; high ambient temperature. | Allow machine to cool down. Ensure adequate ventilation. Reduce welding time or current. |
| Poor weld quality (porosity, spatter) | Improper current/voltage; contaminated workpiece; incorrect arc length/travel speed; damp electrodes. | Adjust settings. Clean workpiece thoroughly. Optimize technique. Use dry electrodes. |
9. Warranty and Support
This AWELCO MIKRO 164 Inverter Welding Machine comes with a 2-year warranty from the date of purchase. This warranty covers manufacturing defects and malfunctions under normal use.
The warranty does not cover damage caused by:
- Improper use or operation
- Unauthorized repairs or modifications
- Accidental damage or neglect
- Normal wear and tear
For warranty claims, technical support, or service inquiries, please contact your retailer or Awelco customer service. Please have your proof of purchase and the product model number (PR3797) available when contacting support.


