Important Safety Instructions
When using an electrical appliance, basic safety precautions should always be followed, including the following:
- Read all instructions before using this sewing machine.
- Keep these instructions in a suitable place near the machine.
- Keep fingers away from all moving parts. Special care is required around the sewing machine needle.
- Always use the correct needle plate. The wrong plate can cause the needle to break.
- Do not use bent needles.
- Do not pull or push fabric while stitching. This may deflect the needle, causing it to break.
- Switch the sewing machine off when making any adjustments in the needle area, such as threading the needle, changing the needle, threading the bobbin, or changing the presser foot.
- Always unplug the sewing machine from the electrical outlet when removing covers, lubricating, or when making any other user servicing adjustments mentioned in the instruction manual.
- Never drop or insert any object into any opening.
- Do not use outdoors.
- Do not operate where aerosol (spray) products are being used or where oxygen is being administered.
Product Overview
The SINGER M1155 is a versatile sewing machine designed for various sewing projects. It features a compact design and user-friendly controls.
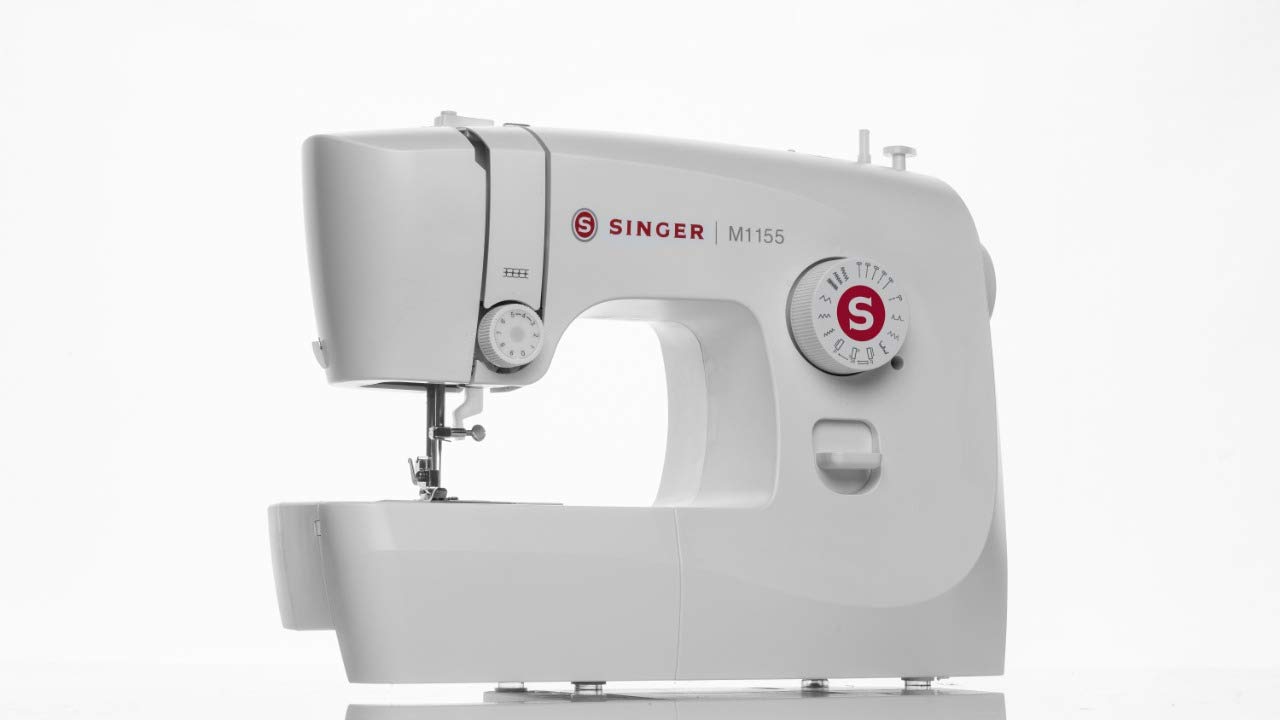
Image: Front view of the SINGER M1155 Sewing Machine, showcasing its compact design and main controls.
Key Components:
- Stitch Selector Dial: Used to choose from 14 built-in stitches.
- Tension Dial: Adjusts thread tension for different fabrics.
- Needle Plate: Provides a flat surface for sewing.
- Presser Foot: Holds fabric securely in place.
- LED Light: Illuminates the sewing area for better visibility.
- Handwheel: Manually raises and lowers the needle.
- Power Switch: Turns the machine on and off.
- Foot Pedal Connector: For connecting the foot control.

Image: Rear view of the SINGER M1155 Sewing Machine, showing the power input and on/off switch.
Setup
1. Unpacking and Placement
Carefully remove the machine from its packaging. Place the machine on a stable, flat surface. Ensure there is adequate space around the machine for comfortable operation.
2. Power Connection
Connect the foot control to the machine's foot pedal connector. Plug the power cord into the machine's power input, then into a suitable electrical outlet. Use the power switch located at the back of the machine to turn it on.
3. Bobbin Winding
The SINGER M1155 features automatic bobbin winding. Follow the threading guides on the machine to wind thread onto an empty bobbin. Ensure the bobbin is wound evenly for smooth stitching.
4. Threading the Machine
The machine is designed for easy threading. Follow the numbered threading path for the upper thread, ensuring the thread passes through all guides and the tension discs correctly. The machine features a top drop-in bobbin system for convenient bobbin insertion.
5. Needle Installation
Ensure the machine is turned off before changing the needle. Loosen the needle clamp screw, remove the old needle, and insert a new needle with the flat side facing the back of the machine. Tighten the needle clamp screw securely. The machine supports needle positions for left and center stitching.

Image: Close-up view of the needle and presser foot area, illustrating the working space for threading and needle changes.
Operating Instructions
1. Stitch Selection
The SINGER M1155 offers 14 built-in stitches and 19 built-in functions, including a 4-step buttonhole. Turn the stitch selector dial to choose the desired stitch pattern. Refer to the stitch chart on the machine for available options.

Image: The stitch selection dial on the SINGER M1155, showing various stitch patterns and settings.
2. Basic Sewing
Place the fabric under the presser foot. Lower the presser foot lever. Gently press the foot control to start sewing. Guide the fabric smoothly without forcing it. The machine has a 5 MM stitch width capability.
3. Using the LED Light
The integrated LED light illuminates your sewing area, providing clear visibility for detailed work and reducing eye strain. It activates automatically when the machine is powered on.

Image: The SINGER M1155 Sewing Machine with an arrow pointing to the LED light, indicating its position for illuminating the sewing area.
4. Accessory Storage
The machine includes an accessory storage compartment within its extension table. This provides convenient storage for your bobbins, needles, and other small sewing tools.

Image: The SINGER M1155 Sewing Machine with its accessory drawer pulled out, showing space for storing small sewing tools.
Maintenance
Regular maintenance ensures the longevity and optimal performance of your sewing machine.
1. Cleaning
- Lint Removal: Periodically remove the needle plate and clean out any lint or thread buildup from the bobbin case area and feed dogs using a small brush.
- Surface Cleaning: Wipe the exterior of the machine with a soft, dry cloth. Do not use harsh chemicals or abrasive cleaners.
2. Lubrication
Refer to the full service manual for specific lubrication points and frequency. Generally, modern sewing machines like the M1155 require minimal user lubrication.
Troubleshooting
Here are solutions to common issues you might encounter:
- Skipped Stitches: Ensure the needle is inserted correctly and is not bent. Use the appropriate needle type and size for your fabric and thread. Re-thread the machine completely.
- Thread Breaking: Check for correct threading, proper thread tension, and ensure the needle is not bent or dull. Use quality thread.
- Fabric Puckering: Adjust thread tension. Use a smaller stitch length. Ensure the correct presser foot is used for the fabric type.
- Machine Not Starting: Check if the power cord is securely plugged in and the power switch is on. Ensure the foot control is properly connected.
- Noisy Operation: Clean the machine thoroughly, especially the bobbin area, to remove any lint or debris. Ensure all parts are correctly assembled.
Specifications
| Feature | Detail |
|---|---|
| Brand | SINGER |
| Model Number | S0442431 |
| Built-in Stitches | 14 |
| Built-in Functions | 19 |
| Buttonhole Type | 4 Step Button Hole |
| Bobbin Type | Top Drop-In Bobbin |
| Lighting | LED Light |
| Bobbin Winding | Automatic |
| Frame | Heavy Duty Metal Frame |
| Stitch Width | 5 MM |
| Needle Position | Left & Center |
| Material | Plastic |
| Color | White |
| Power Source | Corded Electric |
| Item Weight | 5 kg 860 g |
| Item Dimensions LxWxH | 50 x 50 x 28 Centimeters |
| Included Components | Main Product, Foot Control, Accessories Box, Warranty Card |
Warranty and Support
Your SINGER M1155 Sewing Machine comes with a warranty. Please refer to the included Warranty Card for details regarding coverage and terms. Keep your purchase receipt as proof of purchase.
For technical assistance, service, or warranty claims, please contact Singer India Limited directly.
Manufacturer: Singer India Limited
Toll-Free Number: 18001033474


