
Introduction
Thank you for choosing the Tescoma PRESIDENT 3-in-1 Sandwich Maker. This versatile appliance is designed for preparing toasted sandwiches, waffles, and for grilling various foods such as panini, vegetables, meat, and fish. It features six removable toasting and grilling plates for multifunctional use. Constructed from high-quality metal, heat-resistant plastic, and stainless steel, its plates are equipped with a first-class non-stick coating for easy food release and cleaning. Please read this manual thoroughly before first use to ensure safe and optimal operation of your appliance.

Image: The Tescoma PRESIDENT 3-in-1 Sandwich Maker shown open with two toasted sandwiches inside, surrounded by ingredients like ham, cheese slices, and fresh tomatoes, illustrating its primary function.
Important Safety Instructions
When using electrical appliances, basic safety precautions should always be followed, including the following:
- Read all instructions before operating the appliance.
- Do not touch hot surfaces. Use handles or knobs.
- To protect against electrical shock, do not immerse cord, plugs, or appliance in water or other liquid.
- Close supervision is necessary when any appliance is used by or near children.
- Unplug from outlet when not in use and before cleaning. Allow to cool before putting on or taking off parts, and before cleaning the appliance.
- Do not operate any appliance with a damaged cord or plug, or after the appliance malfunctions or has been damaged in any manner. Return appliance to the nearest authorized service facility for examination, repair, or adjustment.
- The use of accessory attachments not recommended by the appliance manufacturer may cause injuries.
- Do not use outdoors.
- Do not let cord hang over edge of table or counter, or touch hot surfaces.
- Do not place on or near a hot gas or electric burner, or in a heated oven.
- Extreme caution must be used when moving an appliance containing hot oil or other hot liquids.
- Always attach plug to appliance first, then plug cord into the wall outlet. To disconnect, turn any control to "off", then remove plug from wall outlet.
- Do not use appliance for other than intended use.
Product Overview
The Tescoma PRESIDENT 3-in-1 Sandwich Maker is designed for versatility and ease of use. It consists of a main heating unit and interchangeable non-stick plates.
Components:
- Main Unit: Houses the heating elements and controls.
- Handle: For opening and closing the appliance.
- Power Indicator Light (Red): Illuminates when the appliance is plugged in and heating.
- Ready Indicator Light (Green): Illuminates when the appliance has reached the optimal cooking temperature.
- Removable Plates:
- Sandwich Plates (for toasted sandwiches)
- Waffle Plates (for waffles)
- Grill Plates (for panini, meat, vegetables)
- Plate Release Buttons: Located on the side or front for easy plate removal.
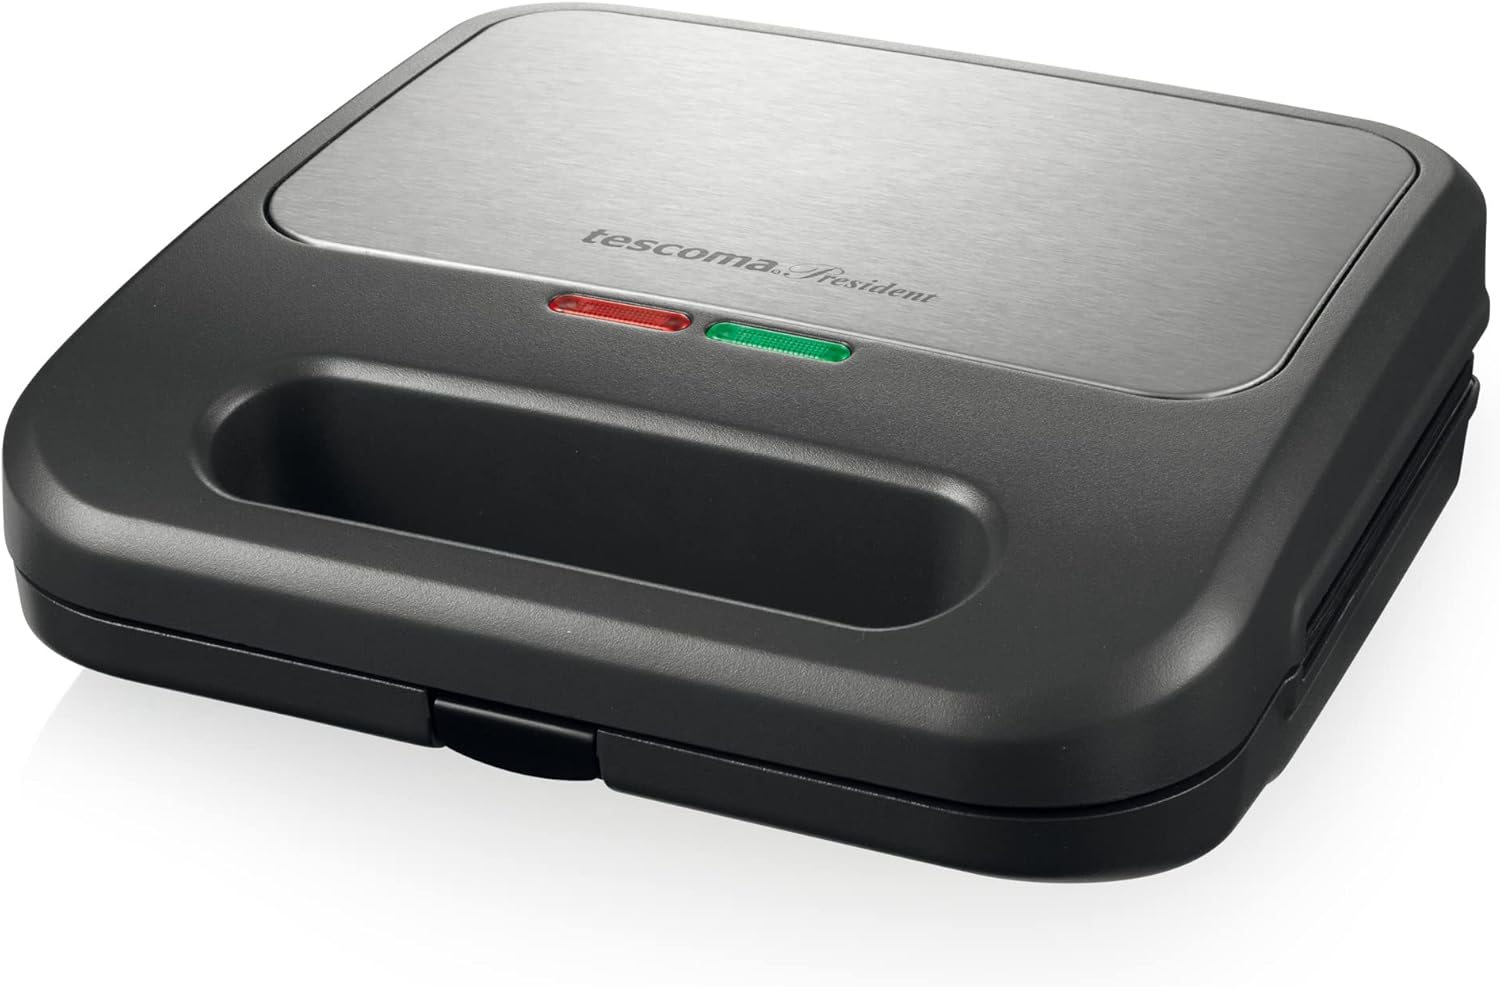
Image: The Tescoma PRESIDENT 3-in-1 Sandwich Maker in its closed position, highlighting the Tescoma President branding on the stainless steel top and the red and green indicator lights.
Setup and First Use
- Unpacking: Carefully remove the appliance and all accessories from the packaging. Dispose of packaging materials responsibly.
- Initial Cleaning: Before first use, wipe the exterior of the appliance with a damp cloth. Wash the removable plates with warm, soapy water, rinse thoroughly, and dry completely.
- Installing Plates:
- Ensure the appliance is unplugged and cool.
- Select the desired plates (sandwich, waffle, or grill).
- Align the tabs on the back of the plate with the slots in the appliance.
- Press down firmly until the plate clicks into place. Repeat for the other plate. Ensure both top and bottom plates are correctly installed.

Image: The Tescoma PRESIDENT 3-in-1 Sandwich Maker shown open and empty, displaying the non-stick cooking plates ready for installation or removal.
- Pre-heating: Close the appliance and plug it into a suitable electrical outlet. The red power indicator light will illuminate. Allow the appliance to preheat until the green ready indicator light illuminates, indicating it has reached the optimal cooking temperature. This usually takes 3-5 minutes.
Operating Instructions
General Operation:
- Always preheat the appliance with the desired plates installed and closed until the green ready light illuminates.
- Lightly grease the non-stick plates with a small amount of cooking oil or butter before each use, especially for the first use or if food tends to stick.
- Use heat-resistant plastic or wooden utensils to avoid damaging the non-stick coating.
Using Sandwich Plates:
- Install the sandwich plates and preheat the appliance.
- Prepare your sandwiches. For best results, use standard sliced bread and do not overfill.
- Carefully open the appliance and place one sandwich on each bottom plate section.
- Close the lid gently but firmly. The green light may turn off temporarily as the appliance reheats.
- Cook for approximately 3-5 minutes, or until the sandwiches are golden brown and the filling is heated through. Adjust cooking time to your preference.
- Open the appliance and carefully remove the cooked sandwiches using a non-metallic utensil.
- Unplug the appliance when finished.

Image: A close-up view of the sandwich plates, showing two perfectly toasted, triangular sandwiches ready to be removed from the appliance.
Using Waffle Plates:
- Install the waffle plates and preheat the appliance.
- Prepare your waffle batter.
- Carefully open the appliance and pour the batter onto the center of each bottom waffle plate, filling it approximately two-thirds full. Do not overfill.
- Close the lid gently.
- Cook for approximately 4-7 minutes, or until the waffles are golden brown and cooked through. Cooking time may vary depending on batter consistency and desired crispness.
- Open the appliance and carefully remove the cooked waffles using a non-metallic utensil.
- Unplug the appliance when finished.
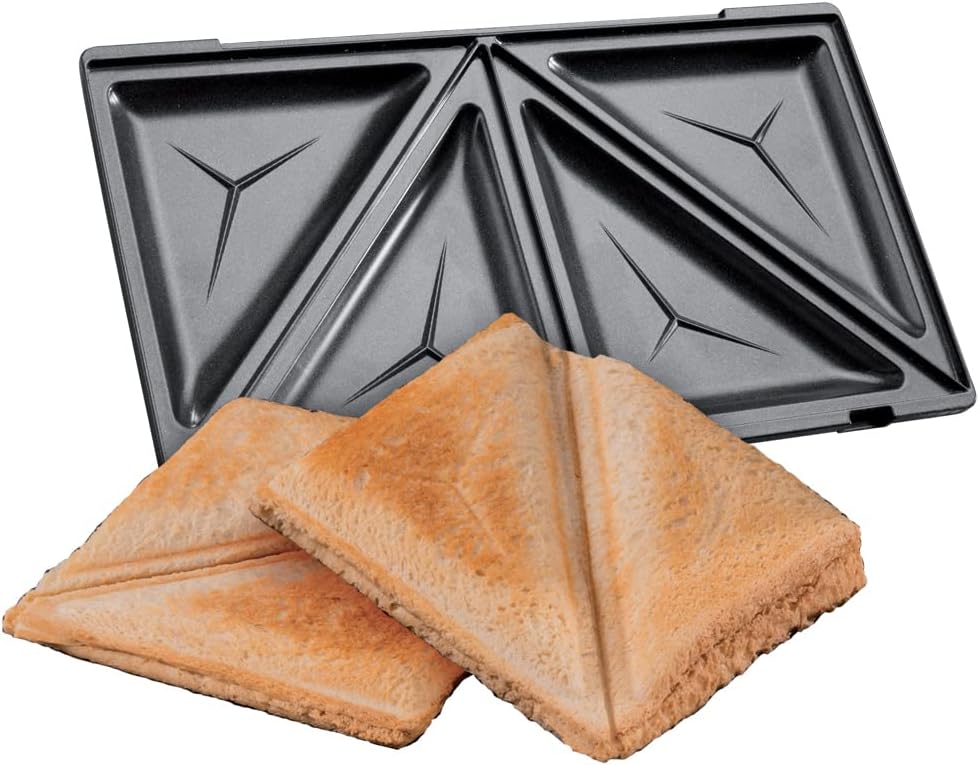
Image: The waffle plates are shown with two freshly cooked, golden-brown waffles, demonstrating the appliance's waffle-making capability.
Using Grill Plates:
- Install the grill plates and preheat the appliance.
- Place your food (e.g., panini, vegetables, meat, fish) directly onto the bottom grill plate.
- Close the lid. The floating hinge allows for even pressure on thicker items.
- Cook for the desired time, depending on the food type and thickness. For panini, typically 3-6 minutes. For meat or fish, cooking times will vary significantly.
- Monitor cooking progress and remove food when done using a non-metallic utensil.
- Unplug the appliance when finished.

Image: A grill plate is displayed alongside a prepared panini sandwich, featuring fresh ingredients like mozzarella, basil, and tomato, illustrating the grill function.
Maintenance and Cleaning
Proper maintenance ensures the longevity and performance of your Tescoma PRESIDENT 3-in-1 Sandwich Maker.
- Always Unplug and Cool: Before cleaning, always unplug the appliance from the power outlet and allow it to cool completely.
- Cleaning Plates:
- Press the plate release buttons to remove the cooking plates.
- Wash the plates in warm, soapy water. The non-stick coating makes cleaning easy. Avoid abrasive cleaners or scouring pads that could damage the coating.
- Rinse thoroughly and dry completely before re-installing or storing.
- For stubborn residue, soak the plates in warm water for a few minutes before cleaning.
- Cleaning Exterior: Wipe the exterior of the appliance with a soft, damp cloth. Do not use abrasive cleaners or immerse the main unit in water or any other liquid.
- Storage: Store the appliance in a clean, dry place with the plates installed or stored separately. The cord can be wrapped around the base for neat storage.
Troubleshooting
| Problem | Possible Cause | Solution |
|---|---|---|
| Appliance does not heat up. | Not plugged in; power outlet malfunction; appliance fault. | Ensure the appliance is securely plugged into a working outlet. Check the circuit breaker. If the issue persists, contact customer support. |
| Food sticks to the plates. | Plates not greased; non-stick coating damaged; food residue. | Lightly grease plates before each use. Ensure plates are clean. Avoid using metal utensils that can damage the coating. |
| Food is not cooked evenly. | Appliance not fully preheated; uneven food placement; too much food. | Wait for the green ready light to illuminate before adding food. Distribute food evenly. Do not overfill the plates. |
| Smoke or unusual odor during use. | Initial use (protective oils burning off); food residue burning; excessive grease. | A small amount of smoke/odor is normal during first use. Ensure plates are clean of food residue. Use less grease. If smoke is excessive or persistent, unplug immediately and contact support. |
Specifications
| Feature | Detail |
|---|---|
| Brand | Tescoma |
| Model Number | 909116 (Item model number: 8595028404531) |
| Special Feature | Non-Stick Coating, 3-in-1 Functionality (Sandwich, Waffle, Grill) |
| Color | Stainless Steel / Black |
| Material | Metal, Plastic, Stainless Steel |
| Wattage | 800 watts |
| Voltage | 230 Volts (2.3E+2 Volts) |
| Item Weight | 2200 Grams (4.85 pounds) |
| Product Dimensions | 27.56 x 6.69 x 15.55 inches (approx. 70 x 17 x 39.5 cm) |
| Manufacturer | Tescoma |

Image: A diagram showing the approximate dimensions of the Tescoma PRESIDENT 3-in-1 Sandwich Maker: 23 cm width, 22.5 cm depth, and 8.5 cm height.
Warranty and Support
Your Tescoma PRESIDENT 3-in-1 Sandwich Maker is covered by a manufacturer's warranty. Please refer to the warranty card included with your purchase for specific terms and conditions, including the warranty period and coverage details.
For technical support, service, or to inquire about replacement parts, please contact Tescoma customer service through their official website or the contact information provided in your product packaging. When contacting support, please have your model number (909116) and purchase date available.

