1. Important Safety Information
Please read all instructions carefully before operating your De'Longhi Pinguino portable air conditioner. Retain this manual for future reference.
- Always ensure the unit is placed on a flat, stable surface.
- Do not operate the unit with a damaged power cord or plug. If the cord is damaged, it must be replaced by the manufacturer or a qualified service agent.
- Ensure the unit is properly grounded to prevent electrical shock.
- Do not block the air inlets or outlets. Maintain adequate clearance around the unit for proper airflow.
- Do not insert objects into the air vents.
- This appliance is not intended for use by persons (including children) with reduced physical, sensory or mental capabilities, or lack of experience and knowledge, unless they have been given supervision or instruction concerning use of the appliance by a person responsible for their safety.
- Children should be supervised to ensure that they do not play with the appliance.
- Unplug the unit from the power outlet before cleaning or performing any maintenance.
- Do not use the unit in wet or damp environments, such as bathrooms or laundry rooms.
2. Product Overview
The De'Longhi Pinguino portable air conditioner is a versatile 3-in-1 unit designed to provide cooling, fan circulation, and dehumidification for your living space. Its compact design and integrated handles/wheels allow for easy portability between rooms. This model utilizes an eco-friendly refrigerant, contributing to a reduced environmental impact.
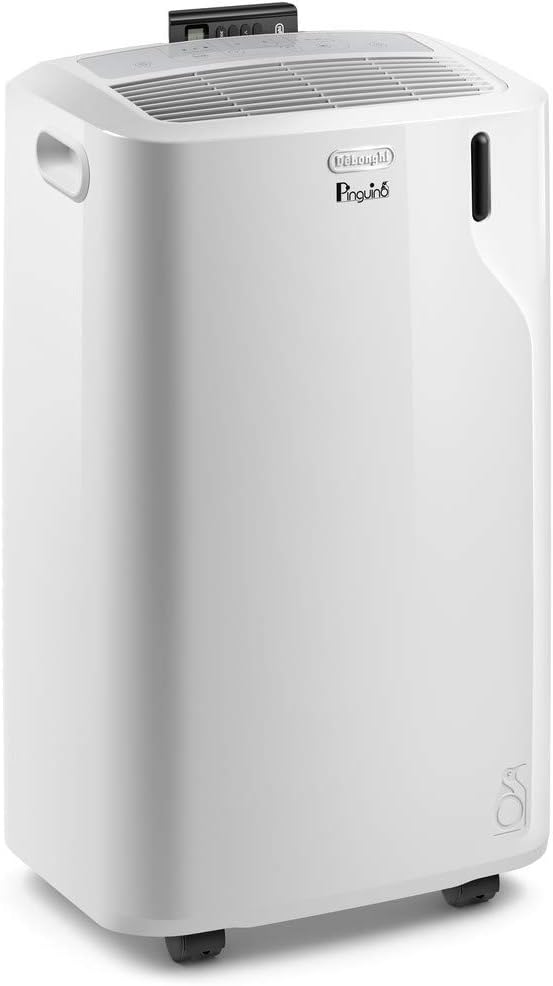
Figure 2.1: Front view of the De'Longhi Pinguino Portable Air Conditioner, showcasing its sleek white design and compact form factor.
Control Panel and Display
The unit features an intuitive control panel with a clear LED display, allowing for easy adjustment of settings. A remote control is also included for convenient operation from a distance.

Figure 2.2: Close-up of the control panel and remote control, highlighting the various buttons for mode selection, temperature adjustment, fan speed, and timer settings.
3. Setup and Installation
Setting up your portable air conditioner is straightforward. Follow these steps for optimal performance:
- Unpacking: Carefully remove the unit and all accessories from the packaging. Check for any damage.
- Placement: Place the unit on a flat, stable surface, ensuring there is at least 12 inches (30 cm) of space around the unit for proper air circulation. Avoid placing it near heat sources or in direct sunlight.
- Window Kit Installation: The included window kit is essential for exhausting hot air outside.
- Assemble the window bracket according to the instructions provided in the separate window kit guide.
- Secure the exhaust hose to the unit and then to the window adapter.
- Extend the window kit to fit your window opening and seal any gaps to prevent hot air from entering the room.
- Power Connection: Plug the power cord into a properly grounded electrical outlet.

Figure 3.1: Illustration of the portable air conditioner with its dimensions (13.6"D x 16.7"W x 27.6"H) and suggested placement for effective cooling in a room up to 400 sq. ft.
4. Operating Instructions
Your De'Longhi Pinguino offers multiple operating modes to suit your comfort needs.
4.1. Turning On/Off
- Press the POWER button on the control panel or remote control to turn the unit on or off.
4.2. Mode Selection
Press the MODE button repeatedly to cycle through the available modes:
- Cool Mode (snowflake icon): Provides powerful cooling. Adjust the desired temperature using the UP/DOWN arrows.
- Fan Mode (fan icon): Circulates air without cooling. Select desired fan speed (Low, Medium, High).
- Dehumidify Mode (water drop icon): Removes excess moisture from the air.
4.3. Temperature and Fan Speed Adjustment
- In Cool mode, use the UP/DOWN arrows to set your desired room temperature.
- In Fan mode, use the fan speed button to select between low, medium, or high fan speeds. The unit also features a quiet setting for minimal noise during activities like sleeping or reading.

Figure 4.1: The unit's quiet setting is ideal for undisturbed sleep, watching television, or reading, providing comfortable cooling with reduced noise levels.
4.4. Programmable Timer
The programmable timer allows you to set the unit to turn on or off automatically within a 24-hour period, optimizing energy usage.
- Press the TIMER button and use the UP/DOWN arrows to set the desired ON or OFF time.
4.5. Cooling Capacity Guidance
Refer to the table below to determine the appropriate cooling capacity for your room size. Adjustments may be necessary based on specific environmental factors.

Figure 4.2: A guide to selecting the correct cooling capacity (BTU) based on room square footage, with considerations for environmental factors like shade, sun exposure, occupancy, and kitchen use.
5. Maintenance and Cleaning
Regular maintenance ensures the longevity and efficiency of your air conditioner.
5.1. Cleaning the Air Filter
The unit is equipped with a washable dust filter that screens impurities. Clean the filter regularly (every two weeks or more often depending on usage) to maintain optimal performance.
- Turn off the unit and unplug it from the power outlet.
- Locate and remove the air filter (refer to your unit's specific design for filter access).
- Rinse the filter under running water (not hot) or use a vacuum cleaner to remove dust.
- Allow the filter to dry completely before reinserting it into the unit.
5.2. Draining Condensed Water
During dehumidification or prolonged cooling, water will accumulate inside the unit. The unit has an auto-evaporation system, but in high humidity conditions, manual draining may be required.
- When the water tank is full, the unit will stop operating and display an indicator.
- Place a shallow pan or container under the drain outlet.
- Remove the drain cap and plug to allow water to flow out.
- Once drained, replace the plug and cap securely.
5.3. Storage
If storing the unit for an extended period, ensure it is completely dry. Drain any remaining water, clean the filter, and store it in a cool, dry place, preferably in its original packaging.
6. Troubleshooting
If you encounter issues with your unit, consult the table below for common problems and solutions.
| Problem | Possible Cause | Solution |
|---|---|---|
| Unit does not turn on. | No power, power cord unplugged, circuit breaker tripped, full water tank. | Check power connection, reset circuit breaker, drain water tank. |
| Unit is not cooling effectively. | Air filter dirty, exhaust hose not properly installed, room too large, windows/doors open, temperature setting too high. | Clean air filter, ensure exhaust hose is sealed, close windows/doors, lower temperature setting. |
| Unit is noisy. | Unit not on a level surface, fan speed too high. | Place unit on a level surface, select a lower fan speed. |
| Water leakage. | Drain plug not secured, unit tilted, excessive humidity. | Ensure drain plug is tight, place unit on a level surface, drain water tank if full. |
7. Specifications
| Feature | Detail |
|---|---|
| Model Number | PAC EM360-6AL WH |
| Cooling Power (ASHRAE) | 11,000 BTU |
| Cooling Power (SACC) | 6,000 BTU |
| Coverage Area | Up to 400 square feet |
| Functions | Cooling, Fan, Dehumidification |
| Dimensions (D x W x H) | 13.6" x 16.7" x 27.6" |
| Item Weight | 63 pounds |
| Noise Level | 53 dB |
| Power Source | Corded Electric |
| Voltage | 115V |
| Wattage | 50W |
| Included Components | Portable air conditioner, window kit, remote control |
| Special Features | Eco-friendly, Portable |
8. Warranty and Support
8.1. Manufacturer's Warranty
This De'Longhi Pinguino portable air conditioner comes with a 2-year manufacturer's warranty. Please retain your proof of purchase for warranty claims. For full details on warranty terms and conditions, refer to the official De'Longhi website or the warranty card included with your product.
8.2. Customer Support
For further assistance, technical support, or service inquiries, please visit the official De'Longhi website or contact their customer service department. You can also refer to the comprehensive User Manual (PDF) for more detailed information.


