1. Introduction
This manual provides detailed instructions for the installation, operation, and maintenance of the Homelite 527985002 Replacement Cruise Control Lever. This component is an original equipment manufacturer (OEM) replacement part designed for specific Homelite power tools. Please read this manual thoroughly before attempting any installation or operation to ensure proper function and safety.
2. Product Overview
The Homelite 527985002 is a genuine OEM replacement part for the cruise control lever mechanism in compatible Homelite equipment. It is constructed from durable plastic and designed for easy installation.
Key Features:
- Genuine OEM Replacement Part: Ensures compatibility and performance.
- Durable Plastic Construction: Designed for longevity and reliable operation.
- Easy to Install: Engineered for straightforward replacement.
- Dimensions: Approximately 2.40 x 1.15 x 1.10 inches.
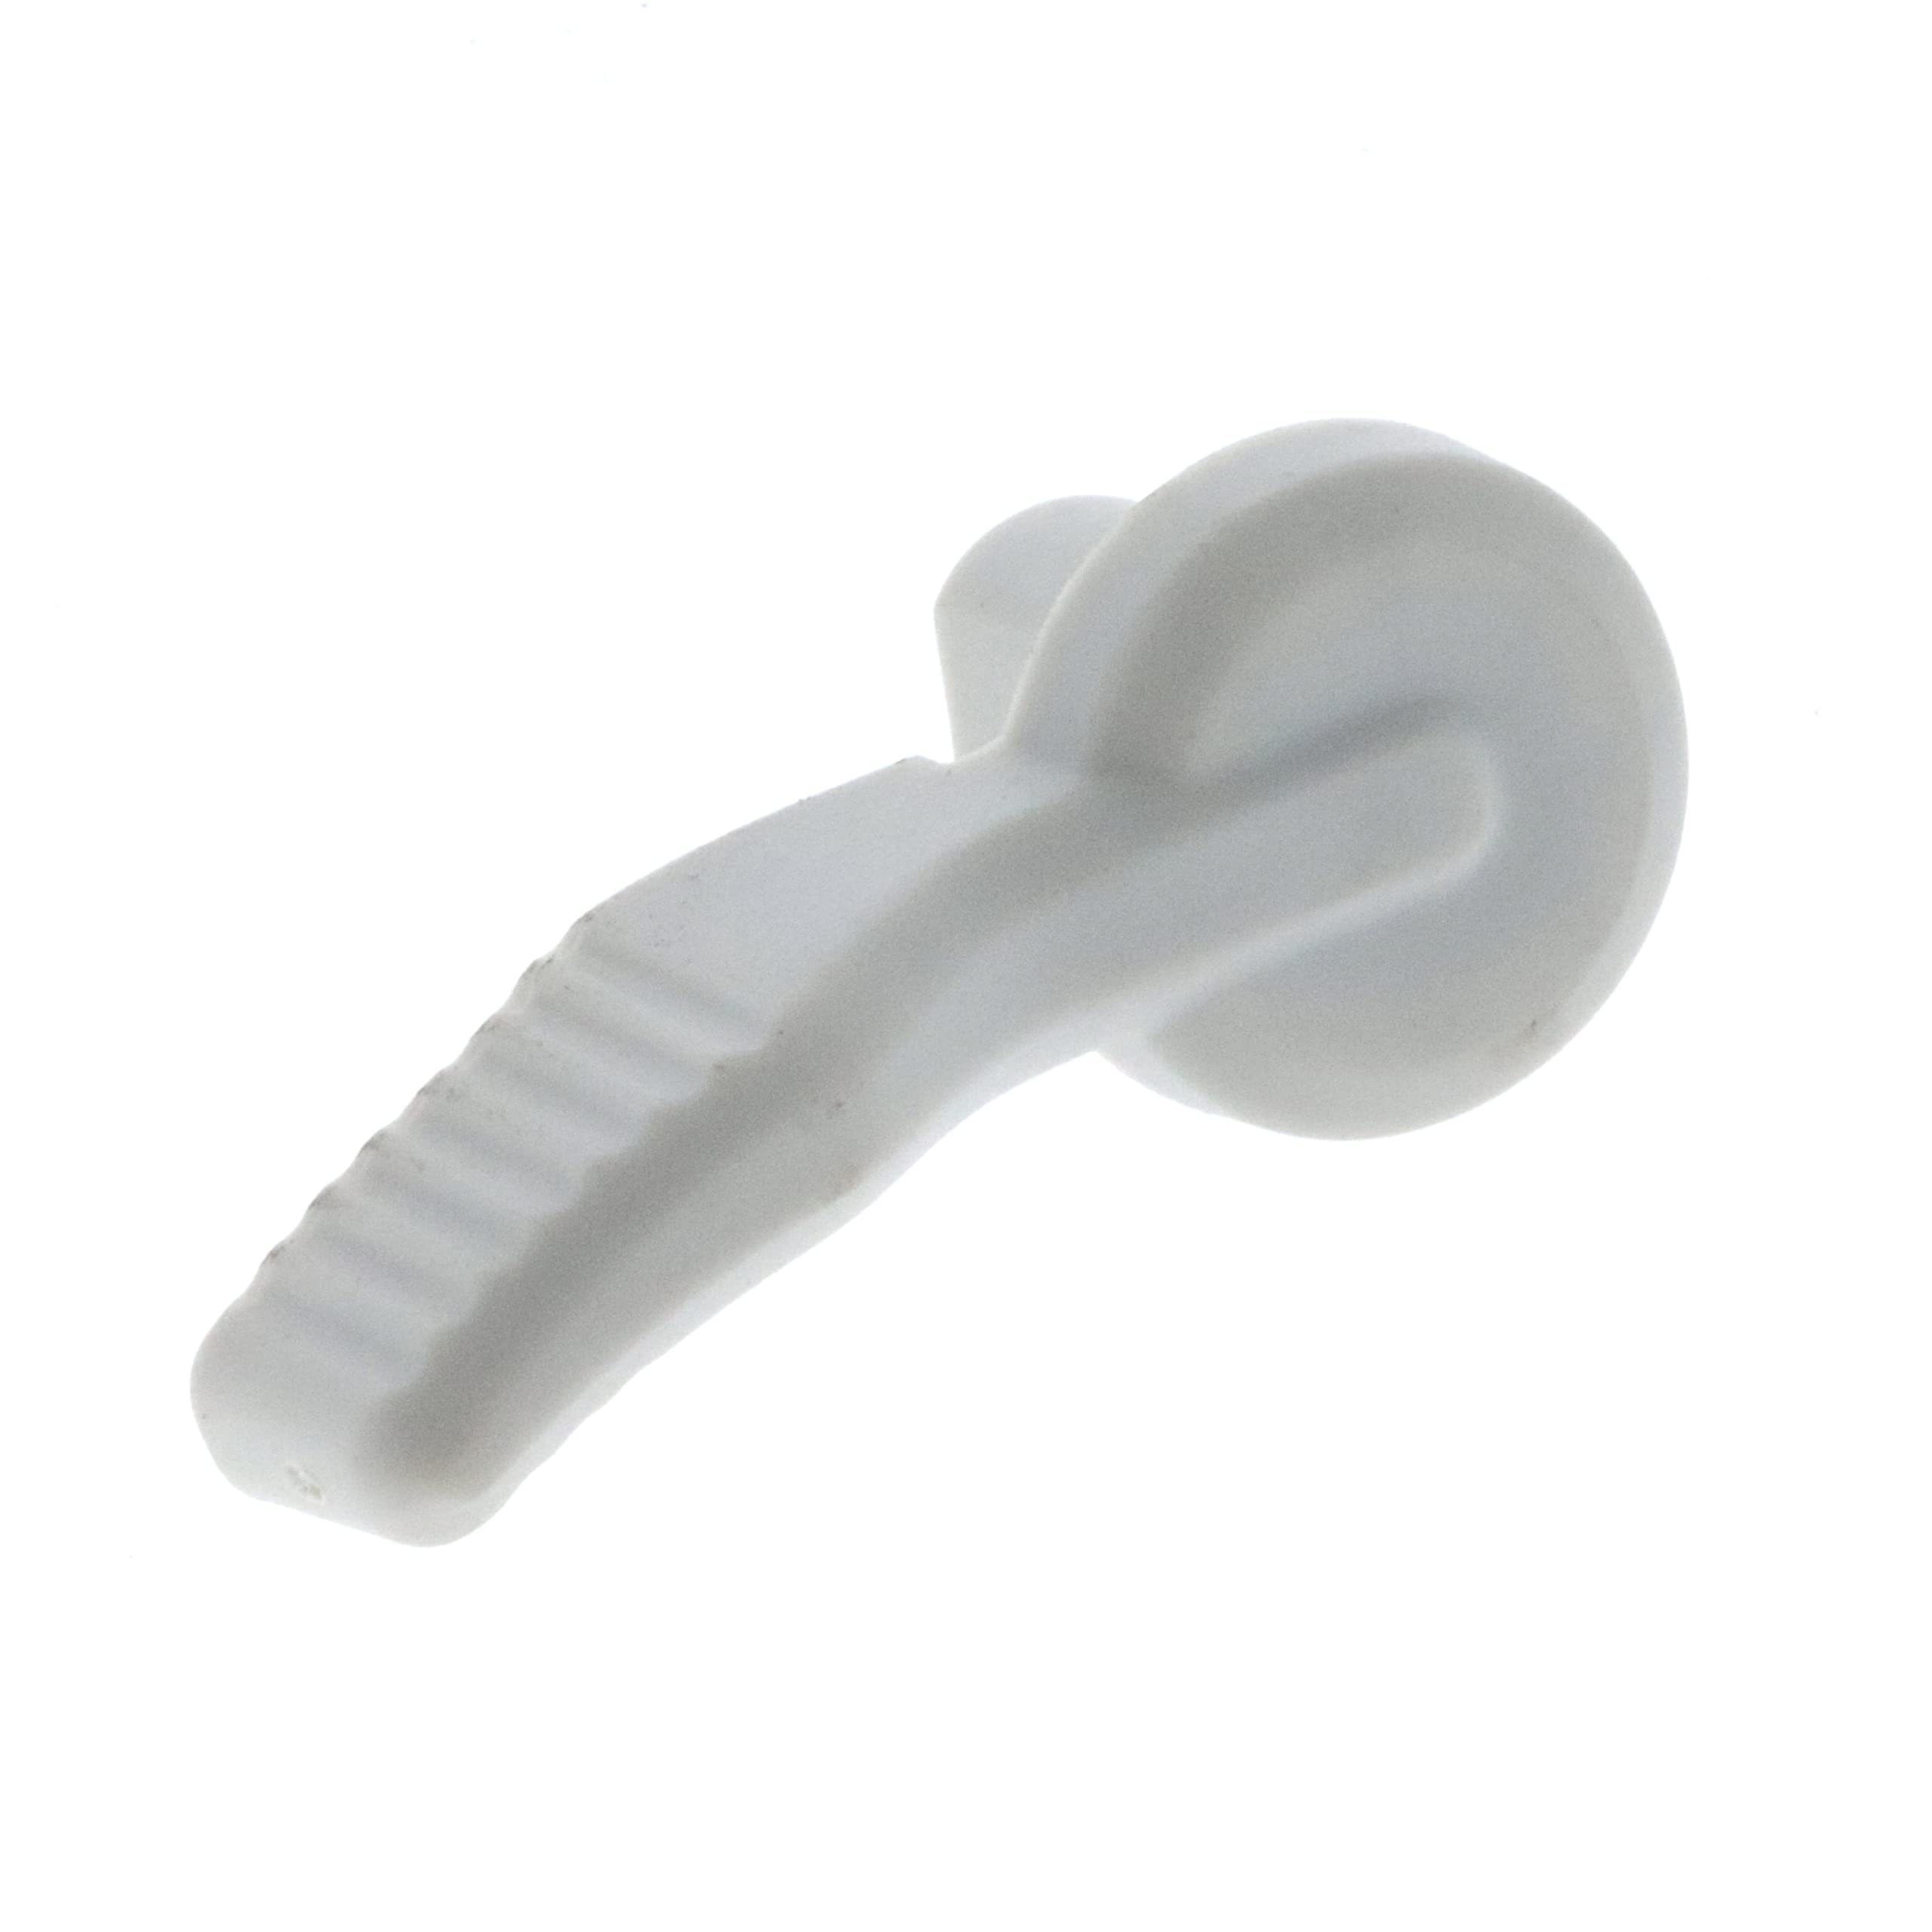
Figure 1: A close-up view of the white plastic Homelite 527985002 replacement cruise control lever. The lever features a textured grip on one end and a rounded, wheel-like component on the other, designed for precise control.
3. Setup and Installation
Before beginning installation, ensure the power tool is turned off and disconnected from any power source (e.g., unplugged, battery removed) to prevent accidental startup and injury. Refer to your specific Homelite tool's service manual for detailed disassembly and reassembly instructions, as procedures may vary.
Installation Steps:
- Prepare the Tool: Disconnect the power tool from its power source. If applicable, remove any covers or housings that obstruct access to the existing cruise control lever.
- Remove Old Lever: Carefully detach the old cruise control lever. This may involve unscrewing fasteners, releasing clips, or gently prying the component. Note the orientation and connection points of the old lever.
- Inspect Area: Clean any debris or residue from the installation area. Inspect surrounding components for wear or damage.
- Install New Lever: Position the new Homelite 527985002 replacement lever in the correct orientation. Secure it using the original fasteners, clips, or by pressing it firmly into place until it clicks. Ensure all connections are snug and the lever moves freely without obstruction.
- Reassemble Tool: Reattach any covers or housings removed earlier. Ensure all fasteners are tightened securely.
- Test Functionality: Reconnect the power tool to its power source. Test the new cruise control lever to ensure it engages and disengages properly according to the tool's operational guidelines.
If you encounter any difficulties during installation, consult a qualified service technician or refer to your tool's comprehensive service manual.
4. Operating the Cruise Control Lever
The cruise control lever is designed to maintain a consistent engine speed or power output on compatible Homelite power tools, reducing operator fatigue during extended use. Its specific function will depend on the tool it is installed in (e.g., string trimmer, blower).
- Engaging Cruise Control: Typically, the lever is moved to a specific position to lock the throttle or power setting at a desired level. Consult your tool's user manual for the exact procedure.
- Disengaging Cruise Control: To release the cruise control, move the lever back to its original position or as instructed by your tool's manual.
- Adjustment: Some tools may allow for fine-tuning of the cruise control setting via the lever.
Always ensure you have full control of the tool and are aware of your surroundings when using the cruise control feature.
5. Maintenance
Proper maintenance ensures the longevity and reliable operation of your Homelite 527985002 replacement lever.
- Cleaning: Periodically clean the lever and surrounding area to remove dirt, dust, and debris. Use a soft, dry cloth. Avoid harsh chemicals that may damage the plastic.
- Inspection: Regularly inspect the lever for any signs of wear, cracks, or damage. Ensure it moves smoothly and securely.
- Lubrication: If the lever mechanism feels stiff, a small amount of silicone-based lubricant may be applied to pivot points, if recommended by your tool's manufacturer. Avoid petroleum-based lubricants on plastic components.
6. Troubleshooting
If you experience issues with the cruise control lever after installation, consider the following:
- Lever is Stiff or Stuck:
- Check for obstructions around the lever.
- Ensure the lever was installed correctly and not overtightened.
- Clean the area and apply a suitable lubricant if necessary.
- Cruise Control Not Engaging/Disengaging:
- Verify the lever is fully seated and connected to the internal mechanism.
- Consult your tool's manual to confirm the correct operating procedure for the cruise control feature.
- Inspect internal linkages or cables that the lever operates for damage or disconnections.
- Lever Feels Loose:
- Ensure all fasteners securing the lever or surrounding housing are tightened.
- Check for any broken clips or mounting points.
For persistent issues, it is recommended to contact Homelite customer support or a certified service center.
7. Specifications
| Attribute | Detail |
|---|---|
| Part Number | 527985002 |
| Brand | Homelite |
| Manufacturer | Ryobi (OEM for Homelite) |
| Material | Plastic |
| Exterior Finish | Chrome (Note: Product image shows white plastic; 'Chrome' may refer to a functional aspect or another part of the assembly.) |
| Item Weight | 0.06 Kilograms (approx. 2.11 ounces) |
| Product Dimensions | Approximately 2.40 x 1.15 x 1.10 inches (Note: This dimension is from feature bullets, which appears more accurate for a lever than the 0.39 x 0.39 x 0.39 inches listed elsewhere.) |
| Item Package Quantity | 1 |
| Number Of Pieces | 1 |
| Special Feature | Easy to Install |
| Batteries Required/Included | No |
8. Warranty and Support
As an OEM replacement part, the Homelite 527985002 lever typically carries a limited warranty against manufacturing defects. For specific warranty details, please refer to the documentation provided with your original Homelite power tool or contact Homelite customer service directly.
For technical assistance, replacement part inquiries, or warranty claims, please contact Homelite customer support through their official website or the contact information provided in your original tool's manual.


