Introduction
This manual provides comprehensive instructions for the assembly, operation, maintenance, and troubleshooting of your new tectake Shoe Bench with Seat. Please read this manual carefully before assembly and use to ensure safe and efficient operation.
The tectake Shoe Bench is designed to offer a practical and elegant storage solution for your footwear and accessories, while also providing a comfortable seating area.
Safety Warnings
- Load Capacity: The maximum load capacity of this bench is 120 kg (approximately 264 lbs). Do not exceed this weight limit to prevent damage or injury.
- Ensure all screws and fasteners are securely tightened during assembly and periodically check for tightness during use.
- Do not stand on the bench.
- Keep small parts away from children during assembly.
Package Contents
Before beginning assembly, please verify that all components listed below are present and undamaged.
- Shoe Bench Components
- Assembly Hardware (screws, dowels, etc.)
- Assembly Instructions (separate document)
Setup and Assembly
Assembly of the tectake Shoe Bench is designed to be straightforward. Please refer to the separate "Assembly Instructions" document included in your package for detailed, step-by-step guidance.
General Assembly Tips:
- Lay out all components on a clean, soft surface to prevent scratches.
- Identify all hardware before starting.
- Follow the numbered steps in the assembly instructions carefully.
- Ensure all connections are secure but do not overtighten screws, which could damage the material.
- Two people are recommended for easier and safer assembly.

Image: Internal view showing sturdy hinges for the flip-top compartment and adjustable shelves.

Image: The flip-top compartment provides discreet storage for smaller items like brushes, lint rollers, or gloves.
Operating Instructions
The tectake Shoe Bench offers versatile functionality for your entryway or living space.
Using the Shoe Storage Compartments:
- The bench features three open compartments for easy access to your shoes. Two horizontal compartments are ideal for standard shoes, while a taller vertical compartment can accommodate boots or larger items.
- Arrange shoes neatly to maximize space and maintain organization.

Image: The shoe bench showcasing its open compartments filled with various types of footwear and the top flip-top storage open.
Using the Seat Cushion:
- The integrated padded seat cushion provides a comfortable spot to sit while putting on or taking off your shoes.
- Ensure the bench is placed on a stable, level surface before sitting.
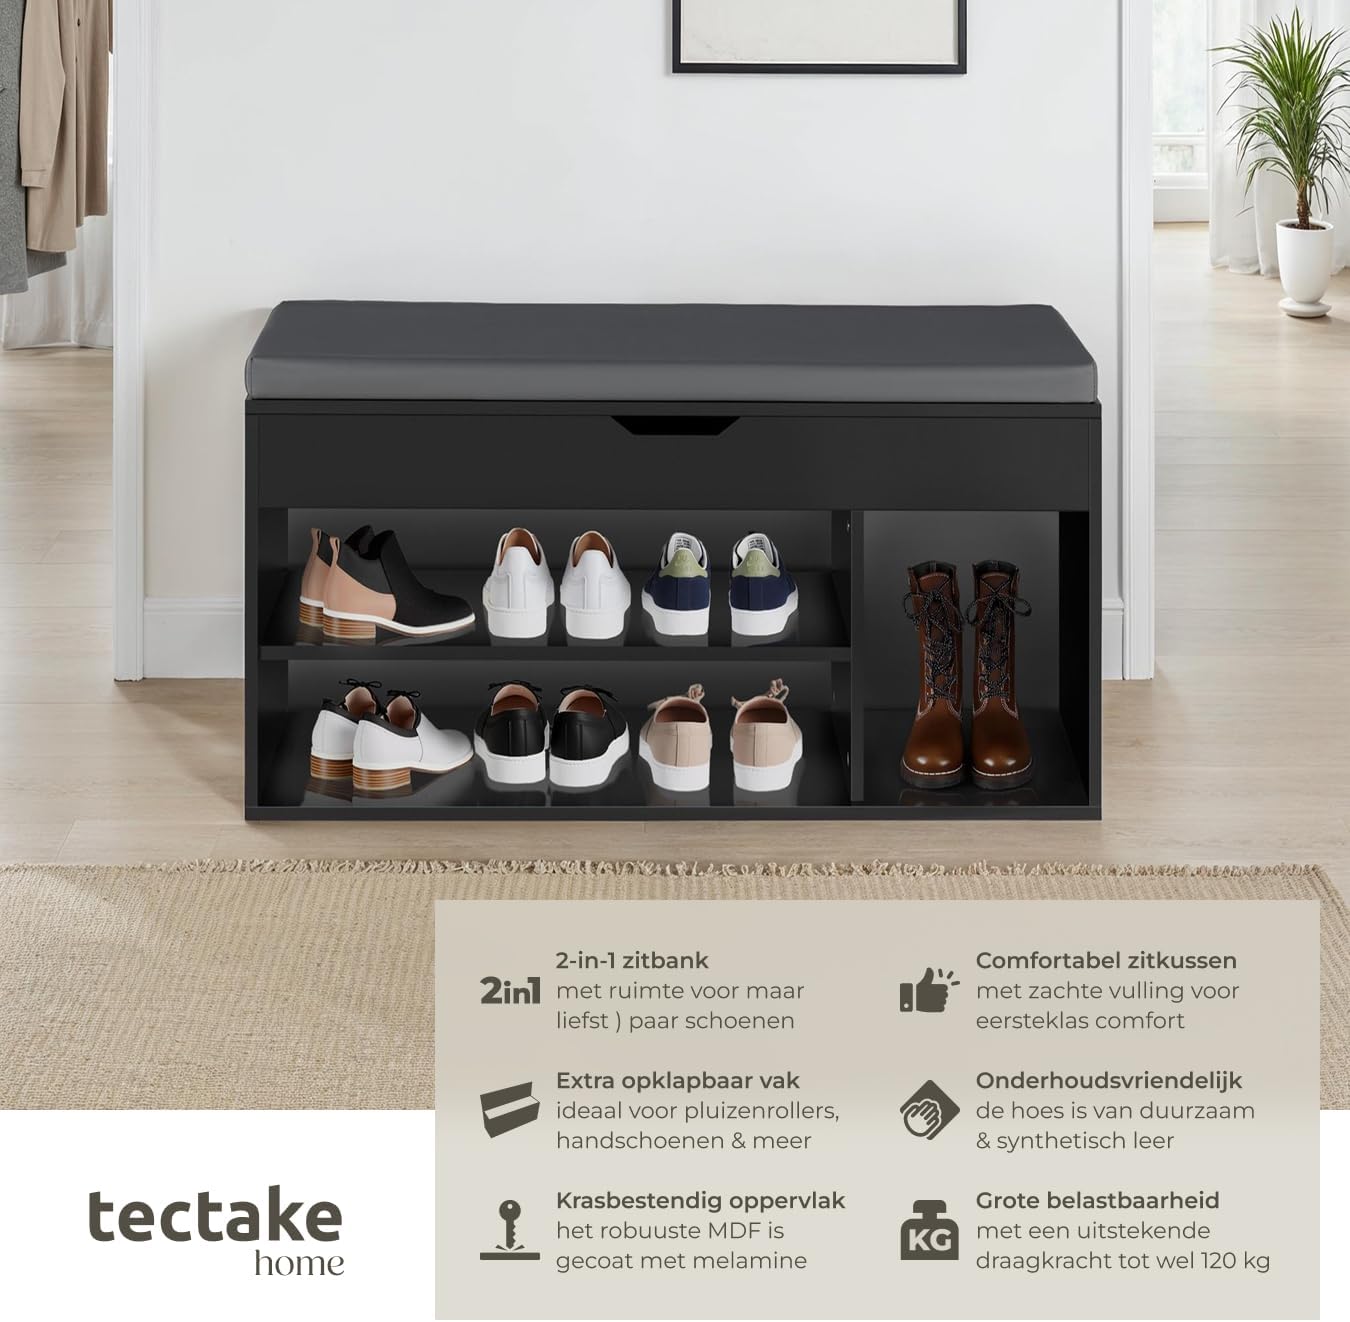
Image: The shoe bench positioned in an entryway, demonstrating its use as both storage and a comfortable seating area.
Using the Flip-Top Compartment:
- Lift the top section of the bench to access a hidden compartment. This space is ideal for storing smaller items such as scarves, gloves, hats, keys, or shoe care accessories.
- Close the lid gently to avoid pinching fingers.
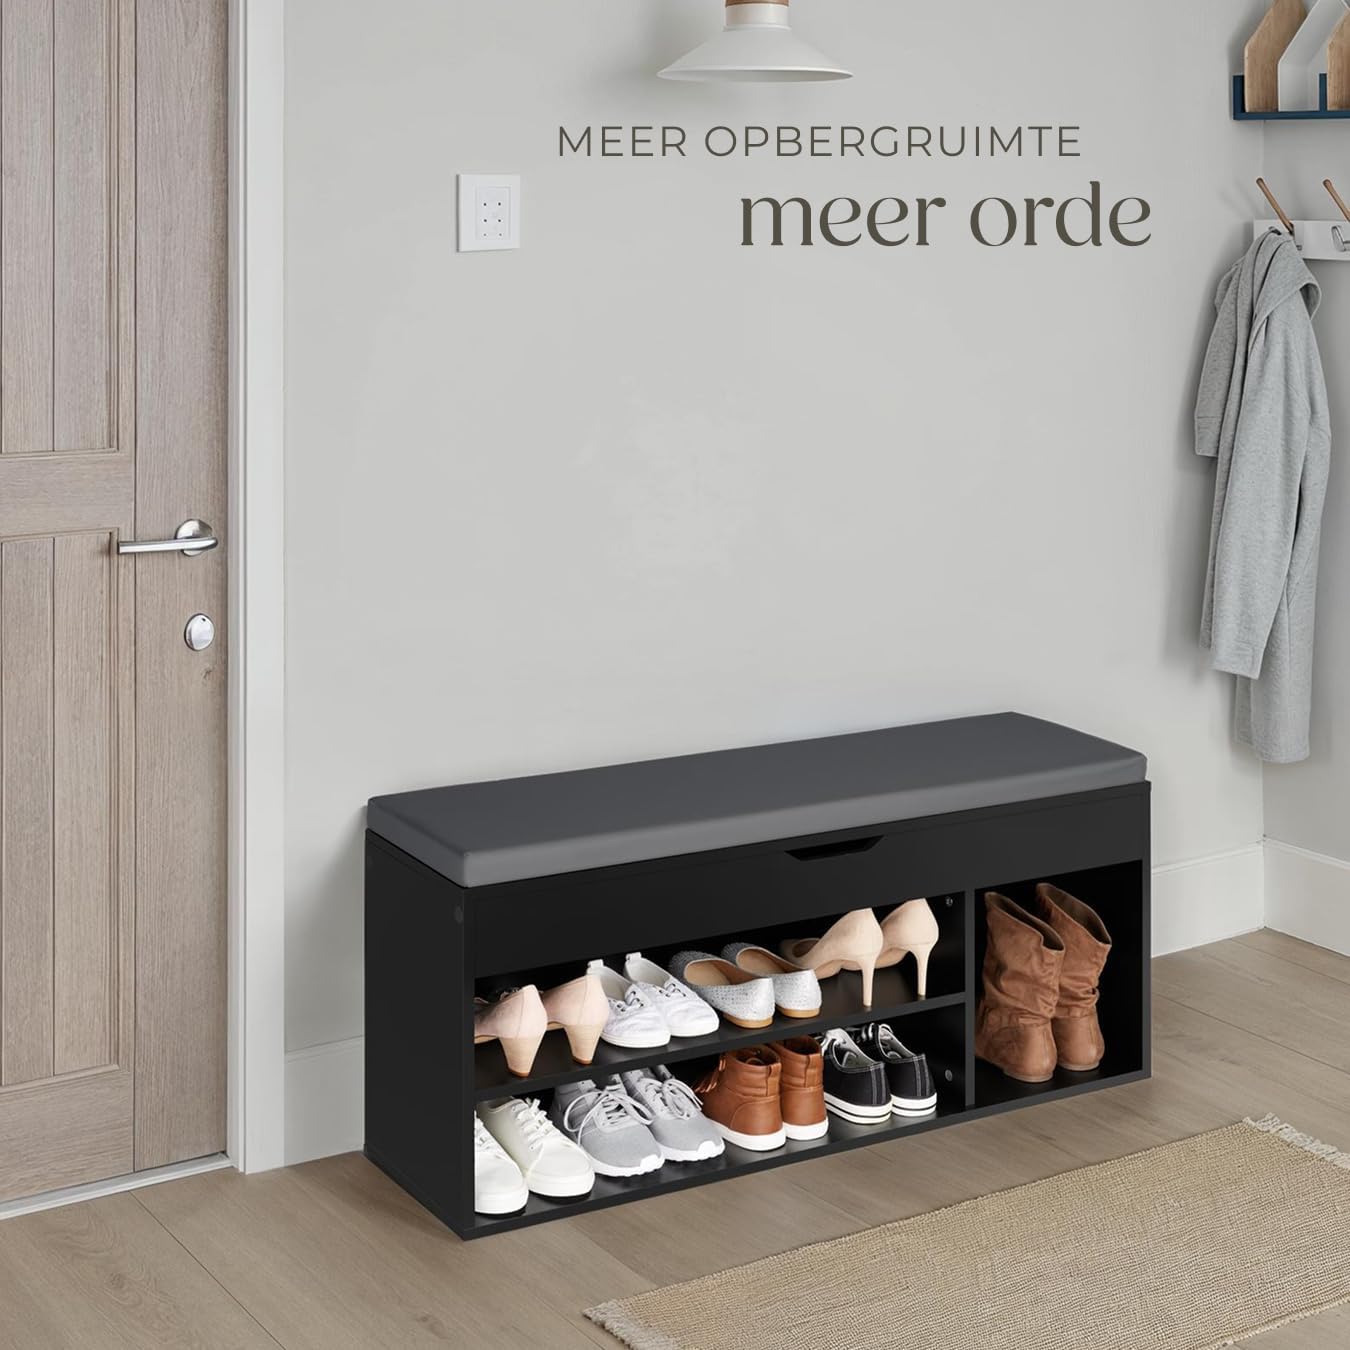
Image: The shoe bench providing an organized and tidy appearance in a home entryway.
Maintenance
To ensure the longevity and appearance of your tectake Shoe Bench, follow these simple maintenance guidelines:
- Cleaning: Wipe the surfaces of the bench with a soft, damp cloth. For stubborn marks, a mild soap solution can be used, followed by drying with a clean cloth. Avoid abrasive cleaners or harsh chemicals.
- Cushion Care: The polyurethane cushion cover can be wiped clean with a damp cloth. Do not machine wash or tumble dry the cushion.
- Inspection: Periodically check all screws and connections to ensure they remain tight. Retighten if necessary.
- Placement: Avoid placing the bench in direct sunlight or near heat sources to prevent material degradation or discoloration.
Troubleshooting
If you encounter any issues with your shoe bench, consider the following common solutions:
- Wobbly Bench: Check that all assembly screws are fully tightened. Ensure the bench is on a level surface.
- Difficulty Closing Flip-Top: Ensure no items are obstructing the closing mechanism. Check hinges for any damage or misalignment.
- Scratches/Damage: For minor scratches on the melamine surface, furniture repair pens or kits may be used. For significant damage, contact customer support.
If problems persist, please refer to the "Warranty and Support" section for further assistance.
Specifications

Image: Detailed technical drawing illustrating the overall and internal dimensions of the shoe bench.
| Feature | Detail |
|---|---|
| Brand | TecTake |
| Overall Dimensions (WxDxH) | 104 x 30 x 49 cm (approx. 40.9 x 11.8 x 19.3 inches) |
| Internal Horizontal Compartments (WxDxH) | 72 x 29 x 15 cm (approx. 28.3 x 11.4 x 5.9 inches) |
| Internal Vertical Compartment (WxDxH) | 27.5 x 29 x 31.5 cm (approx. 10.8 x 11.4 x 12.4 inches) |
| Internal Flip-Top Compartment (WxDxH) | 101 x 26.5 x 8.5 cm (approx. 39.8 x 10.4 x 3.3 inches) |
| Seat Cushion Thickness | 4 cm (approx. 1.6 inches) |
| MDF Panel Thickness | 1.5 cm (approx. 0.6 inches) |
| Load Capacity | 120 kg (approx. 264 lbs) |
| Weight | 18.5 kg (approx. 40.8 lbs) |
| Materials | MDF panel with melamine coating, 100% polyurethane (cushion) |
| Color | Black |
Warranty and Support
For warranty information or technical support, please refer to the documentation provided with your purchase or contact TecTake customer service directly. Contact details can typically be found on the manufacturer's official website or on your purchase receipt.
Please have your model number (104x30x49cm) and purchase date ready when contacting support.