1. Introduction
Thank you for choosing the LVWIT 24W LED Ceiling Light. This manual provides essential information for the safe and efficient installation, operation, and maintenance of your new ceiling light. Please read these instructions carefully before installation and retain them for future reference.
The LVWIT 24W LED Ceiling Light is designed to provide bright, neutral white illumination (4000K) with a luminous flux of 2400 lumens. Its IP65 waterproof rating makes it suitable for various indoor and outdoor covered applications, including bathrooms, kitchens, and balconies.

Image 1.1: LVWIT 24W LED Ceiling Light, showcasing its round, flat design and bright illumination.
2. Safety Information
- Ensure the power supply is disconnected before installation, maintenance, or cleaning to prevent electric shock.
- Installation should be performed by a qualified electrician or a person with appropriate electrical knowledge.
- Verify that the supply voltage matches the voltage specified on the product label (230 Volts AC).
- Do not modify the product in any way, as this may void the warranty and pose safety risks.
- Avoid looking directly into the light source when it is active, as this may cause eye strain.
- This product is IP65 rated for water and dust resistance. Ensure proper sealing during installation to maintain this rating.
- Keep packaging materials out of reach of children to prevent suffocation hazards.
3. Package Contents
Please check the package contents upon receipt to ensure all components are present and undamaged.
- 1 x LVWIT LED Ceiling Light
- 1 x Instruction Manual
- 1 x Installation Kit (screws, wall plugs)
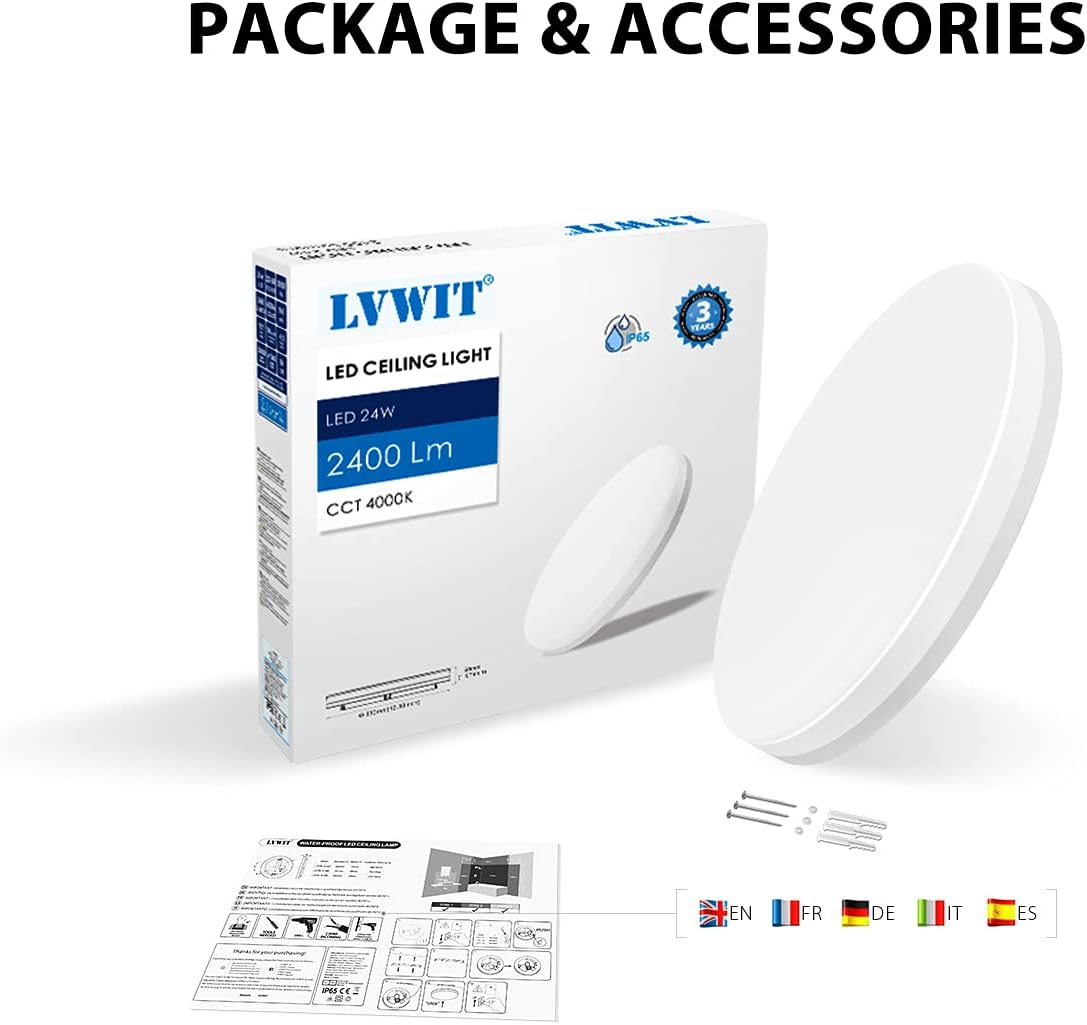
Image 3.1: The product packaging and included accessories, including the ceiling light, instruction manual, and mounting hardware.
4. Specifications
| Feature | Specification |
|---|---|
| Brand | LVWIT |
| Model Number | LG09L-A-220-18 (also LG09L-A-330-24) |
| Wattage | 24 Watts |
| Luminous Flux | 2400 Lumens |
| Color Temperature | 4000 Kelvin (Neutral White) |
| Color Rendering Index (CRI) | 80 |
| Voltage | 230 Volts (AC) |
| IP Rating | IP65 (Waterproof and Dustproof) |
| Material | Polycarbonate |
| Shape | Round |
| Product Dimensions | 33L x 33W x 5H centimetres (Ø330mm x 50mm) |
| Weight | 1.13 Kilograms |
| Light Source | Integrated LED |
| Switch Style | Vippströmbrytare (Toggle Switch) |
| Switch Installation Type | Ceiling Mount |

Image 4.1: Product dimensions and key features including IP65 rating and warranty period.

Image 4.2: Explanation of Color Rendering Index (CRI) and its impact on perceived color accuracy.
5. Installation
5.1 Pre-Installation Checklist
- Ensure the power supply to the installation area is turned off at the main circuit breaker.
- Confirm you have all necessary tools: screwdriver, drill, wire strippers, measuring tape, pencil.
- Unpack the ceiling light and check for any damage.
5.2 Mounting Steps
- Separate the Mounting Bracket: Gently push the side clips to detach the mounting bracket from the main light fixture.
- Mark and Drill Holes: Position the mounting bracket on the ceiling at the desired location. Use a pencil to mark the drilling points. Drill holes suitable for the provided wall plugs and screws.
- Secure the Mounting Bracket: Insert the wall plugs into the drilled holes. Align the mounting bracket and secure it firmly to the ceiling using the provided screws.
- Wire Connection: Connect the household electrical wires to the terminal block on the light fixture. Ensure correct polarity (Live, Neutral, Earth if applicable) according to local electrical codes. Secure the wires firmly.
- Attach the Light Fixture: Align the light fixture with the secured mounting bracket. Push the light fixture upwards and rotate it slightly until it clicks into place, ensuring it is securely fastened.

Image 5.1: Visual guide for the installation process of the ceiling light.
5.3 Post-Installation
- Once the light is securely installed, restore power at the main circuit breaker.
- Test the light by turning it on and off using the wall switch.
6. Operation
The LVWIT 24W LED Ceiling Light operates via a standard wall switch. Once installed and powered, simply toggle the switch to turn the light on or off.
- Light Output: Provides 2400 lumens of neutral white light (4000K).
- Coverage: Suitable for illuminating rooms approximately 12 to 20 square meters.

Image 6.1: Examples of the ceiling light in different application areas such as kitchen, porch, and bathroom.

Image 6.2: The ceiling light providing illumination in a bedroom, emphasizing its IP65 rating.
7. Maintenance
- Cleaning: Disconnect power before cleaning. Use a soft, dry, or slightly damp cloth to wipe the surface of the light. Do not use abrasive cleaners, solvents, or harsh chemicals, as these can damage the finish or electrical components.
- No User-Serviceable Parts: The LED light source is integrated and not user-replaceable. Do not attempt to open or repair the fixture.
- Regular Inspection: Periodically check the light fixture for any signs of damage or loose connections. If any issues are observed, disconnect power and consult a qualified electrician.
8. Troubleshooting
| Problem | Possible Cause | Solution |
|---|---|---|
| Light does not turn on | No power supply Loose wiring connection Faulty wall switch | Check circuit breaker and power supply. Ensure wires are securely connected (with power off). Test the wall switch or consult an electrician. |
| Light flickers | Unstable power supply Loose wiring Incompatible dimmer switch (if applicable) | Check power stability. Verify all wire connections are tight (with power off). This light is not designed for dimming unless specified. |
| Light is dim | Incorrect voltage Dust accumulation | Ensure correct voltage (230V AC). Clean the light surface (with power off). |
9. Warranty and Support
The LVWIT 24W LED Ceiling Light comes with a 3-year warranty from the date of purchase, covering defects in materials and workmanship under normal use. This warranty does not cover damage caused by improper installation, misuse, accidents, or unauthorized modifications.
For warranty claims or technical support, please contact your retailer or the manufacturer directly with your proof of purchase and product model number.
For further information regarding product energy efficiency, please refer to the energy label provided with the product or available online.

Image 9.1: Information regarding the energy efficiency label for the product.


