
1. Introduction
Thank you for choosing the Sunnyglade 6x8 Ft Heavy Duty Storage Shelter. This manual provides essential information for the safe assembly, operation, and maintenance of your new storage shelter. Please read all instructions carefully before beginning assembly and retain this manual for future reference.

Image: The Sunnyglade 6x8 Ft Heavy Duty Storage Shelter providing cover for a golf cart.
2. Safety Information
WARNING: Failure to follow these safety instructions may result in injury or damage to the product.
- Always ensure the shelter is properly anchored to the ground using the provided stakes and ropes.
- Do not use this shelter in winds exceeding 35 mph. High winds can cause the shelter to become unstable and potentially collapse.
- Keep the shelter away from heat sources and open flames to prevent fire hazards.
- Ensure all connections are secure and tightened regularly, especially after severe weather.
- Do not allow snow or ice to accumulate excessively on the roof, as this can cause structural damage. Clear snow and ice promptly.
- Assembly requires at least two adults.
3. Package Contents
Before assembly, verify that all components are present and undamaged. If any parts are missing or damaged, please contact customer support.
- Steel Frame Poles (various lengths and shapes, labeled A, B, C, D)
- Metal Corner Joints / Connectors
- 180g Density PE Fabric Cover
- Foot Pads
- Bungee Cords
- Elastic Ropes
- Ground Pegs / Stakes
- Hardware (bolts, washers, nuts)
4. Setup and Assembly
Follow these steps for proper assembly. It is recommended to have at least two people for assembly.
Video: Assembly guide for the Sunnyglade 6x8 Ft Heavy Duty Storage Shelter.
- Step 1: Assemble the Top Frame. Connect the designated frame poles (e.g., A, B, C) using the appropriate T-connectors to form the rectangular top section of the shelter. Ensure all connections are snug.
- Step 2: Install the Legs. Attach the vertical leg poles (e.g., C, D) to the corners of the assembled top frame. This will raise the structure.
- Step 3: Attach Foot Pads. Securely place the foot pads onto the bottom of each leg pole. Use the provided bolts and nuts to fasten them. These foot pads provide stability and a base for anchoring.
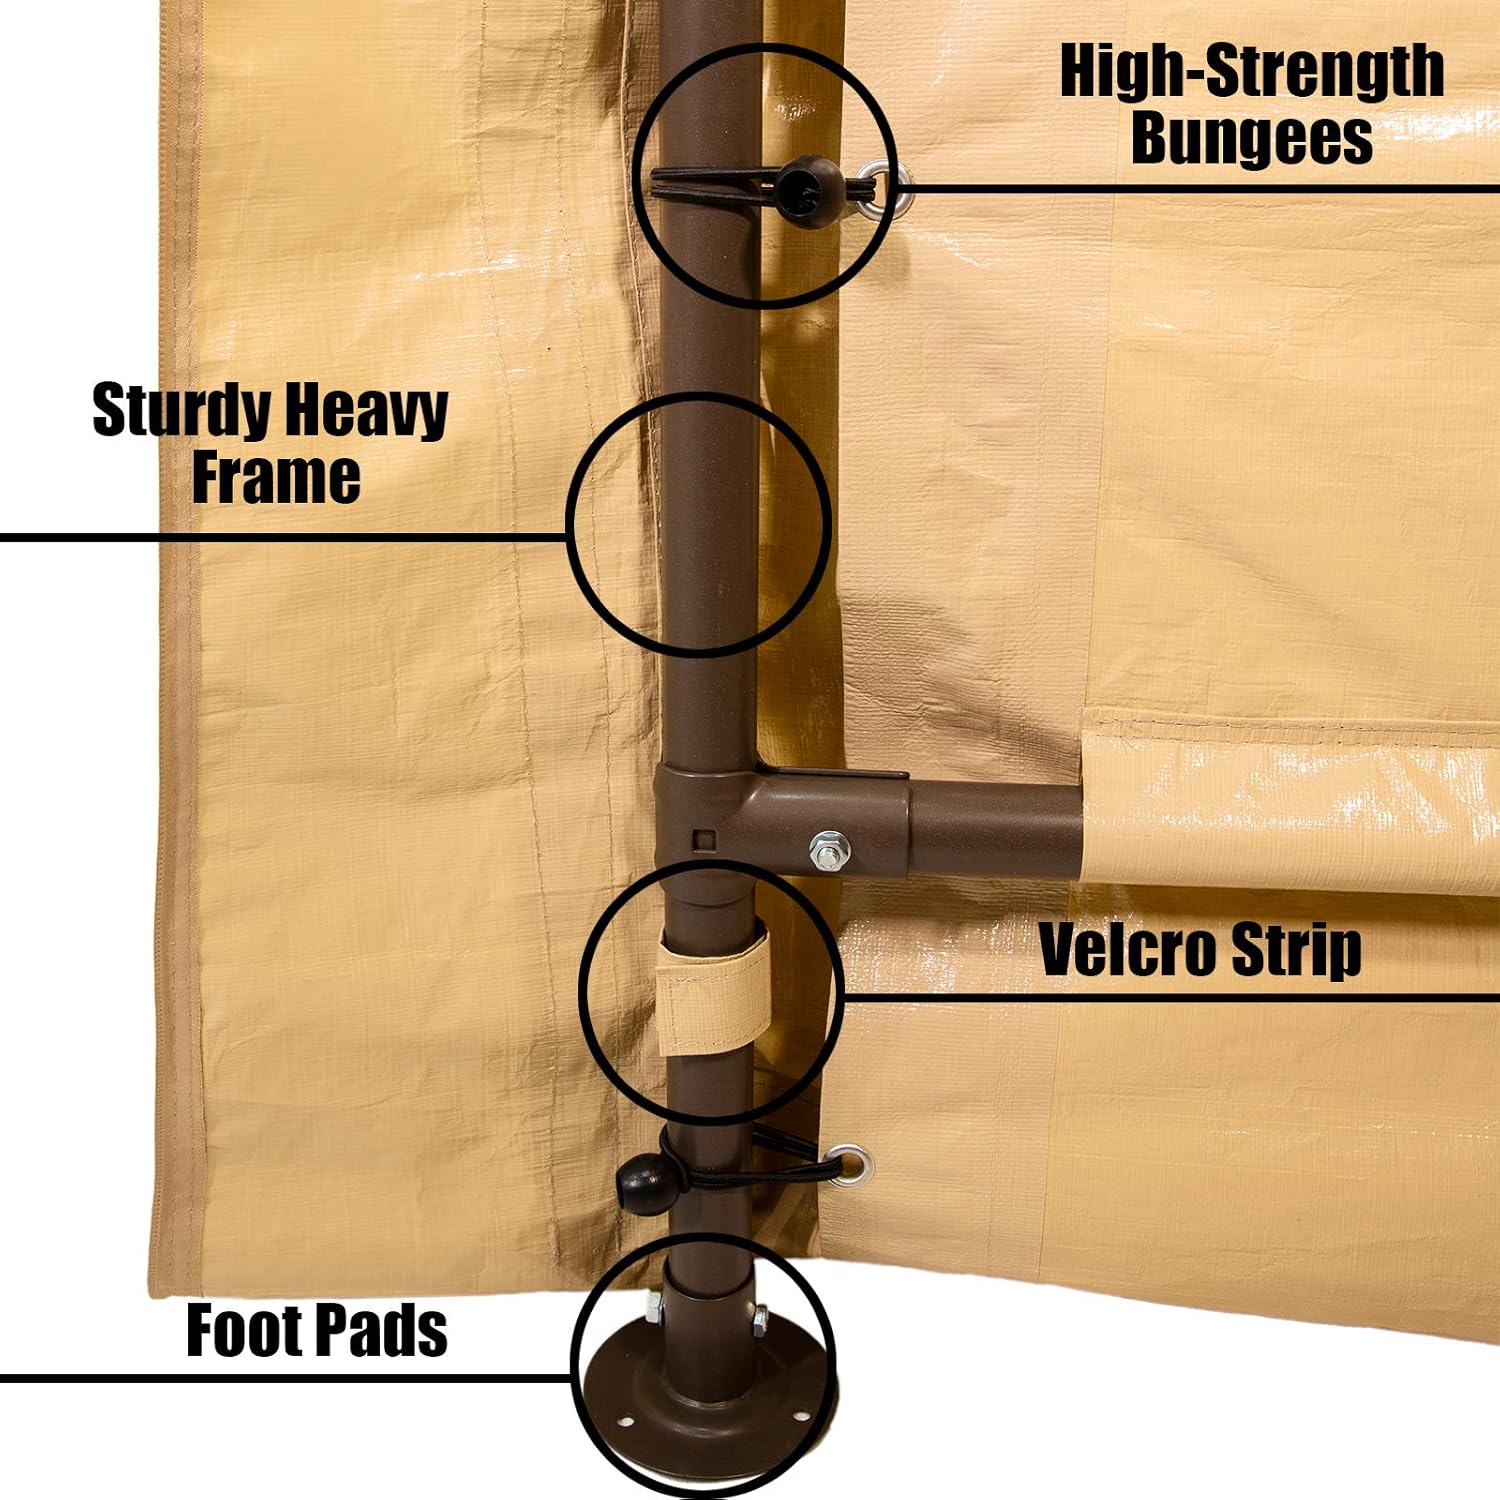
Image: Detail of the sturdy frame, foot pads, and bungee cord attachment points.
- Step 4: Drape the Tarp Cover. Carefully spread the PE fabric cover over the assembled frame. Ensure it is centered and evenly distributed.
- Step 5: Install Internal Structure. Guide the remaining frame poles through the designated sleeves or pockets within the tarp cover. Connect these poles to the main frame using the appropriate connectors and secure them with washers and bolts.
- Step 6: Install Bungee Cords. Use the bungee cords to tightly secure the tarp cover to the frame at all designated grommet points. This ensures the cover is taut and resistant to wind.

Image: The water-resistant PE fabric cover with water beads on its surface.
- Step 7: Install the Detachable Rolling Door. Attach the roll-up door panel to the front of the shelter. Secure it using the zippers and buckles provided. The door can be rolled up and secured for access.
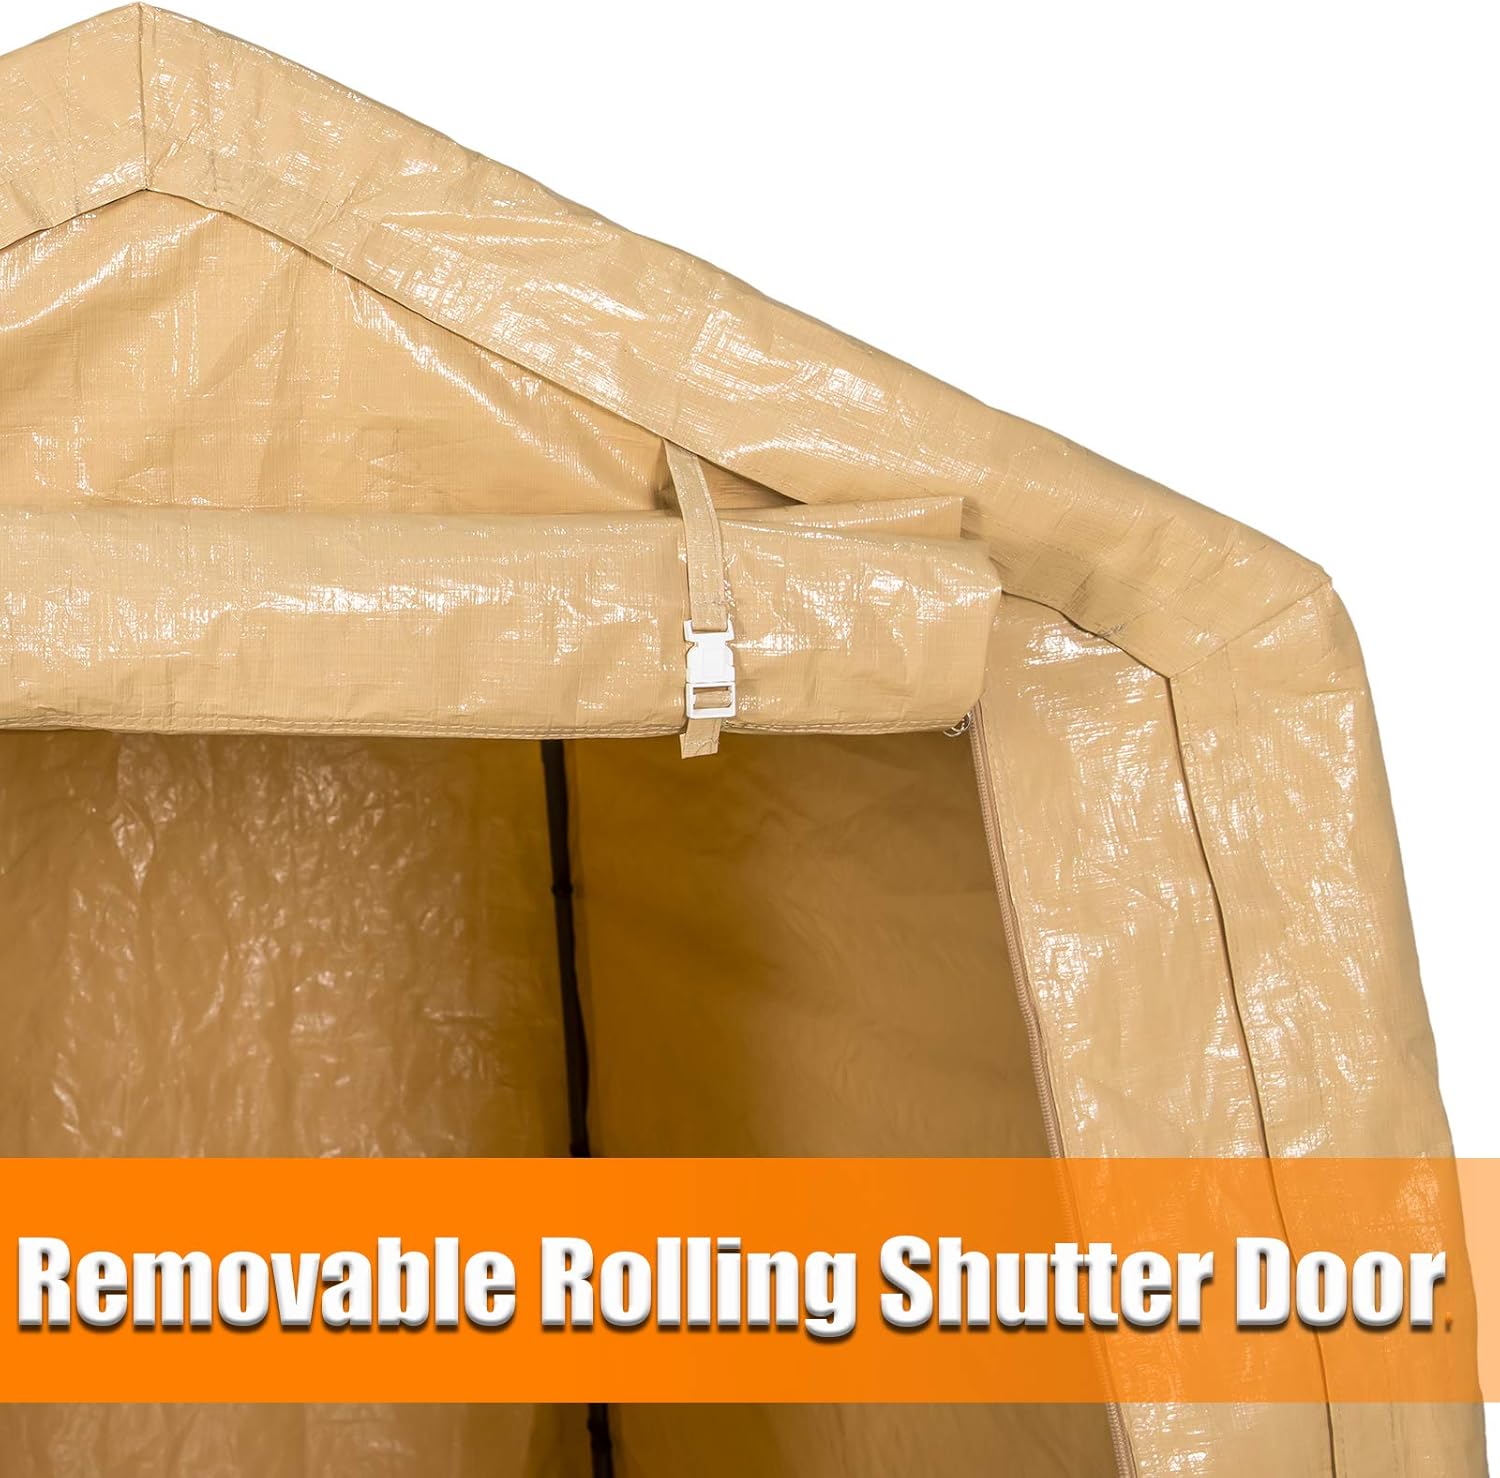
Image: The removable rolling shutter door with its securing buckle.
- Step 8: Install Velcro. Use the Velcro straps inside the shelter to further secure the cover to the frame poles, enhancing stability and preventing flapping.
- Step 9: Anchor the Shelter. Finally, insert the ground pegs/stakes through the foot pads and into the ground. Use the elastic ropes to further anchor the shelter, especially in windy conditions.
5. Operating Instructions
The Sunnyglade Storage Shelter is designed for versatile outdoor storage.
- Accessing the Shelter: Unzip the front rolling door and roll it upwards. Secure it in the open position using the attached buckles or ties.
- Securing the Shelter: When not in use, ensure the rolling door is fully zipped down and secured to protect contents from weather and debris.
- Storage Capacity: This shelter can accommodate various items such as most household vehicles, bicycles, motorcycles, garden equipment, weeding tools, toys, and general sundries.
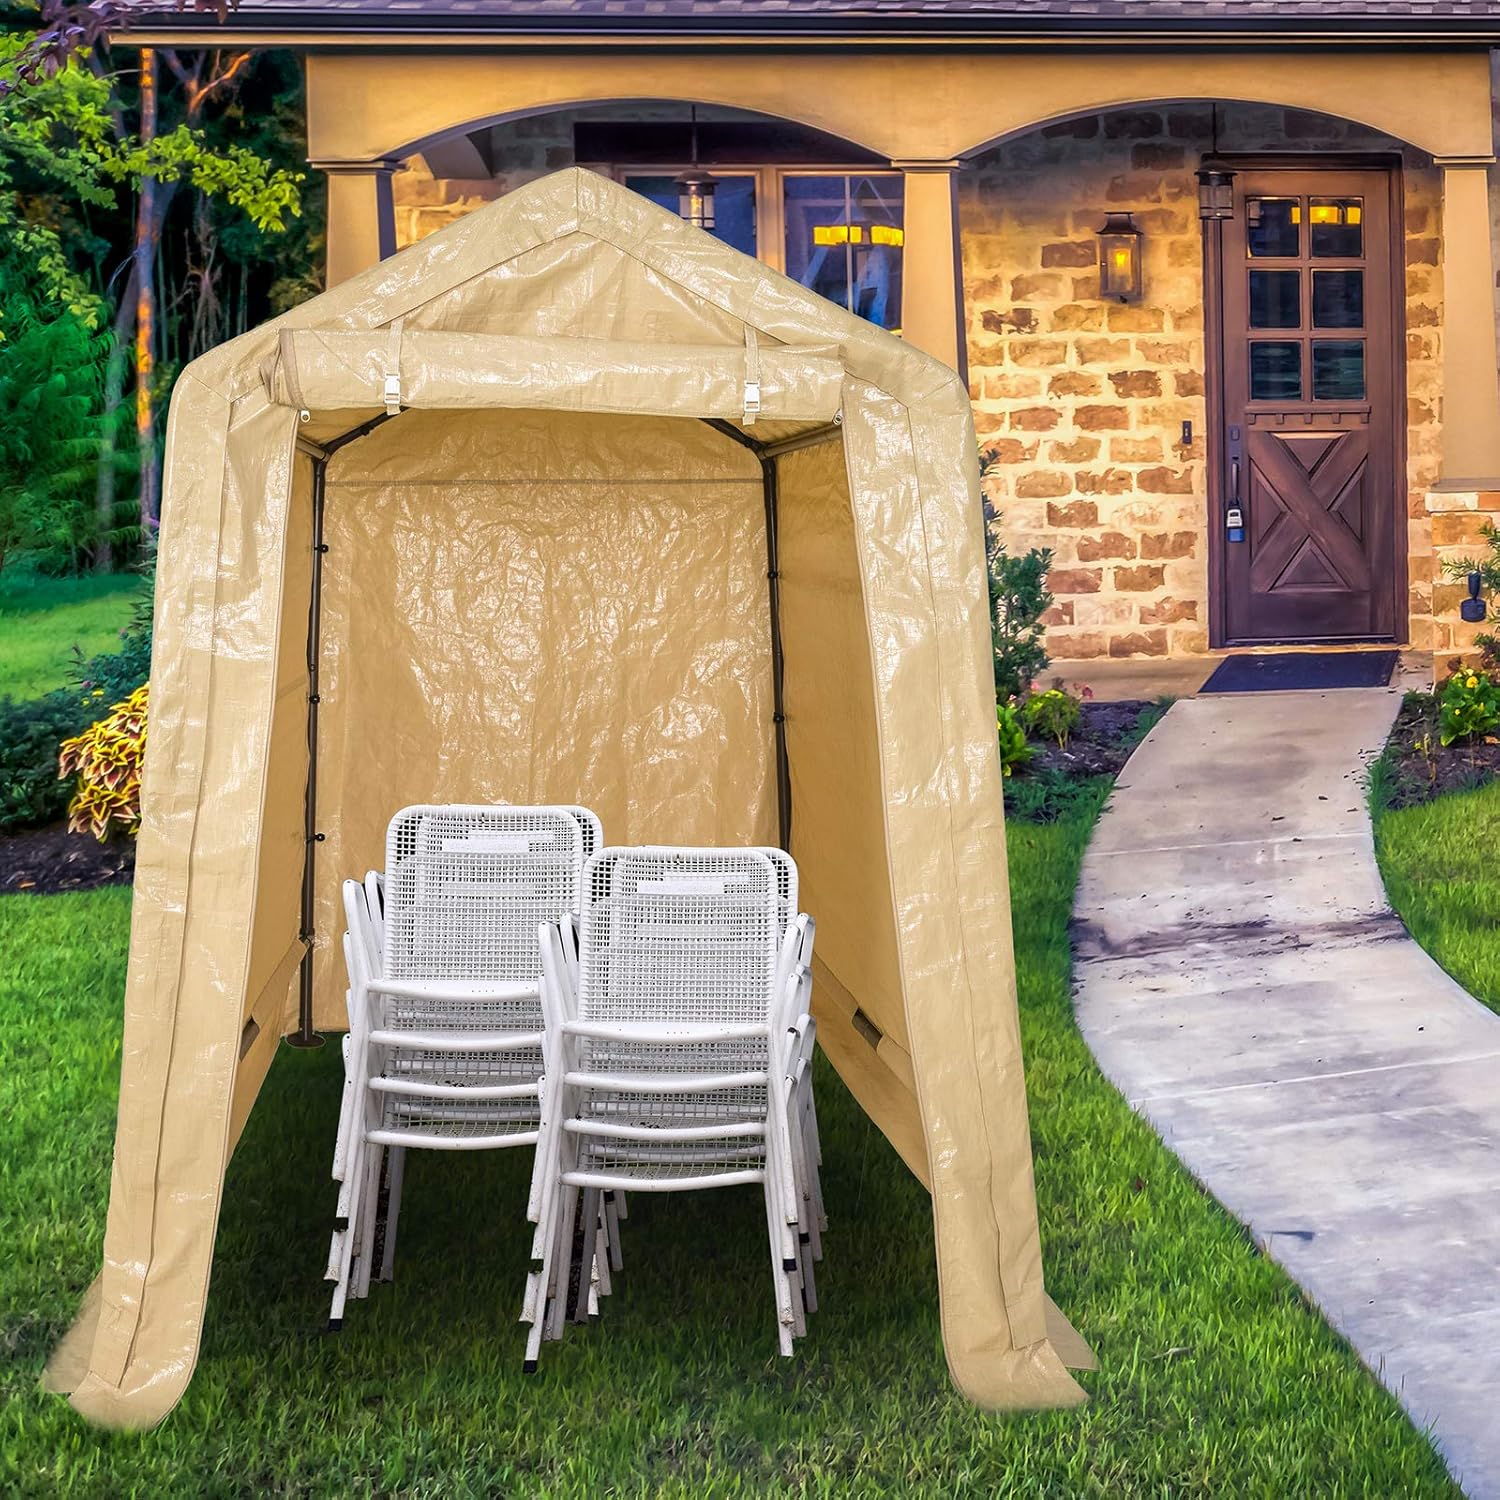
Image: Interior of the shelter demonstrating storage for multiple chairs.
6. Maintenance
Regular maintenance will extend the life of your storage shelter.
- Cleaning: Clean the PE fabric cover periodically with mild soap and water. Avoid harsh chemicals or abrasive cleaners, as these can damage the material. Rinse thoroughly and allow to air dry completely before zipping up.
- Frame Inspection: Regularly check all frame connections, bolts, and bungee cords for tightness and wear. Tighten any loose connections.
- Anchoring: Inspect ground pegs and ropes to ensure they remain securely anchored, especially after strong winds or heavy rain. Re-secure if necessary.
- Snow and Ice: Promptly remove any accumulated snow or ice from the roof to prevent structural strain and potential collapse.
7. Troubleshooting
- Shelter Instability: Ensure all frame poles are fully inserted into connectors and secured. Verify that all foot pads are bolted, and ground pegs/stakes are firmly in the ground. Check bungee cords and ropes for proper tension.
- Water Leakage: The cover is made of 180g density PE fabric with heat-sealed connections to prevent water penetration. If leakage occurs, inspect the cover for tears or punctures. Ensure the cover is taut and properly secured to allow water runoff.
- Difficulty Zipping Door: Ensure the shelter frame is square and the cover is evenly distributed, as misalignment can cause zipper strain. Lubricate the zipper with a suitable zipper lubricant if it's stiff.
8. Specifications
| Brand | Sunnyglade |
| Model | 6x8 Ft Heavy Duty Storage Shelter |
| Material | Alloy Steel, Metal, Polyethylene (PE) |
| Color | Beige |
| Item Weight (Cover) | 180 Grams (density of PE fabric) |
| Recommended Uses | Outdoor Activities, Storage for vehicles, garden equipment, etc. |
| UV Protection | True |
| Water Resistance Level | Water Resistant |
| Closure Type | Zipper |
| Assembly Required | Yes |

Image: Dimensional diagram of the storage shelter.
9. Warranty and Support
For warranty information, product support, or to order replacement parts, please contact Sunnyglade customer service directly. Refer to your purchase documentation for specific contact details or visit the official Sunnyglade website.
Please note that protection plans mentioned during purchase are separate from the manufacturer's warranty and are typically offered by third-party providers.