
1. Product Overview
The Bestier Black Modern Pendant Chandelier (Model AK-AJ-18183) is a contemporary lighting fixture designed to enhance various indoor spaces such as dining rooms, bathrooms, bedrooms, and living rooms. This chandelier features a black metal frame adorned with numerous crystal balls and diamond-shaped glass elements, creating a refined aesthetic. It requires four G9 bulbs (not included) and offers an adjustable hanging chain for customizable height.

2. Safety Information
Please read all instructions carefully before installation and use. Retain this manual for future reference.
- Electrical Safety: Always turn off the main power supply at the circuit breaker before beginning any electrical installation or maintenance. Failure to do so may result in electric shock or serious injury.
- Professional Installation: Due to the electrical nature and assembly requirements, professional installation by a qualified electrician is recommended.
- Bulb Requirements: This fixture requires 4 G9 bulbs (not included). Ensure bulbs are compatible with the fixture's specifications and local electrical codes. Do not exceed the maximum wattage specified for G9 bulbs.
- Indoor Use Only: This product is designed for indoor use in dry locations only. Do not expose to moisture or outdoor elements.
- Weight: The chandelier has a significant weight (approximately 5.52 kg). Ensure the ceiling mounting structure can safely support this weight.
- Handling Crystals: Handle crystal components with care to avoid breakage or injury.
3. Package Contents
Verify that all components are present and undamaged before proceeding with installation. If any parts are missing or damaged, contact customer support.
- Chandelier Frame (Black Metal Body)
- Crystal Balls and Diamond-shaped Glass Elements
- Adjustable Hanging Chain
- Ceiling Canopy and Mounting Hardware
- Instruction Manual
Note: G9 bulbs are NOT included and must be purchased separately.
4. Specifications
| Feature | Specification |
|---|---|
| Brand | Bestier |
| Model Number | AK-AJ-18183 |
| Fixture Dimensions | Diameter 11 in (28 cm) x Height 12 in (30 cm) |
| Ceiling Plate Dimensions | Diameter 5 in (12.7 cm) x Height 2 in (5 cm) |
| Max. Hanging Chain Length | 40 in (100 cm) |
| Material | Crystal, Metal |
| Finish Color | Black |
| Shade Color | Clear / Transparent |
| Bulb Base | G9 (4 bulbs required, not included) |
| Compatible Bulb Types | Dimmable, Energy-saving, LED, Halogen |
| Power Source | Corded Electric |
| Control Method | Wall Switch (Touch/Push Button) |
| Special Features | Dimmable (with compatible bulbs and dimmer switch), Adjustable Height |
| Item Weight | 5.52 Kilograms |
| Required Assembly | Yes |
| Indoor/Outdoor Usage | Indoor |

5. Setup and Installation
Full assembly is required for this chandelier. Please follow these steps carefully.
5.1 Pre-Installation
- Turn off Power: Before starting, ensure the power to the installation area is completely turned off at the circuit breaker.
- Tools Required: Gather necessary tools such as a screwdriver, wire strippers, electrical tape, and possibly a ladder.
- Unpack: Carefully unpack all components and place them on a clean, soft surface to prevent scratches.
5.2 Assembling the Chandelier Frame
- Assemble the metal frame components according to the included diagrams. Ensure all parts are securely fastened.
- Attach the G9 bulb sockets to the frame.

5.3 Wiring and Mounting
- Secure the ceiling canopy to the junction box in your ceiling using the provided mounting hardware. Ensure the mounting is robust enough to support the chandelier's weight.
- Connect the chandelier's electrical wires to your household wiring (typically black to black, white to white, and ground to ground). Use wire nuts to secure connections and electrical tape for added insulation.
- Attach the chandelier frame to the ceiling canopy.
5.4 Attaching Crystals
This step requires patience. Each crystal element needs to be individually attached to the chandelier frame using the small metal rings or hooks provided. It is often easier to attach the crystals after the main frame is mounted to the ceiling but before the bulbs are installed.
5.5 Adjusting Height and Ceiling Compatibility
The chandelier features an adjustable hanging chain, allowing you to customize the fixture's height to suit your space. The canopy is designed to be compatible with various ceiling types, including flat, sloped, and vaulted ceilings.
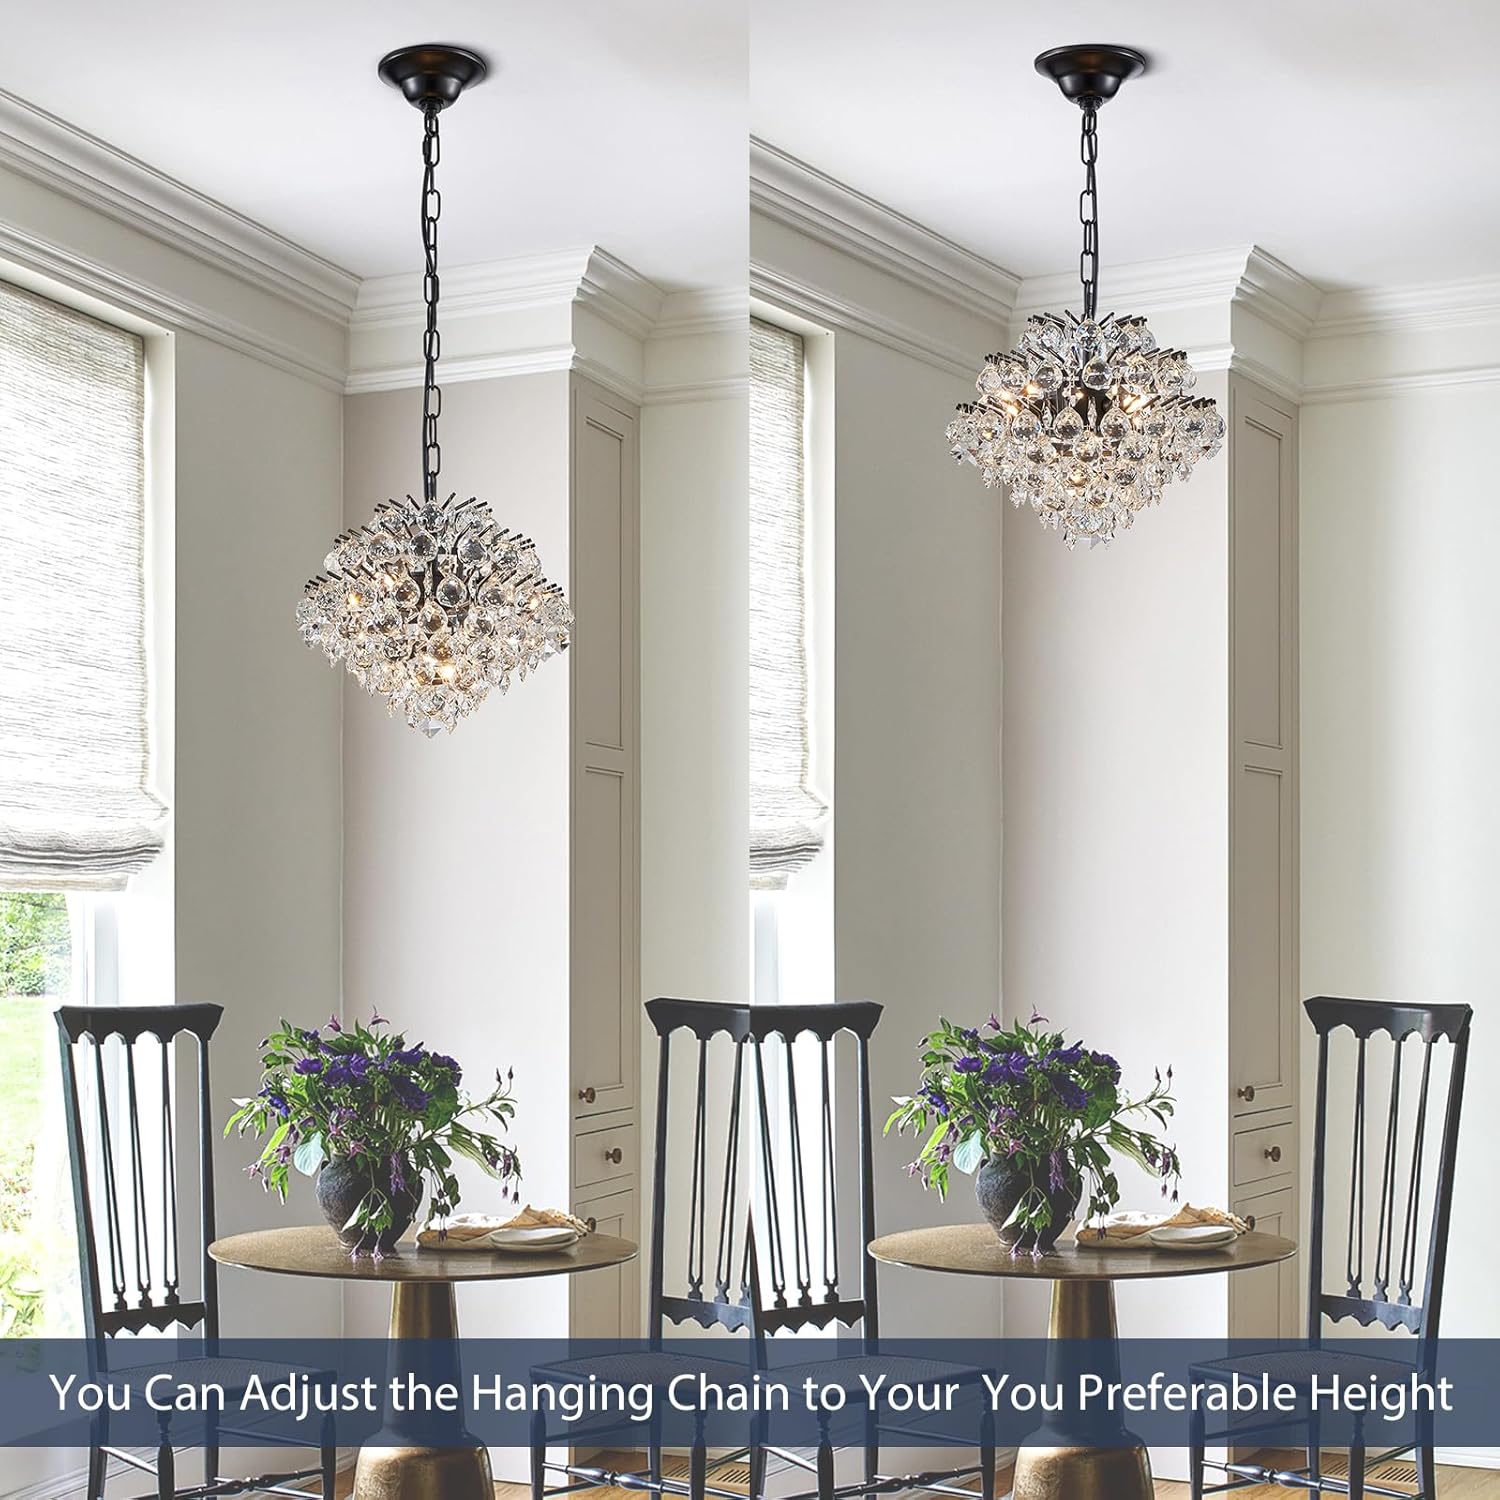

5.6 Installing Bulbs
Once the chandelier is fully assembled and mounted, carefully screw in four G9 bulbs into their respective sockets. Ensure bulbs are securely seated but do not overtighten.
6. Operating Instructions
After successful installation, restore power at the circuit breaker.
- Turning On/Off: Operate the chandelier using your standard wall switch.
- Dimming Function: If you have installed dimmable G9 bulbs and connected the fixture to a compatible dimmer switch, you can adjust the light intensity.

7. Maintenance
Regular maintenance will help preserve the appearance and functionality of your chandelier.
- Cleaning: Turn off power before cleaning. Use a soft, dry, or slightly damp cloth to wipe the metal frame. For crystals, use a soft, lint-free cloth, possibly dampened with a mild glass cleaner, then dry immediately. Avoid abrasive cleaners or harsh chemicals.
- Bulb Replacement: Ensure power is off. Allow bulbs to cool completely before attempting to replace them. Carefully remove the old G9 bulb and insert a new one, ensuring it is securely seated.
- Inspection: Periodically check all connections and crystal attachments to ensure they remain secure.
8. Troubleshooting
If you encounter issues with your chandelier, refer to the following common problems and solutions:
- Light Does Not Turn On:
- Check if the power supply at the circuit breaker is on.
- Ensure bulbs are correctly installed and not faulty. Replace if necessary.
- Verify all electrical connections are secure. If unsure, consult a qualified electrician.
- Flickering Lights:
- Ensure bulbs are fully screwed in.
- If using a dimmer, ensure it is compatible with your G9 bulbs.
- Check for loose wiring connections.
- Missing or Damaged Parts: If you find any parts missing or damaged upon unpacking, please contact the seller or manufacturer's customer support immediately for assistance.
9. Warranty Information
This Bestier chandelier comes with a Limited Warranty. For specific details regarding the warranty period, coverage, and terms, please refer to the warranty card included with your purchase or contact Bestier customer support directly.
10. Customer Support
For any questions, technical assistance, or to report missing/damaged parts, please contact the seller through your purchase platform or reach out to Bestier customer service. Please have your model number (AK-AJ-18183) and purchase information ready when contacting support.