
ALUKE A68W
ALUKE Automatic Pet Feeder (Model A68W) Instruction Manual
Model: A68W
Introduction
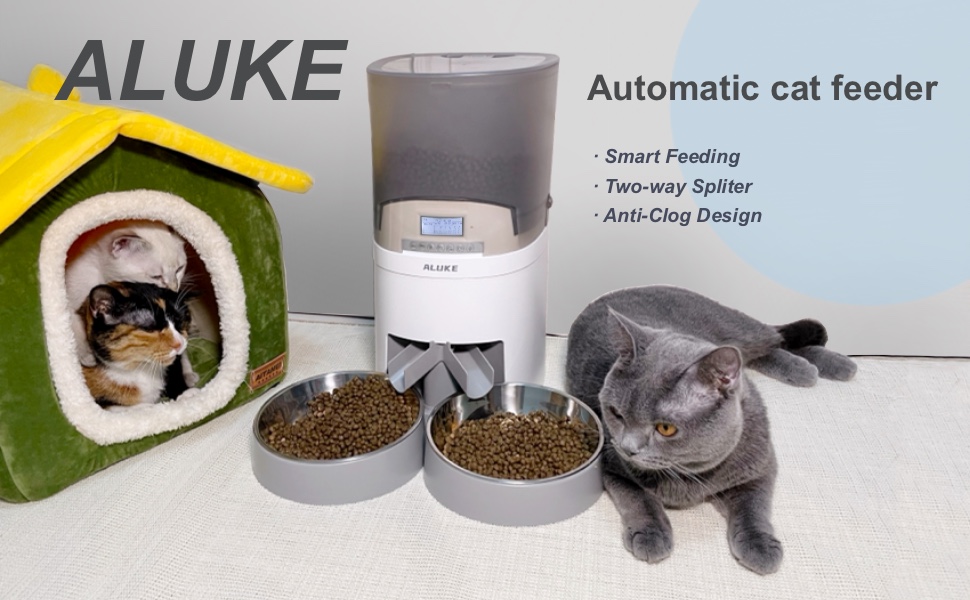
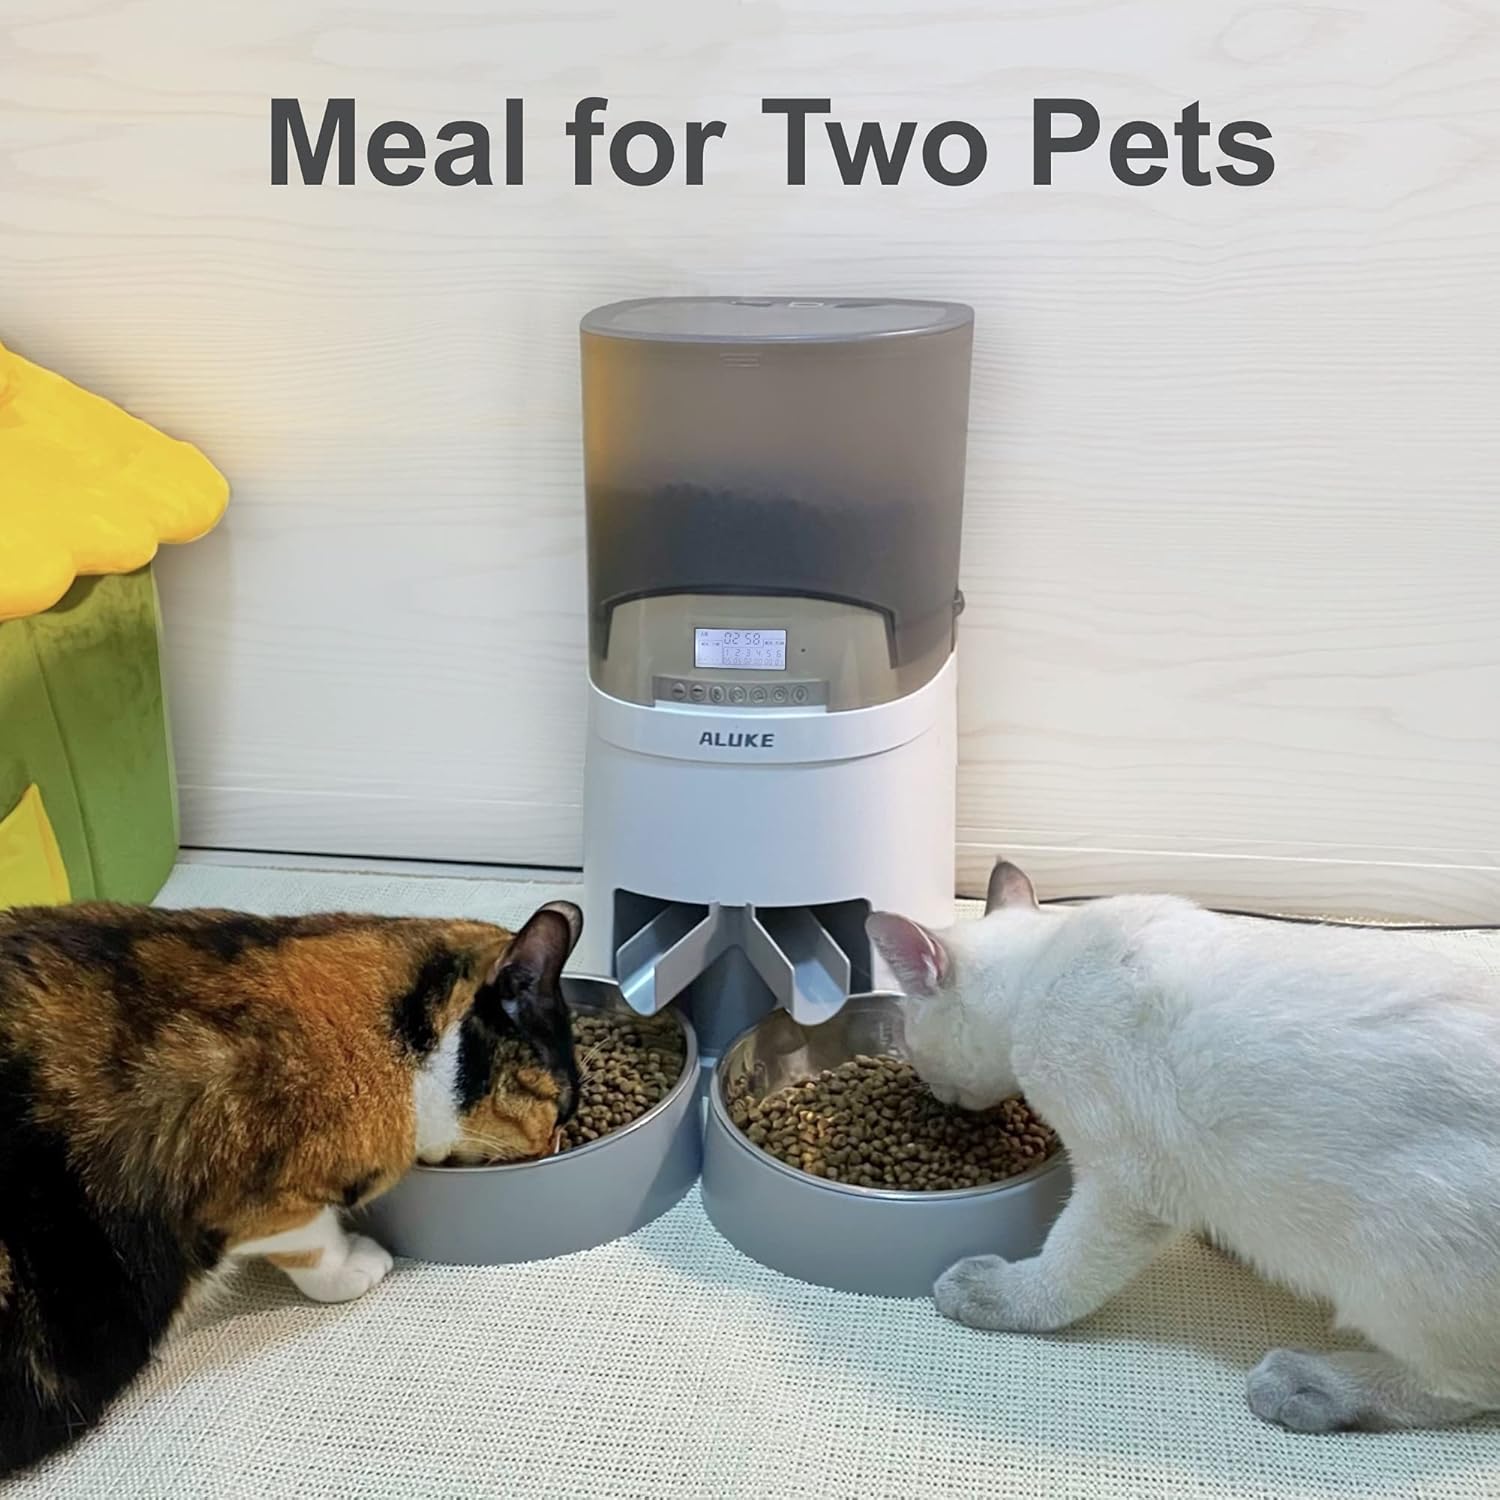
Thank you for choosing the ALUKE Automatic Pet Feeder. This device is designed to provide scheduled meals for your cats or dogs, ensuring they are fed consistently even when you are away. It features a 6.5L capacity, dual power supply options, a voice recording function, and a two-way food splitter for multiple pets. Please read this manual thoroughly before operation to ensure proper use and maintenance.
Safety Information
- Use only dry pet food with this feeder. Do not use wet food, canned food, or treats.
- Keep the feeder away from direct sunlight and high temperatures.
- Ensure the power adapter cable is not chewed by pets.
- Do not immerse the main unit in water. Only detachable parts are washable.
- Keep out of reach of children.
- If using battery power, ensure batteries are inserted correctly and replace them regularly.
Package Contents
Verify that all items are present in the package:
- ALUKE Automatic Pet Feeder Main Unit
- Food Storage Container (6.5L)
- Lid with Desiccant Bag Compartment
- Stainless Steel Bowls (x2)
- Bowl Holders (x2)
- Power Adapter
- Instruction Manual
Product Overview
Familiarize yourself with the components of your ALUKE Automatic Pet Feeder.
- Food Container: Transparent container for dry food storage.
- Control Panel: LCD display and buttons for programming.
- Food Outlet: Dispenses food into the bowls.
- Dual Bowls: Stainless steel bowls for two pets.
- Desiccant Bag Compartment: Located in the lid to keep food fresh.
- Power Port: For connecting the power adapter.
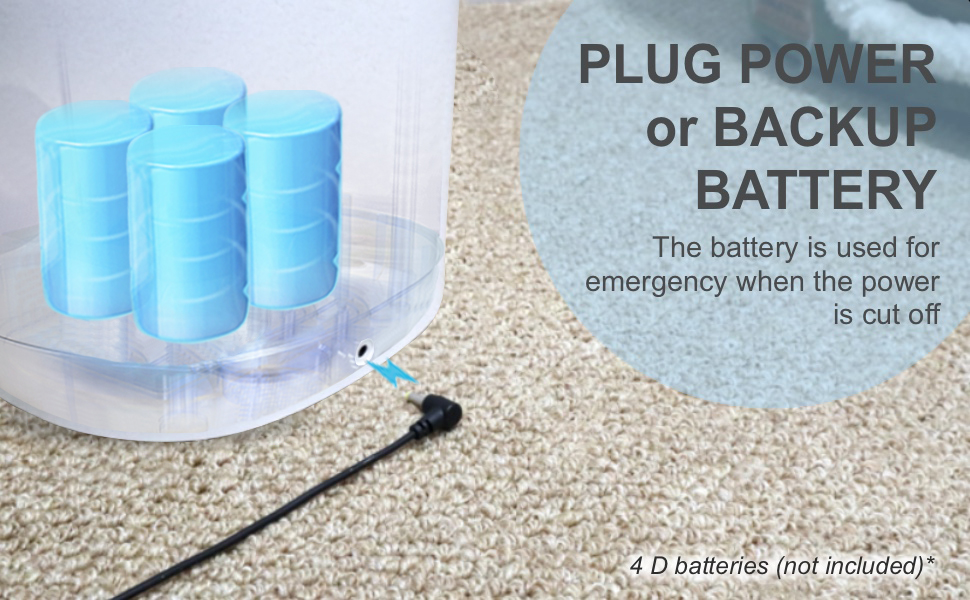
- Battery Compartment: For D-size backup batteries (not included).
Setup
1. Assembly
- Place the main feeder unit on a flat, stable surface.
- Attach the two bowl holders to the base of the feeder.
- Insert the stainless steel bowls into the bowl holders.
- Open the lid of the food container.
- Insert a desiccant bag into the designated compartment in the lid to maintain food freshness.
- Fill the food container with dry pet food. Ensure the food size is appropriate for the feeder mechanism to prevent clogging.
- Securely close the lid by twisting it to lock.

2. Power Supply
The feeder can be powered by the included power adapter or by D-size batteries for backup.
- Primary Power: Connect the power adapter to the feeder's power port and plug it into a wall outlet.
- Backup Power: For uninterrupted feeding during power outages, install 4 D-size batteries (not included) into the battery compartment at the bottom of the feeder.
Operating Instructions
1. Control Panel Overview
- MEAL Button: Cycles through meal settings (1-6).
- PORTION Button: Adjusts portion size (1-49 units).
- CLOCK Button: Sets the current time.
- RECORD Button: Records a 10-second voice message.
- PLAY Button: Plays the recorded voice message.
- MANUAL FEED Button: Dispenses one portion immediately.
2. Setting the Clock
- Press and hold the CLOCK button until the hour display flashes.
- Use the MEAL and PORTION buttons to adjust the hour.
- Press the CLOCK button again to set minutes, then adjust with MEAL and PORTION buttons.
- Press CLOCK to confirm.
3. Programming Meal Times and Portions
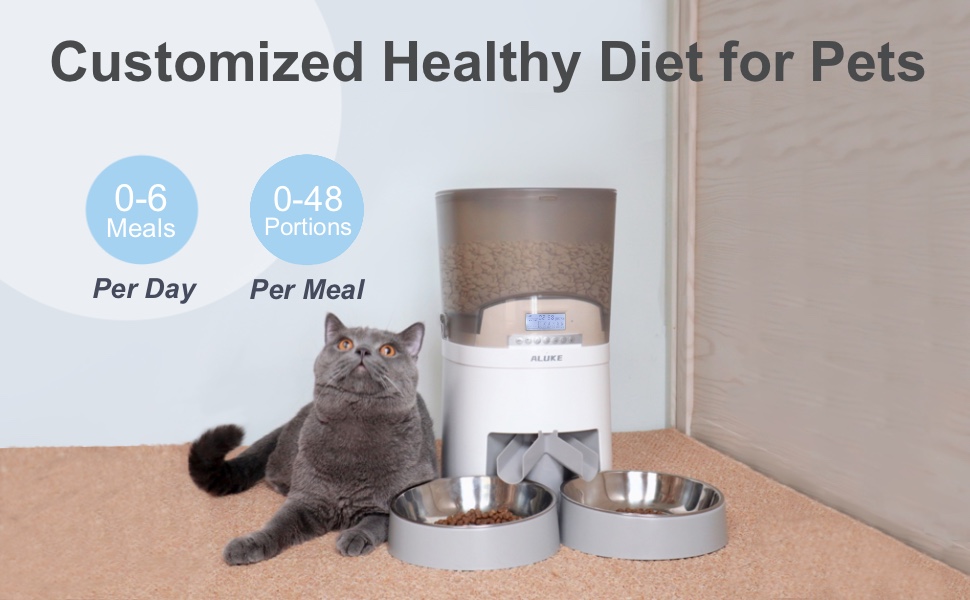
The feeder supports up to 6 meals per day, with 1 to 49 portions per meal (1 portion ≈ 6g / 0.3 oz).
- Press the MEAL button to select the meal number (1-6). The meal number will flash.
- Press the CLOCK button to set the meal time. Adjust hours and minutes using the MEAL and PORTION buttons. Press CLOCK to confirm the time.
- Press the PORTION button to set the portion size for the selected meal. Adjust the number of portions (1-49) using the MEAL and PORTION buttons. Press PORTION to confirm.
- Repeat for additional meals (up to 6).
- To disable a meal, set its portion size to 0.
4. Recording a Voice Message
You can record a 10-second voice message to call your pets at meal times.
- Press and hold the RECORD button. The microphone icon will appear on the LCD.
- Speak clearly into the microphone for up to 10 seconds.
- Release the RECORD button to save the message.
- Press the PLAY button to listen to your recorded message.
- To disable the voice message, record a silent 10-second message.
5. Manual Feeding
To dispense food immediately outside of scheduled meal times:
- Press the MANUAL FEED button once to dispense one portion.
- Press multiple times for additional portions.
Maintenance
1. Cleaning the Feeder
Regular cleaning ensures hygiene and proper functioning of the feeder.
- Unplug the feeder and remove any backup batteries.
- Empty any remaining food from the container.
- Remove the food container, lid, and stainless steel bowls. These parts are detachable and dishwasher safe.
- Wash the detachable parts with soap and water, or place them in the dishwasher.
- Wipe the main unit with a damp cloth. Do not immerse the main unit in water.
- Ensure all parts are completely dry before reassembling and refilling with food.

2. Desiccant Bag Replacement
Replace the desiccant bag every 1-2 months to maintain food freshness.

Troubleshooting
| Problem | Possible Cause | Solution |
|---|---|---|
| Feeder not dispensing food. | Food container empty; food clogged; power issue; incorrect settings. | Refill food container. Check for food blockage and clear it. Ensure power adapter is connected or batteries are installed. Verify meal settings. |
| Food dispensing unevenly. | Food type or size unsuitable; feeder not level. | Use dry food within recommended size. Ensure feeder is on a flat, level surface. |
| Voice recording not playing. | No message recorded; volume too low. | Record a new message. Ensure volume is set appropriately (if applicable, though not explicitly mentioned in features, it's a common feeder feature). |
| Display not working. | No power. | Check power adapter connection. Replace D-size batteries if using backup power. |
Specifications
- Model Number: A68W
- Capacity: 6.5 Liters / 29 Cups
- Material: Stainless Steel (bowls), Plastic (feeder body)
- Dimensions (L x W x H): 15 x 7.6 x 9.7 inches
- Weight: 0.21 ounces / 5.99 g
- Power Supply: DC 5V/1A Power Adapter, 4 x D-size Batteries (not included)
- Meals Per Day: Up to 6
- Portions Per Meal: 1-49 (approx. 6g / 0.3 oz per portion)
- Voice Recording: 10 seconds
- Target Species: Cat, Dog
- Product Care: Detachable parts are dishwasher safe.
Warranty and Support
For warranty information or technical support, please refer to the contact details provided on the product packaging or the official ALUKE website. Keep your purchase receipt for warranty claims.
Ask a question about this manual
Ask about setup, troubleshooting, compatibility, parts, safety, or missing instructions. Manuals+ will review the question and use this page’s manual context to help answer it.