
Introduction
Thank you for purchasing the Hunter 52 inch Indoor Traditional New Bronze Ceiling Fan with Light Kit. This manual provides detailed instructions for the safe installation, operation, and maintenance of your new ceiling fan. Please read this manual thoroughly before beginning installation and keep it for future reference.

Image: Full view of the Hunter 52 inch Indoor Traditional New Bronze Ceiling Fan with Light Kit, showcasing its five engineered wood blades and three frosted glass light shades.
Safety Information
WARNING: To reduce the risk of fire, electric shock, or personal injury, always follow these instructions:
- Read all instructions and safety information before installing your new fan.
- Ensure the installation site is suitable for a ceiling fan. The support structure must be capable of supporting the fan's weight (approximately 19.4 pounds).
- All wiring must be in accordance with national and local electrical codes. If you are unfamiliar with wiring, consult a qualified electrician.
- Before installation or servicing, disconnect power by turning off the circuit breakers to the fan and light switch.
- Do not operate the fan with damaged parts. Inspect the fan for any damage before installation.
- Do not insert objects into the path of the fan blades while the fan is operating.
- Ensure the fan blades are installed at least 7 feet (2.1 meters) from the floor.
Package Contents
Carefully unpack your fan and check to ensure all contents are present. Refer to the list below:
- Fan Motor Assembly
- Five (5) Fan Blades (Engineered Wood)
- Light Kit Assembly
- Three (3) Light Bulbs
- Pull Chains (for fan speed and light control)
- Mounting Bracket and Hardware
- Downrod
- Instruction Manual

Image: Close-up view of the fan's motor housing in New Bronze finish, showing the attachment points for the engineered wood blades.
Setup and Installation
This section outlines the steps for installing your ceiling fan. It is recommended to have two people for installation.
1. Prepare for Installation
- Turn off power: Ensure power is disconnected at the circuit breaker before starting.
- Mounting location: Select a location where the fan blades will be at least 7 feet from the floor and have at least 30 inches of clearance from walls or other obstructions.
- Support structure: The outlet box and support structure must be securely mounted and capable of supporting the fan's weight.
2. Install the Mounting Bracket
- Attach the mounting bracket to the ceiling outlet box using the screws provided. Ensure it is firmly secured.
3. Assemble the Fan Motor and Downrod
- Feed the electrical wires from the fan motor through the downrod.
- Secure the downrod to the fan motor assembly.
- Carefully lift the fan assembly and hang it from the mounting bracket using the ball joint.
4. Electrical Wiring
- Connect the fan's electrical wires to the household wiring according to the wiring diagram in your separate wiring guide (if provided) or standard electrical practices (e.g., black to black, white to white, green/bare to ground).
- Ensure all connections are secure and properly insulated.
5. Install Fan Blades
- Attach each fan blade to the blade arms using the provided screws.
- Secure the blade arms to the fan motor housing.

Image: Detailed view of an engineered wood fan blade attached to its arm, ready for installation onto the motor housing.
6. Install Light Kit
- Connect the light kit wires to the corresponding wires from the fan motor.
- Secure the light kit assembly to the bottom of the fan motor.
- Install the light bulbs and attach the glass shades.
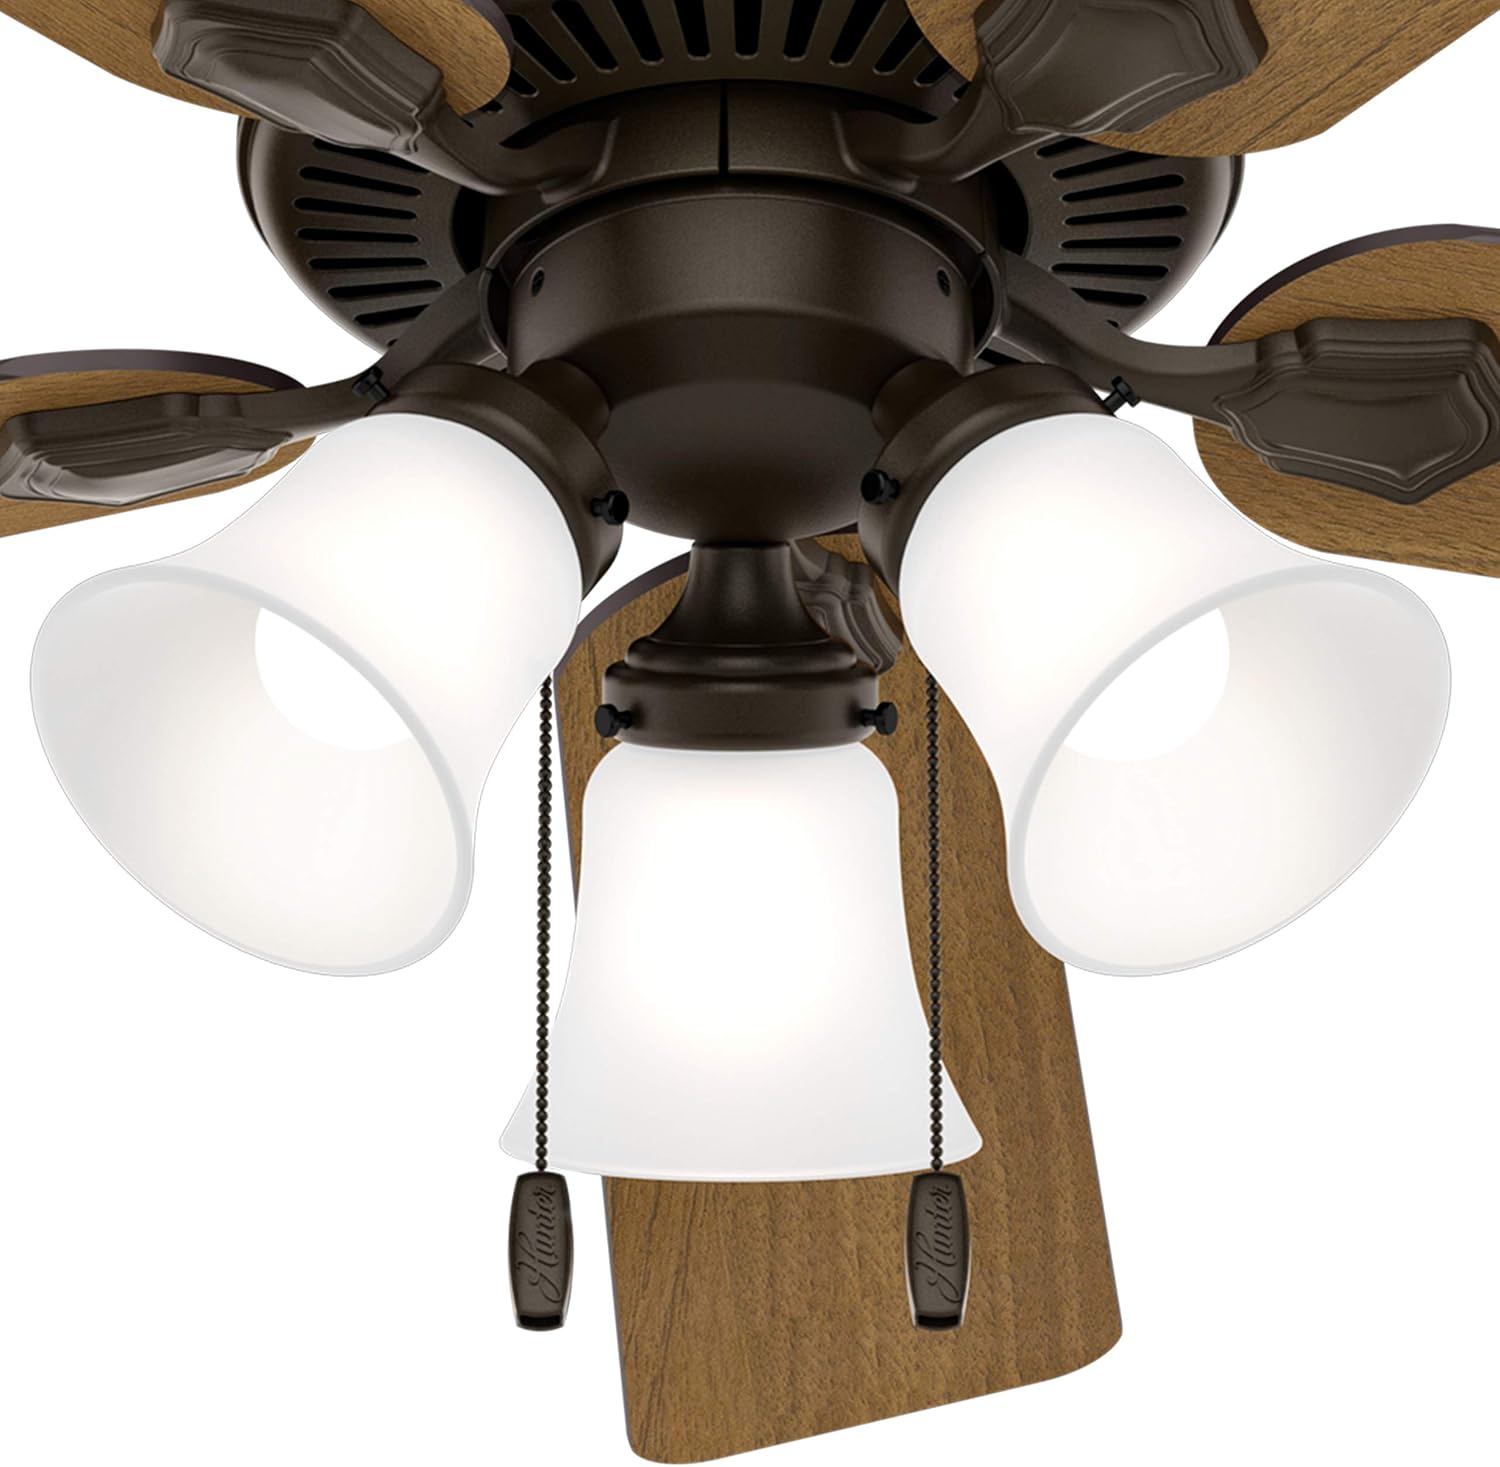
Image: Close-up of the fan's light kit, showing three frosted glass shades and the two pull chains for fan speed and light control.
7. Final Assembly
- Attach the canopy to the mounting bracket, covering the wiring connections.
- Restore power at the circuit breaker.
Operating Instructions
Your Hunter ceiling fan is controlled by pull chains.
Fan Speed Control
- Locate the pull chain for fan speed (typically marked or shorter).
- Pull the chain once for High speed.
- Pull the chain a second time for Medium speed.
- Pull the chain a third time for Low speed.
- Pull the chain a fourth time to turn the fan off.
Light Control
- Locate the pull chain for the light kit (typically longer or with a light icon).
- Pull the chain once to turn the light on.
- Pull the chain again to turn the light off.
Reversible Motor Function
Your fan features a reversible motor for year-round comfort. A switch on the fan motor housing controls the direction of blade rotation.
- Summer Mode (Counter-clockwise): Push the switch to the "down" position. This creates a downward airflow, producing a cooling effect.
- Winter Mode (Clockwise): Push the switch to the "up" position. This creates an upward airflow, circulating warm air trapped near the ceiling.
- Note: Always turn off the fan and wait for the blades to stop completely before changing the direction of rotation.
Maintenance
Regular maintenance ensures optimal performance and extends the life of your fan.
- Cleaning: Clean the fan periodically with a soft, damp cloth. Do not use abrasive cleaners or solvents, as these may damage the finish.
- Blade Cleaning: Wipe fan blades with a soft cloth to remove dust.
- Tighten Screws: Periodically check all screws on the fan housing and blades to ensure they are tight. Loose screws can cause noise or wobble.
- Light Bulbs: Replace light bulbs as needed. Ensure the power is off before replacing bulbs.
- Note: No lubrication is required for the motor.
Troubleshooting
Before contacting support, refer to this troubleshooting guide for common issues.
| Problem | Possible Cause | Solution |
|---|---|---|
| Fan does not start |
|
|
| Fan wobbles |
|
|
| Light kit does not work |
|
|
Specifications
| Brand | Hunter |
| Model Number | CC5C08C87 |
| Dimensions (D x W x H) | 52"D x 52"W x 16.93"H |
| Weight | 19.4 pounds |
| Color | New Bronze |
| Number of Blades | 5 |
| Blade Material | Engineered Wood |
| Motor Type | AC Motor, Reversible |
| Number of Speeds | 3 (High, Medium, Low) |
| Control Method | Pull Chain Control |
| Voltage | 120 volts |
| Air Flow Capacity | 2396 cfm |
| Indoor/Outdoor Usage | Indoor |
| Included Components | Bulb Included, Fan Blade included, Light Kit, Motor, Pull Chain |
Warranty and Support
For warranty information or technical support, please refer to the documentation provided with your purchase or contact Hunter Fan Company customer service. Keep your proof of purchase for warranty claims.
Manufacturer: Hunter Fan Company


