1. Introduction
Thank you for choosing the Gravity GTV64BT Audio 35-Inch Weatherproof Sound Bar. This high-performance sound bar is designed for ATVs, UTVs, and other outdoor vehicles, providing robust audio with its integrated high-power digital amplifier. This manual provides essential information for proper installation, operation, and maintenance to ensure optimal performance and longevity of your device.

Figure 1.1: Gravity GTV64BT Sound Bar with included remote and an example UTV application.
2. Key Features
- Integrated SUPER HPD (High Power Digital) amplifier topology with 30% more SPL.
- Six high-efficiency drivers for bass and midrange.
- Two 1-inch Pure Titanium Dome Tweeters with Neodymium Magnets for high frequencies.
- Multiple audio input options: Bluetooth or 3.5mm auxiliary input.
- Secure Simple Pairing for stable Bluetooth connection.
- Convenient controls for track forward/back and volume up/down, operable with riding gloves.
- Waterproof and Dustproof with IPX68 Certification.
- Solid Extruded Aluminum Structure with Cast Aluminum End Caps.
- Heavy Impact Grill to protect speakers.
- Adjustable Track for Roll Cage Installation, ideal for SXS, ORV's, or custom Sand Cars.
3. What's in the Box
Verify that all components are present before beginning installation:
- Gravity GTV64BT Sound Bar
- Mounting kit (including adjustable track brackets)
- Power accessory extension adapter (cigarette lighter adapter)
- 3.5mm Audio line (AUX cable)
- Remote control
- User manual (this document)
- Warranty card
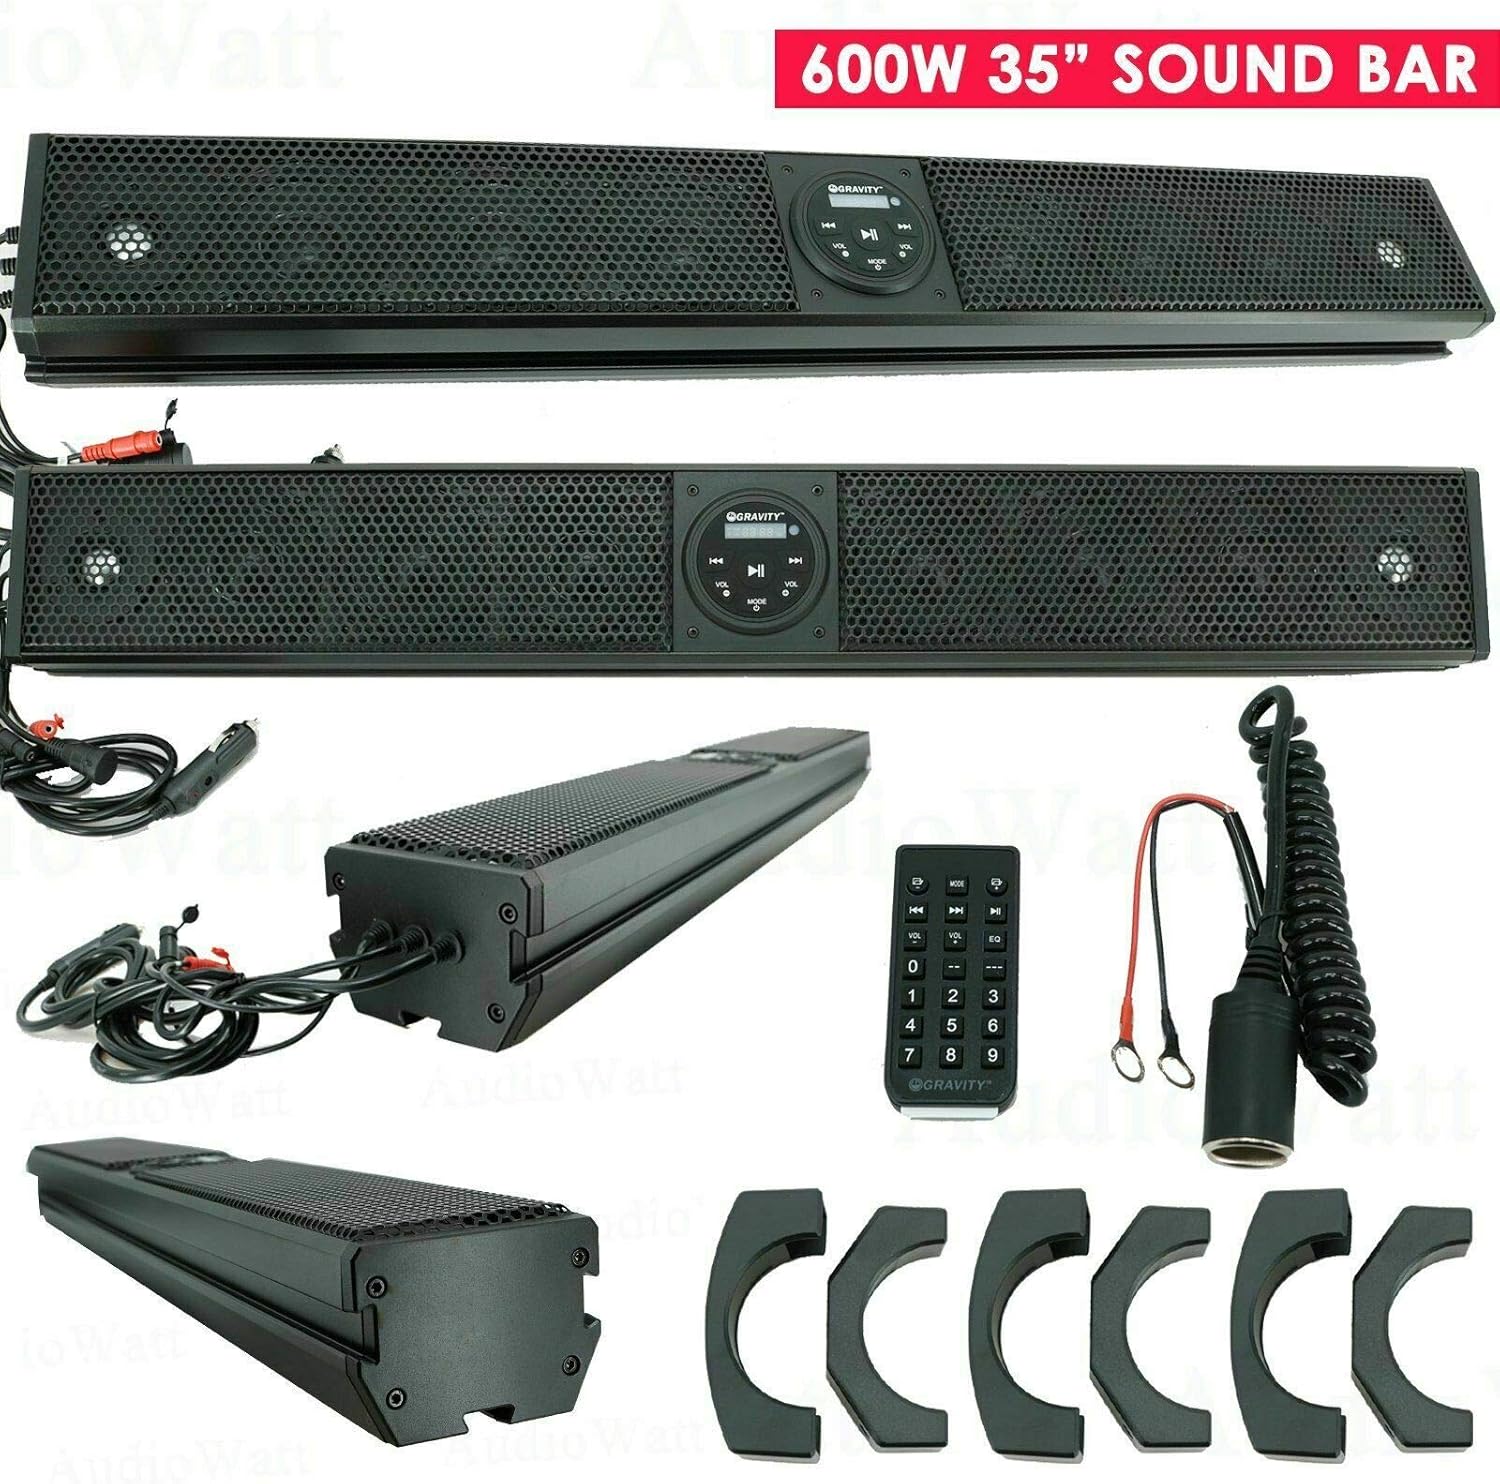
Figure 3.1: Contents of the Gravity GTV64BT package, including the sound bar, remote, power adapter, and mounting brackets.
4. Setup and Installation
4.1 Mounting the Sound Bar
The GTV64BT sound bar is designed for easy installation on roll cages or other suitable surfaces using the included adjustable mounting kit. Ensure the mounting location is secure and allows for proper cable routing.
- Identify a suitable mounting location on your ATV/UTV's roll cage or flat surface.
- Attach the mounting brackets to the sound bar using the provided hardware.
- Secure the sound bar to the chosen location using the adjustable track and appropriate fasteners. Ensure it is firmly in place to prevent movement during operation.
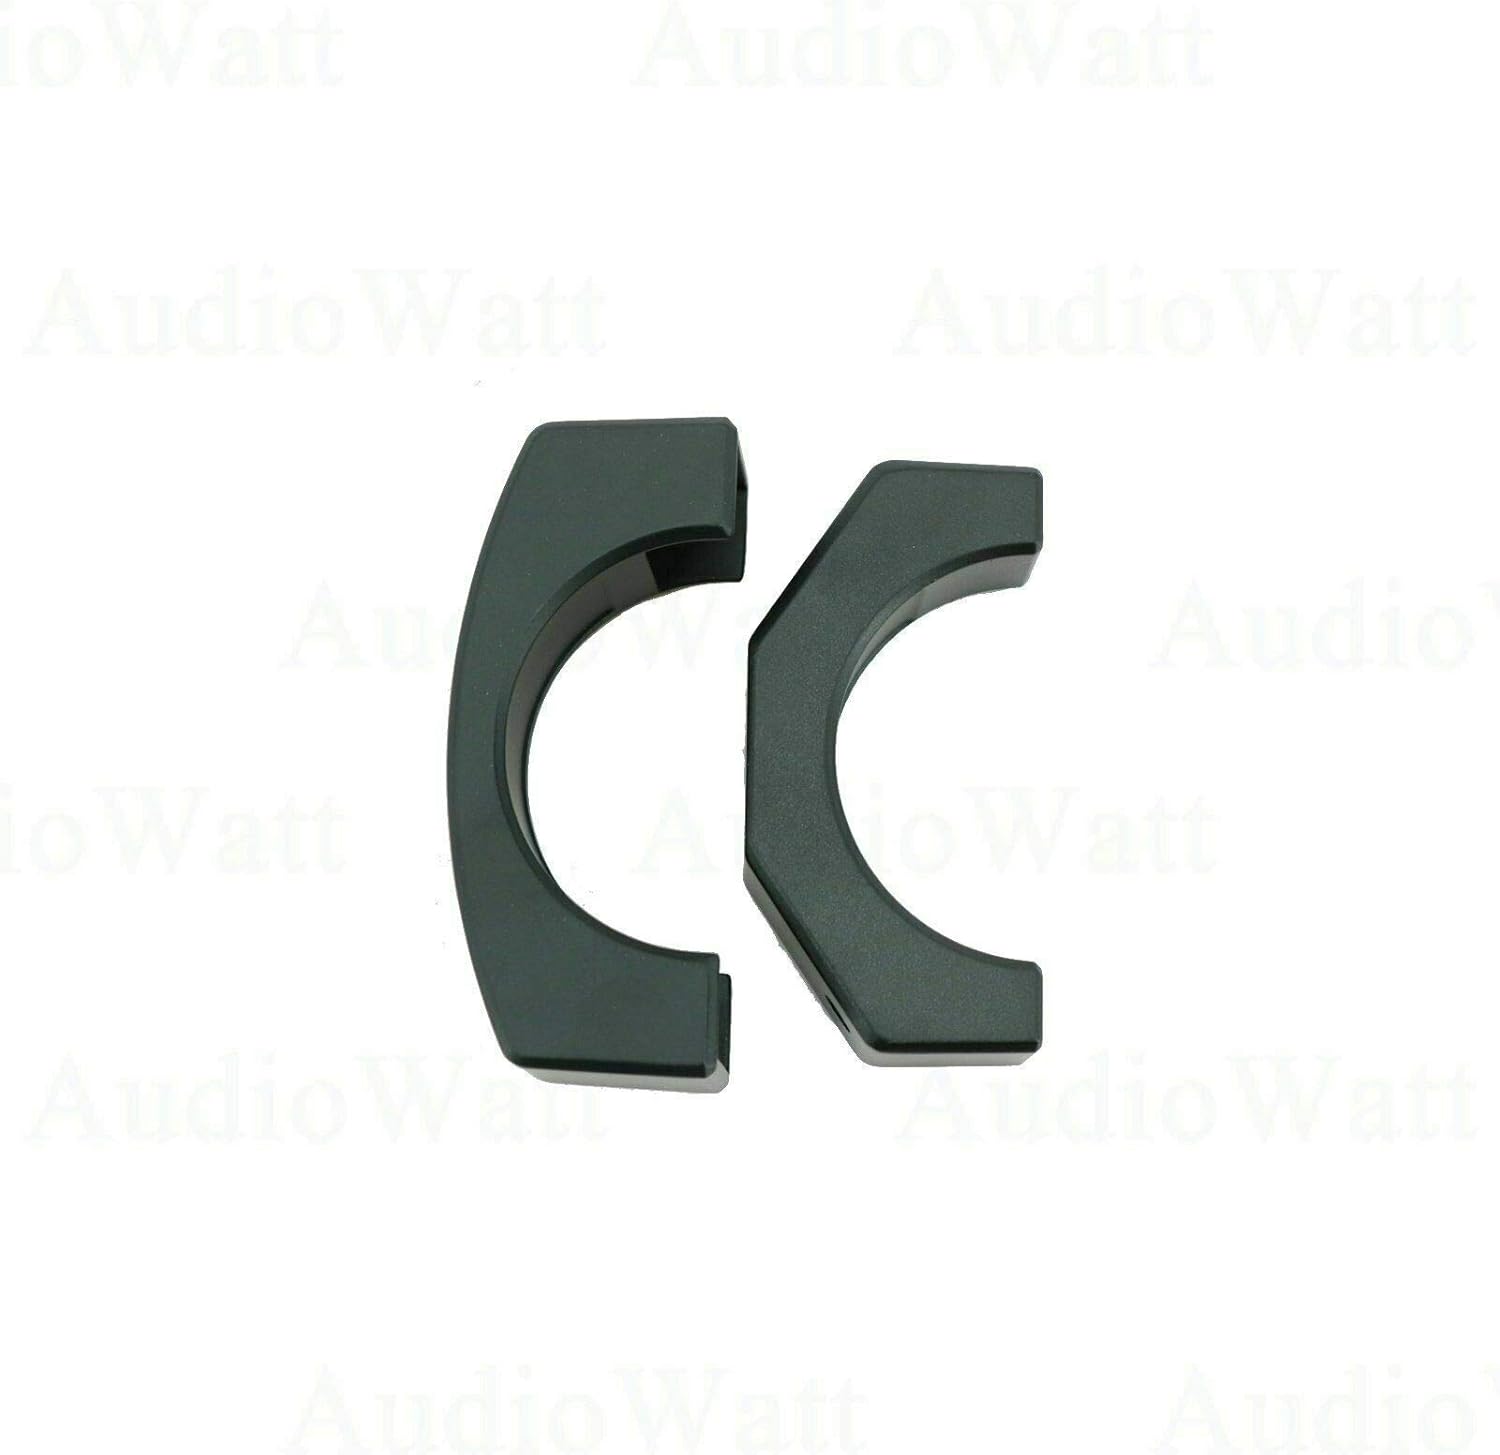
Figure 4.1: The included mounting brackets for securing the sound bar.
4.2 Power Connection
The sound bar operates on 12V DC power. Use the provided power accessory extension adapter for connection to a standard 12V cigarette lighter socket, or wire directly to a 12V power source (professional installation recommended for direct wiring).
- Connect the power cable from the sound bar to the power accessory extension adapter.
- Plug the adapter into your vehicle's 12V power outlet.
- Alternatively, for a permanent installation, connect the sound bar's power wires directly to your vehicle's 12V electrical system, ensuring proper fusing (15A AGC type fuse recommended).

Figure 4.2: The sound bar with its power cable, ready for connection.
5. Operation
5.1 Control Panel Overview
The sound bar features an intuitive control panel for easy access to functions.

Figure 5.1: Close-up of the sound bar's control panel with illuminated buttons.
- Power Button: Press to turn the unit on or off.
- AUX Button: Selects the 3.5mm auxiliary input.
- BT Button: Selects Bluetooth input and initiates pairing mode.
- USB Button: Selects USB input (if applicable).
- Volume - / + Buttons: Adjust the audio volume.
- Previous Track / Next Track Buttons: Skip to the previous or next audio track.
- Play/Pause Button: Play or pause audio playback.
5.2 Bluetooth Pairing
To connect your mobile device via Bluetooth:
- Ensure the sound bar is powered on.
- Press the BT button on the control panel or remote. The Bluetooth indicator will flash, indicating pairing mode.
- On your mobile device, enable Bluetooth and search for available devices.
- Select "GTV64BT" from the list of devices.
- Once paired, the Bluetooth indicator will become solid, and you can begin playing audio from your device.
5.3 Using the Remote Control
The included remote control provides full functionality from a distance.

Figure 5.2: The remote control and power accessory extension adapter.
- All functions available on the sound bar's control panel are also accessible via the remote.
- The remote also includes a numeric keypad for direct track selection (if supported by the media source).
- Ensure the remote has working batteries (not included, typically 2 x AAA).
6. Maintenance
To ensure the longevity and optimal performance of your Gravity GTV64BT Sound Bar, follow these maintenance guidelines:
- Cleaning: Use a soft, damp cloth to clean the exterior of the sound bar. Avoid using harsh chemicals or abrasive cleaners, as they may damage the finish or internal components.
- Water Exposure: While the sound bar is weatherproof (IPX68 certified), prolonged submersion or high-pressure water jets should be avoided. After exposure to water, especially saltwater, rinse with fresh water and allow to air dry thoroughly.
- Storage: When not in use for extended periods, store the sound bar in a cool, dry place, away from direct sunlight and extreme temperatures.
- Cable Inspection: Periodically inspect all cables and connections for any signs of wear, fraying, or corrosion. Replace damaged cables immediately.
7. Troubleshooting
If you encounter issues with your sound bar, refer to the following common problems and solutions:
| Problem | Possible Cause | Solution |
|---|---|---|
| No power | Loose power connection; Blown fuse; Vehicle's 12V outlet not active. | Check all power connections. Inspect the fuse in the power adapter or vehicle's fuse box. Test the 12V outlet with another device. |
| No sound | Volume too low; Incorrect input selected; Device not playing audio; Bluetooth not connected. | Increase volume. Ensure correct input (BT, AUX, USB) is selected. Verify audio is playing on the connected device. Re-pair Bluetooth if necessary. |
| Bluetooth not pairing | Sound bar not in pairing mode; Device too far; Interference; Previously paired device connected. | Press BT button to enter pairing mode. Move device closer to sound bar. Avoid strong electromagnetic interference. Disconnect from other Bluetooth devices. |
| Sound distortion at high volume | Input audio source too high; Overdriving speakers. | Reduce the volume on your connected device. Lower the sound bar's volume slightly. |
If the problem persists after attempting these solutions, please contact Gravity customer support for further assistance.
8. Specifications
| Feature | Specification |
|---|---|
| Model Name | GTV64BT |
| Speaker Type | Soundbar, Tweeter |
| Speaker Size | 35.82 Inches |
| Tweeter Diameter | 1 Inches |
| Speaker Maximum Output Power | 600 Watts |
| Frequency Response | 45Hz - 22000 Hz |
| Operational Power | 12VDC |
| Fuse Type | 15A AGC type |
| Connectivity Technology | Bluetooth, Auxiliary |
| Bluetooth Version | 2.1 EDR A2DP |
| Bluetooth Range | 33 Feet |
| Waterproof Rating | IPX68 Certified |
| Mounting Type | Bar Mount, Plug Mount |
| Control Method | Remote Control |
| Item Weight | 20.6 pounds |
| Package Dimensions | 41.5 x 9 x 7.5 inches |
9. Warranty and Support
The Gravity GTV64BT Audio 35-Inch Weatherproof Sound Bar comes with a limited warranty. Please refer to the warranty card included in your package for detailed terms and conditions. For technical support, troubleshooting assistance beyond this manual, or warranty claims, please contact Gravity customer service through their official website or the contact information provided on your warranty card.
For the most up-to-date information and support resources, visit the official Gravity website: www.gravityaudio.com


