1. Important Safety Instructions
Always observe basic safety precautions when using electric tools to reduce the risk of fire, electric shock, and personal injury. Read all instructions before operating this tool.
- Wear Eye Protection: Always wear safety goggles or safety glasses with side shields.
- Wear Hearing Protection: Prolonged exposure to noise from power tools can cause hearing damage.
- Wear Respiratory Protection: When drilling or chiseling, dust can be generated. Use a dust mask.
- Secure Workpiece: Always secure the workpiece to prevent movement during operation.
- Check for Hidden Wires/Pipes: Before drilling into walls, floors, or ceilings, check for hidden electrical wires, gas pipes, or water pipes.
- Use Proper Grip: Maintain a firm grip on the tool with both hands, especially when using the hammer function.
- Avoid Overreaching: Maintain proper footing and balance at all times.
- Disconnect Power: Always disconnect the tool from the power source before making any adjustments, changing accessories, or performing maintenance.
- Safety Clutch: This tool is equipped with a safety clutch mechanism to protect the user in case the drill bit jams.
2. Product Overview
The Ryobi RSDS1050-K is a powerful SDS-Plus rotary hammer drill designed for drilling, hammer drilling, and chiseling in various materials including concrete, masonry, wood, and metal.
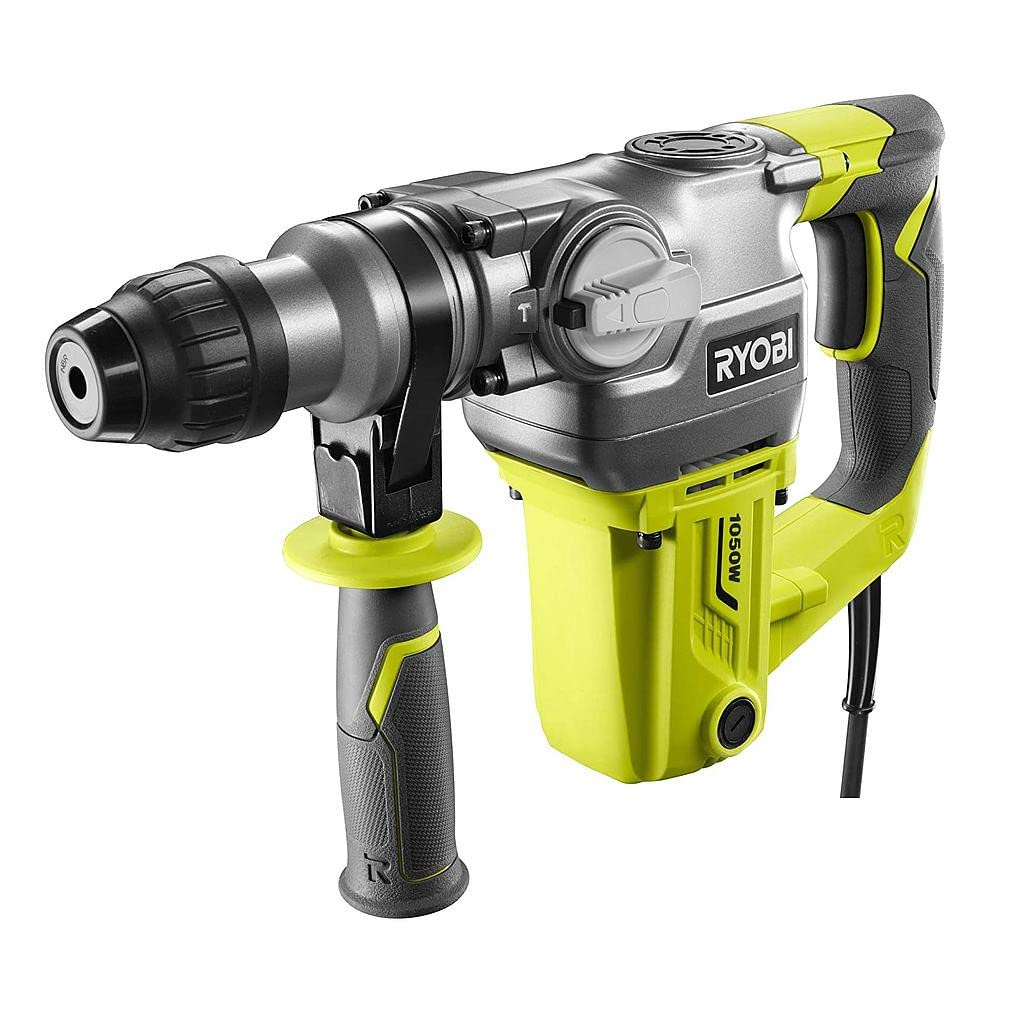
Figure 2.1: Ryobi SDS-Plus Rotary Hammer Drill RSDS1050-K in operation.
Key Features:
- Powerful 1050W Motor: Delivers optimal performance for demanding drilling and chiseling tasks.
- SDS-Plus Chuck System: Allows for quick and tool-free bit changes, enhancing efficiency.
- 3 Operating Modes: Drilling, Hammer Drilling, and Chiseling for versatility across different applications.
- Ergonomic Design: Features a non-slip handle (GripZone micro-alveolated) for comfortable and precise handling during extended use.
- Safety Clutch: Protects the user in case of bit jamming, improving safety and tool durability.
- Auxiliary Handle: 360-degree adjustable for improved control and safety.
3. Included Components
The following items are included with your Ryobi RSDS1050-K rotary hammer drill:
- Ryobi SDS-Plus Rotary Hammer Drill (RSDS1050-K)
- 3 SDS+ Drill Bits: 8x150mm, 10x150mm, 12x150mm
- 1 Point Chisel (13.5x250mm)
- 1 Flat Chisel (20x250mm)
- 1 Wrench
- 1 Depth Guide
- 40ml Lubricant
- Replacement Carbon Brushes
- Dust Protection Cap
- Auxiliary Handle
4. Setup
4.1 Attaching the Auxiliary Handle
The auxiliary handle provides additional control and stability during operation. It can be rotated 360 degrees to suit your working position.
- Loosen the auxiliary handle by twisting it counter-clockwise.
- Slide the handle onto the front of the tool body.
- Rotate the handle to the desired position.
- Tighten the handle by twisting it clockwise until secure.
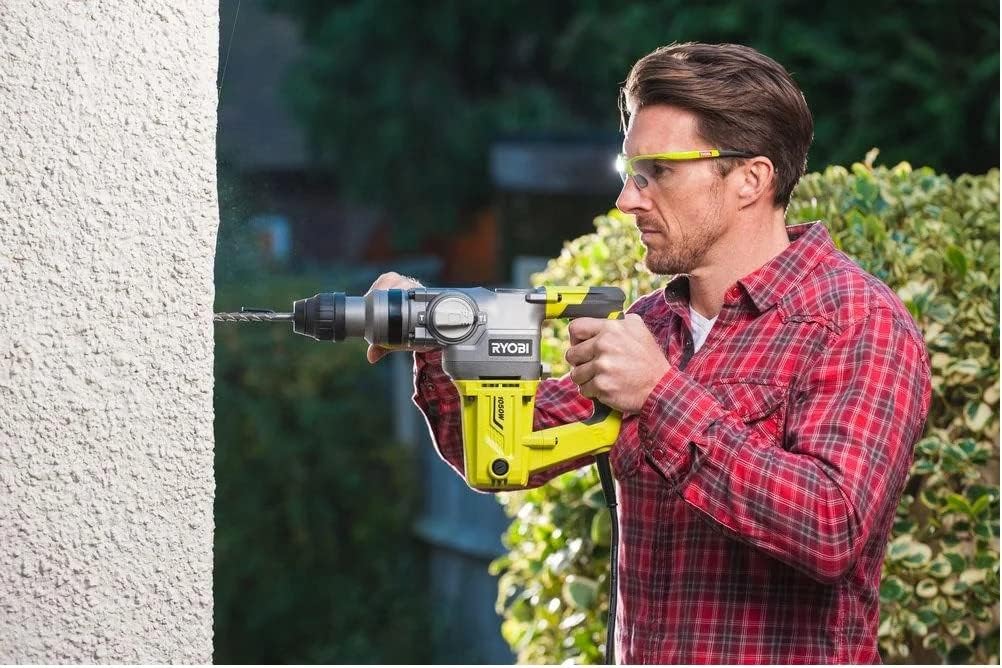
Figure 4.1: Auxiliary handle attachment point.
4.2 Inserting SDS-Plus Bits
The SDS-Plus chuck allows for quick and secure insertion of drill bits and chisels.
- Ensure the tool is disconnected from the power supply.
- Clean the shank of the SDS-Plus bit and apply a small amount of the provided lubricant.
- Pull back the chuck sleeve and insert the bit into the chuck until it clicks into place.
- Release the chuck sleeve. The bit should be held securely but will have a slight axial play, which is normal for SDS-Plus systems.
- To remove the bit, pull back the chuck sleeve and pull the bit out.
5. Operating Modes
The RSDS1050-K offers three operating modes, selected via the mode selector switch located on the side of the tool.
- Drilling Mode (Rotation Only): For drilling in wood, metal, and plastics. No hammer action.
- Hammer Drilling Mode (Rotation with Hammer Action): For drilling in concrete, brick, and masonry.
- Chiseling Mode (Hammer Action Only): For light chiseling, chipping, and demolition work. Rotation is locked.
General Operation:
- Select the appropriate operating mode for your task.
- Insert the correct drill bit or chisel for the material.
- Plug the tool into a suitable power outlet.
- Hold the tool firmly with both hands, ensuring the auxiliary handle is properly positioned.
- Place the tip of the bit on the workpiece.
- Press the trigger switch to start the tool. Apply steady, even pressure. Do not force the tool.
- To stop the tool, release the trigger switch.
6. Maintenance
Regular maintenance ensures the longevity and optimal performance of your tool. Always disconnect the tool from the power supply before performing any maintenance.
6.1 Cleaning
- Keep the ventilation openings clean and free from obstructions to prevent overheating.
- Wipe the tool housing with a soft, damp cloth. Do not use harsh chemicals or abrasive cleaners.
- Regularly clean the SDS-Plus chuck to ensure smooth bit insertion and removal.
6.2 Lubrication
Apply a small amount of the provided lubricant to the shank of SDS-Plus bits before insertion to reduce wear and improve performance.
6.3 Carbon Brush Replacement
The tool is supplied with replacement carbon brushes. Worn carbon brushes can lead to reduced performance or tool failure. Refer to the detailed diagram in the full manual for the location of the brush caps. Typically, brush caps can be unscrewed to replace the brushes. If unsure, consult a qualified service technician.
7. Troubleshooting
This section addresses common issues you might encounter with your rotary hammer drill.
| Problem | Possible Cause | Solution |
|---|---|---|
| Tool does not start. | No power supply. Faulty power cord/plug. Worn carbon brushes. | Check power outlet and connections. Inspect cord for damage; replace if necessary. Replace carbon brushes. |
| Reduced power or intermittent operation. | Worn carbon brushes. Overheating. Loose connections. | Replace carbon brushes. Allow tool to cool down. Ensure ventilation is clear. Check power cord and internal connections (professional service recommended). |
| Bit not rotating or hammering effectively. | Incorrect mode selected. Bit not properly inserted. Worn bit. | Ensure correct mode (Drilling, Hammer Drilling, Chiseling) is selected. Re-insert bit, ensuring it clicks into place. Replace with a sharp, appropriate bit. |
| Excessive vibration or noise. | Loose components. Damaged internal parts. Worn bit. | Check auxiliary handle and other external components for tightness. Discontinue use and seek professional service. Replace bit. |
For issues not listed here or if solutions do not resolve the problem, contact Ryobi customer support or an authorized service center.
8. Specifications
Technical specifications for the Ryobi RSDS1050-K Rotary Hammer Drill.
| Model Number | RSDS1050-K (5133004350) |
| Power Input | 1050 W |
| No-Load Speed | 950 rpm |
| Impact Energy (EPTA) | 3.6 Joules |
| Impact Rate | 4400 bpm (blows per minute) |
| Drilling Capacity - Wood | 40 mm |
| Drilling Capacity - Metal | 13 mm |
| Drilling Capacity - Concrete | 26 mm |
| Chuck Type | SDS-Plus |
| Weight | 4.75 kg (tool only) |
| Dimensions (L x W x H) | 33.1 x 43.3 x 12.2 cm |
| Power Source | Corded Electric |
9. Warranty and Support
9.1 Warranty Information
This Ryobi tool comes with a standard 2-year warranty. An additional 1-year extension is available upon product registration. This warranty covers all Ryobi corded and cordless tools, batteries, and chargers. Please refer to the official Ryobi website or your purchase documentation for full warranty terms and conditions and registration details.
To register your product for the warranty extension, visit the official Ryobi website and follow the instructions provided.
9.2 Customer Support
For technical assistance, spare parts, or service inquiries, please contact Ryobi customer support. Contact information can typically be found on the official Ryobi website or in your product packaging.
When contacting support, please have your model number (RSDS1050-K) and serial number (if applicable) ready.