Introduction
This manual provides detailed instructions for the safe and effective use of your AOPUTTRIVER HP-770J Digital Automotive Multimeter. Please read this manual thoroughly before operation and retain it for future reference. This device is designed for measuring various electrical parameters in both general electrical and automotive applications.
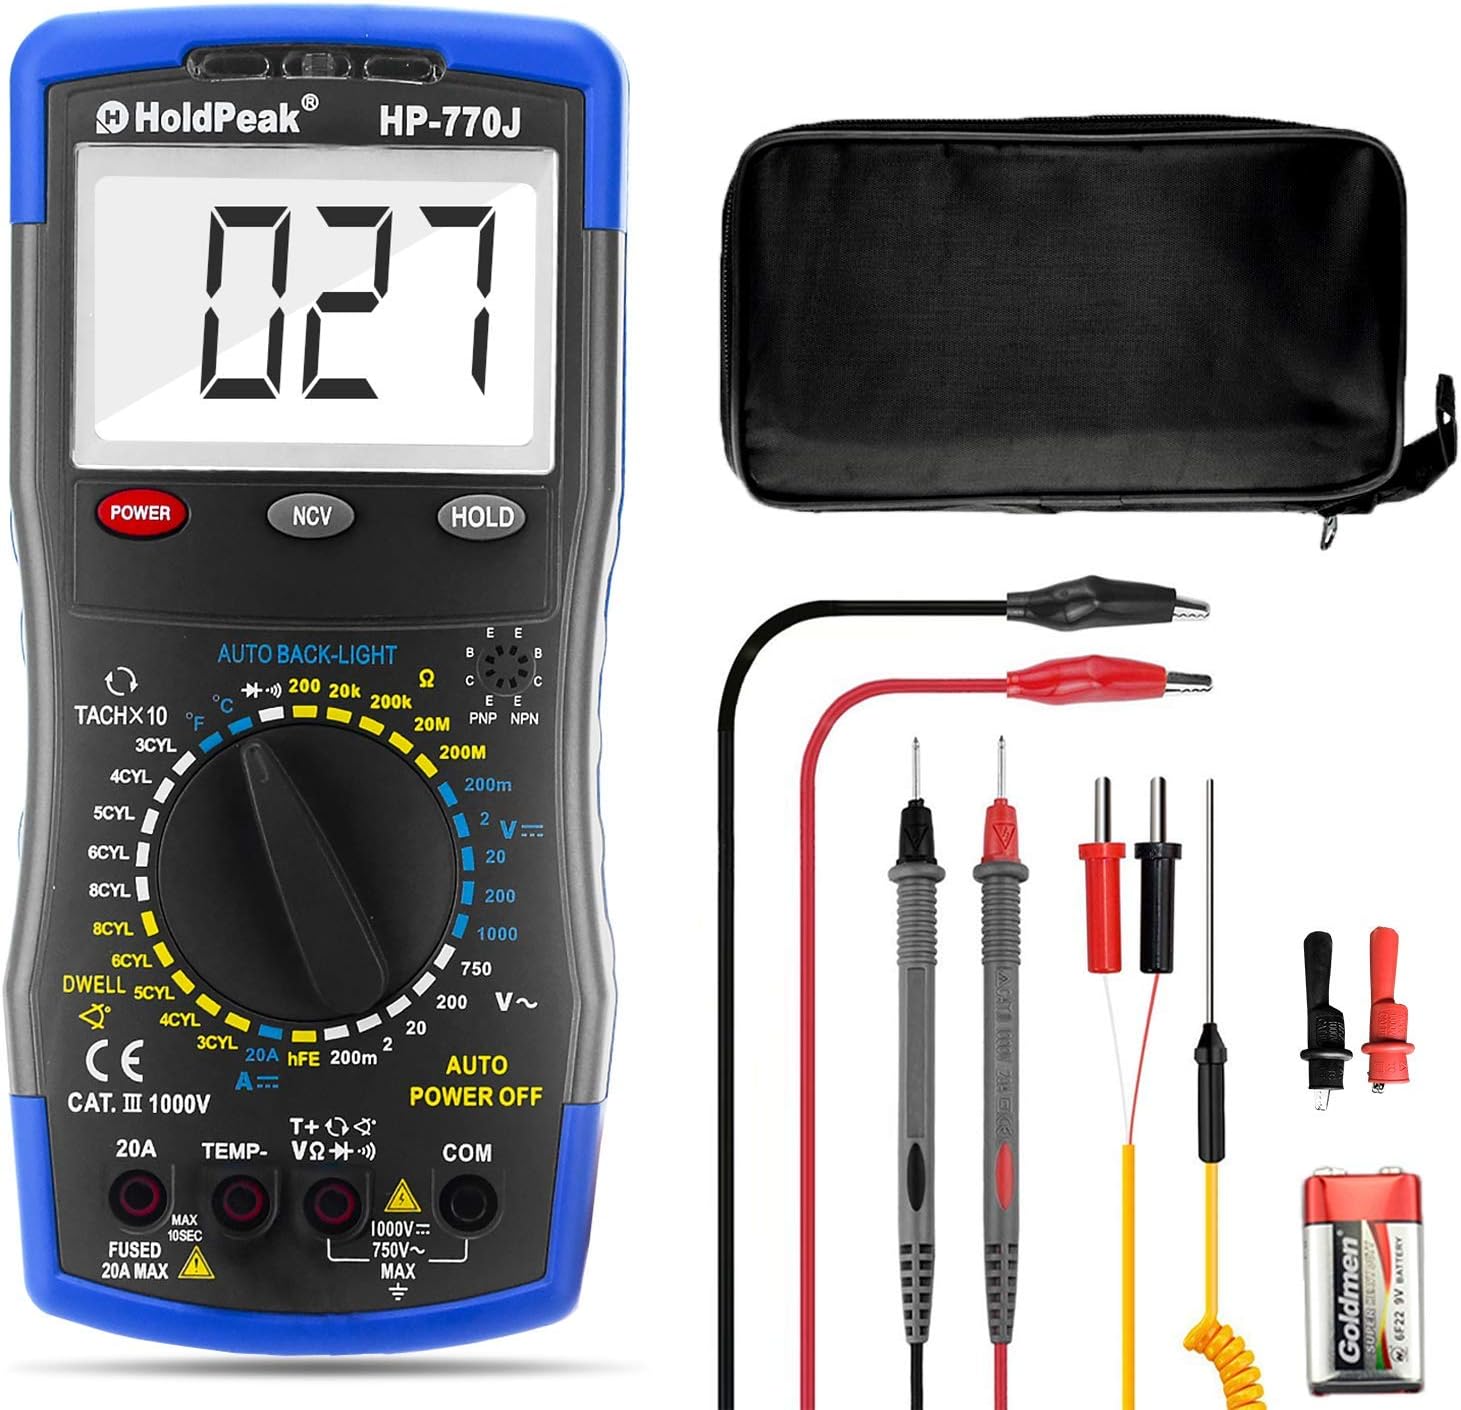
Figure 1: AOPUTTRIVER HP-770J Digital Automotive Multimeter and included accessories.
Setup
1. Unboxing and Initial Inspection
Carefully remove all components from the packaging. Verify that all items listed in the product description are present and undamaged. The package should include the HP-770J Multimeter, test leads, a thermocouple, a 9V (6F22) battery, and a small screwdriver.

Figure 2: Detailed panel layout of the HP-770J Multimeter.
2. Battery Installation
The HP-770J multimeter requires a 9V (6F22) battery for operation. To install the battery:
- Locate the battery compartment on the back of the multimeter.
- Use the provided small screwdriver to open the battery cover.
- Insert the 9V battery, ensuring correct polarity (+ and -).
- Replace the battery cover and secure it with the screw.
Safety Note: Always ensure the multimeter is powered off and test leads are disconnected before opening the battery compartment.
3. Connecting Test Leads
Proper connection of test leads is crucial for accurate and safe measurements.
- Insert the black test lead into the "COM" (Common) jack.
- Insert the red test lead into the appropriate input jack based on the measurement type:
- For Voltage (V), Resistance (Ω), Temperature (Temp), Diode, and Continuity measurements, insert the red lead into the "VΩHz" jack.
- For Current (A) measurements up to 20A, insert the red lead into the "20A" jack.
- Ensure the test leads are tightly connected to the interface before performing any tests.

Figure 3: Overview of HP-770J functions and their corresponding icons.
Operation
The HP-770J features a rotary switch for selecting measurement functions and buttons for additional features like NCV and Data Hold.
1. Power On/Off
Press the POWER button to turn the multimeter on or off. The device features an Auto Power Off function to conserve battery life.
2. Diode Test
To test diodes:
- Set the rotary switch to the Diode/Continuity position (Diode symbol).
- Connect the red test lead to the anode and the black test lead to the cathode of the diode.
- The display will show the forward voltage drop. Reverse the leads to check for open circuit (OL) indicating a good diode.
3. Resistance Test
To measure resistance:
- Set the rotary switch to the desired Ohm (Ω) range.
- Connect the test leads across the component to be measured.
- Read the resistance value on the LCD display.
4. DC Current Test
To measure DC current:
- Set the rotary switch to the appropriate DC Amperage (A) range (e.g., 20A).
- Safety Note: Ensure the red test lead is in the "20A" jack for high current measurements.
- Connect the multimeter in series with the circuit where current is to be measured.
- Read the current value on the LCD display.
5. Voltage Test (AC/DC)
To measure voltage:
- Set the rotary switch to the desired AC Voltage (V~) or DC Voltage (V-) range.
- Connect the test leads in parallel across the component or circuit to be measured.
- Read the voltage value on the LCD display.
- Press the HOLD key to freeze the displayed value.
6. Non-Contact Voltage (NCV) Function
The NCV function allows for detection of AC voltage without direct contact.
- Press the NCV button.
- Move the top of the multimeter close to the wire or electrical outlet.
- If live voltage (≥90V AC rms) is detected, the NCV red and green LED lights will light up alternately, accompanied by an audible buzzer.

Figure 4: NCV function in use, showing detection of live and null wires.
7. Automotive Specific Measurements
The HP-770J is equipped for automotive diagnostics, including RPM and Dwell Angle measurements.
- Tachometer (RPM): Use the TACHX10 setting on the rotary switch to measure engine RPM.
- Dwell Angle: Select the appropriate DWELL setting (3CYL, 4CYL, 5CYL, 6CYL, 8CYL) for your engine to measure dwell angle.

Figure 5: The HP-770J performing an automobile engine test.
8. Official Product Video Guide
For a visual guide on unboxing, setup, and various measurement functions, please refer to the official product video below.
Video 1: Unboxing and Functionality Demonstration of the AOPUTTRIVER HP-770J Digital Multimeter. This video covers initial setup, connecting test leads, and demonstrations of diode, resistance, DC current, voltage, and NCV tests.
Specifications
| Feature | Value |
|---|---|
| Brand | AOPUTTRIVER |
| Model | HP-770J |
| DC Voltage | 200mV/2V/20V/200V/1000V |
| AC Voltage | 200mV/2V/20V/200V/750V |
| DC Current | 20A |
| Resistance | 200Ω/2KΩ/20KΩ/200KΩ/20MΩ/200MΩ |
| Temperature | -4~1800 ℉ (-20~1000 ℃) |
| Tacho (Rotate Speed) | 500~10000 RPM |
| Dwell Angle | 0-120.0°, 0-90.0°, 0-72.0°, 0-60.0°, 0-45.0° |
| Power Source | 9V (6F22) Battery |
| Dimensions | 195x88x40mm (approx. 7.68 x 3.46 x 1.57 inches) |
| Weight | 350g (approx. 12.35 ounces) |
| Safety Rating | 600V CAT IV 1000V CAT III |

Figure 6: Detailed specifications of the HP-770J Multimeter.
Maintenance
Proper maintenance ensures the longevity and accuracy of your multimeter.
- Cleaning: Use a soft, damp cloth to clean the exterior of the multimeter. Do not use abrasive cleaners or solvents.
- Storage: Store the multimeter in a cool, dry place, away from direct sunlight and extreme temperatures. If storing for extended periods, remove the battery to prevent leakage.
- Battery Replacement: Replace the 9V battery when the low battery indicator appears on the display to ensure accurate readings. Follow the battery installation steps in the Setup section.
- Fuse Replacement: The multimeter is protected by internal fuses. If the current measurement function stops working, the fuse may need replacement. Refer to a qualified technician for fuse replacement to ensure proper safety and functionality.
Troubleshooting
This section addresses common issues you might encounter with your HP-770J multimeter.
- No Display/Power Issues:
- Check if the battery is correctly installed and has sufficient charge. Replace if necessary.
- Ensure the power button is pressed firmly.
- Inaccurate Readings:
- Verify that the test leads are properly connected to the correct input jacks for the selected function.
- Ensure the rotary switch is set to the appropriate measurement function and range.
- Check the battery level; a low battery can affect accuracy.
- Ensure the test leads are not damaged or corroded.
- Screen Turns Black in Heat:
- Some LCD displays may temporarily darken or become unreadable in extreme heat. Move the multimeter to a cooler environment and allow it to return to normal operating temperature.
- No Continuity Beep/Diode Reading:
- Ensure the multimeter is set to the correct Diode/Continuity function.
- Check the test leads for proper connection and integrity.
Warranty and Support
AOPUTTRIVER is committed to providing quality products and customer support.
- Warranty: The product typically comes with a 1-year warranty. Please retain your purchase receipt for warranty claims.
- Technical Support: For any technical issues, questions, or support needs, please contact AOPUTTRIVER customer service. They aim to respond and solve your questions within 24 hours.
- Contact Information: Refer to your product packaging or the official AOPUTTRIVER website for the most current contact details.
Note: Warranty terms and support availability may vary. Always refer to the official brand information for the most accurate details.


