Introduction
This manual provides essential instructions for the installation, operation, and maintenance of the EDM Replacement Shaft, model 00577. This component is specifically designed for compatibility with EDM models 07182 and 07183. Please read this manual thoroughly before attempting any installation or maintenance to ensure safe and correct usage and to maximize the lifespan of your product.
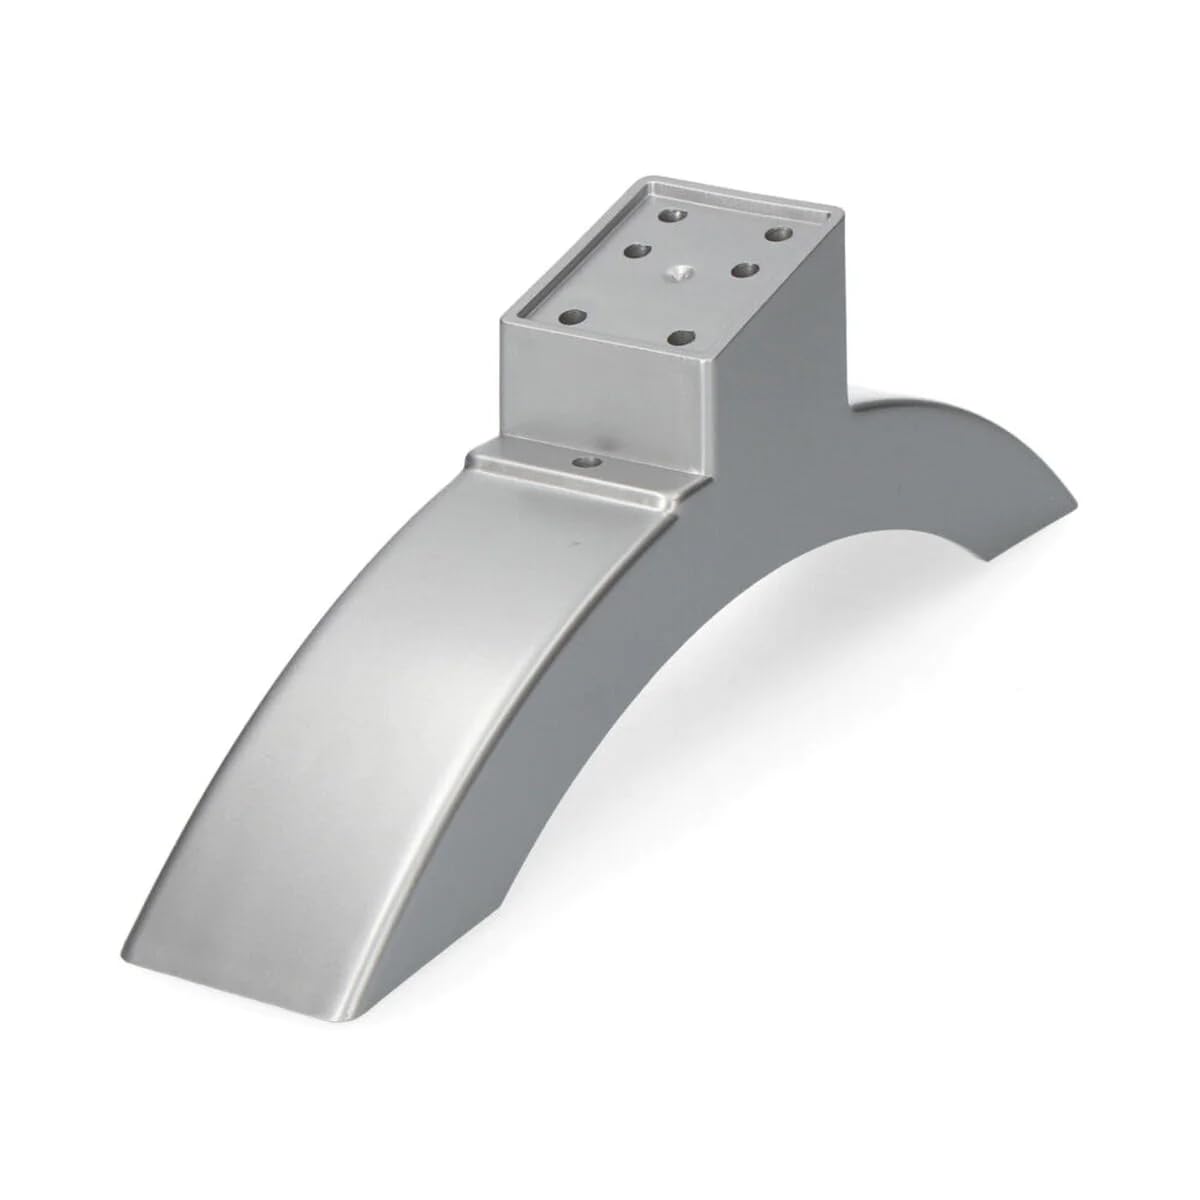
Image: The EDM Replacement Shaft, model 00577, designed for durability and precise fit.
Product Features
- Compatibility Verification: Please verify compatibility before purchase to ensure this product meets the required mechanical and electrical specifications for your device.
- Reliable Design: Features a reliable and innovative design for consistent performance.
- Durable Construction: Constructed from high-quality materials for strength and long-lasting durability.
- Perfect Fit: Engineered to ensure a perfect fit for compatible models 07182 and 07183.
- Cost-Effective Solution: Offers a practical and economical solution for component replacement.
Setup and Installation
Proper installation is crucial for the optimal performance and longevity of the replacement shaft. Always ensure the power to the main unit is disconnected before beginning installation.
- Safety First: Disconnect all power to the equipment where the shaft will be installed. Wear appropriate personal protective equipment (PPE) such as gloves and eye protection.
- Access the Component: Carefully open the equipment casing or access panel to expose the area where the shaft is located. Refer to your equipment's primary service manual for specific access instructions.
- Remove Old Shaft: Loosen any retaining screws, clips, or fasteners holding the old shaft in place. Gently remove the old shaft, noting its orientation and any associated components (washers, bearings, etc.).
- Inspect Area: Clean the installation area, removing any debris, old lubricant, or corrosion. Inspect surrounding components for wear or damage.
- Install New Shaft: Carefully insert the new EDM Replacement Shaft (model 00577) into position. Ensure it aligns correctly with all mating parts.
- Secure the Shaft: Reinstall all retaining screws, clips, or fasteners. Tighten them securely but do not overtighten.
- Reassemble Equipment: Close and secure the equipment casing or access panel.
- Test Functionality: Reconnect power and perform a functional test to ensure the shaft operates smoothly and correctly within the equipment.
Operating Instructions
As a replacement component, the EDM Replacement Shaft does not have independent operating controls. Its function is integrated into the larger system it is part of. Once installed, the shaft operates as part of the original equipment.
- Integrated Function: The shaft will perform its intended mechanical role when the main equipment is operated according to its own user manual.
- Observe Performance: After installation, observe the equipment during its initial operations to ensure the shaft is functioning without unusual noise, vibration, or resistance.
- Avoid Overload: Do not subject the equipment to loads exceeding its design specifications, as this can damage the shaft and other components.
Maintenance
Regular maintenance helps extend the life of the replacement shaft and ensures continued optimal performance.
- Lubrication: If the original equipment requires lubrication for its shafts, apply the recommended lubricant at the specified intervals. Consult your equipment's service manual for details.
- Cleaning: Keep the area around the shaft clean and free from dust, dirt, and debris that could interfere with its movement or cause premature wear.
- Inspection: Periodically inspect the shaft for signs of wear, corrosion, bending, or damage. Check for any looseness in its mounting.
- Replacement: If significant wear or damage is observed, replace the shaft promptly to prevent further damage to the equipment.
Troubleshooting
If you encounter issues after installing the EDM Replacement Shaft, consider the following common troubleshooting steps:
| Problem | Possible Cause | Solution |
|---|---|---|
| Shaft does not fit | Incorrect model number; manufacturing tolerance issue. | Verify the shaft model number (00577) against your equipment's requirements (07182, 07183). Contact customer support if the model is correct but fit is poor. |
| Excessive noise or vibration | Improper installation; lack of lubrication; damaged bearings (not part of shaft). | Re-check installation for proper seating and secure fasteners. Apply appropriate lubricant if required. Inspect associated bearings and replace if worn. |
| Shaft appears bent or damaged | Impact during installation; manufacturing defect; excessive load. | Discontinue use immediately. Replace the shaft. Ensure proper handling during installation and avoid overloading the equipment. |
If troubleshooting steps do not resolve the issue, please contact EDM customer support.
Specifications
| Specification | Detail |
|---|---|
| Manufacturer | EDM |
| Part Number | 00577 |
| Item Weight | 50 grams |
| Product Dimensions | 10 x 10 x 15 cm |
| Item Model Number | 00577 |
| Color | Multi-color |
| Style | Display |
| Finish | Polished |
| Material | Stainless Steel (Edelstahl) |
| Shape | Arc/Bow (Bogen) |
| Power Source Type | Not applicable |
| Number of Item Subunits | 1 |
| Number of Pieces | 1 |
| Included Components | Spare parts + User Manual |
| Batteries Required? | No |
| Date First Available | March 15, 2022 |
| Exterior Finish | Stainless Steel |
| Handle Type | Lever |
Warranty and Support
This EDM Replacement Shaft is manufactured to high-quality standards. For specific warranty information, please refer to the warranty card included with your purchase or visit the official EDM website. For technical support, replacement parts, or further assistance, please contact EDM customer service through their official channels.
Contact Information: Please refer to the packaging or the official EDM website for the most current contact details.


