1. Introduction
The HP Aruba CX 6200F 48G Class4 4SFP+ 370W Switch (Model JL727A) is a next-generation stackable access switch designed for enterprise branch offices, campuses, and SMB networks. This switch extends industry-leading monitoring and troubleshooting capabilities to the access layer through its cloud-centric design, fully programmable OS, and the Aruba Network Analytics Engine. It supports Aruba NetEdit and the Aruba CX Mobile App for streamlined configuration and deployment.
This manual provides essential information for the safe and efficient use of your Aruba CX 6200F switch, covering installation, operation, maintenance, and troubleshooting.
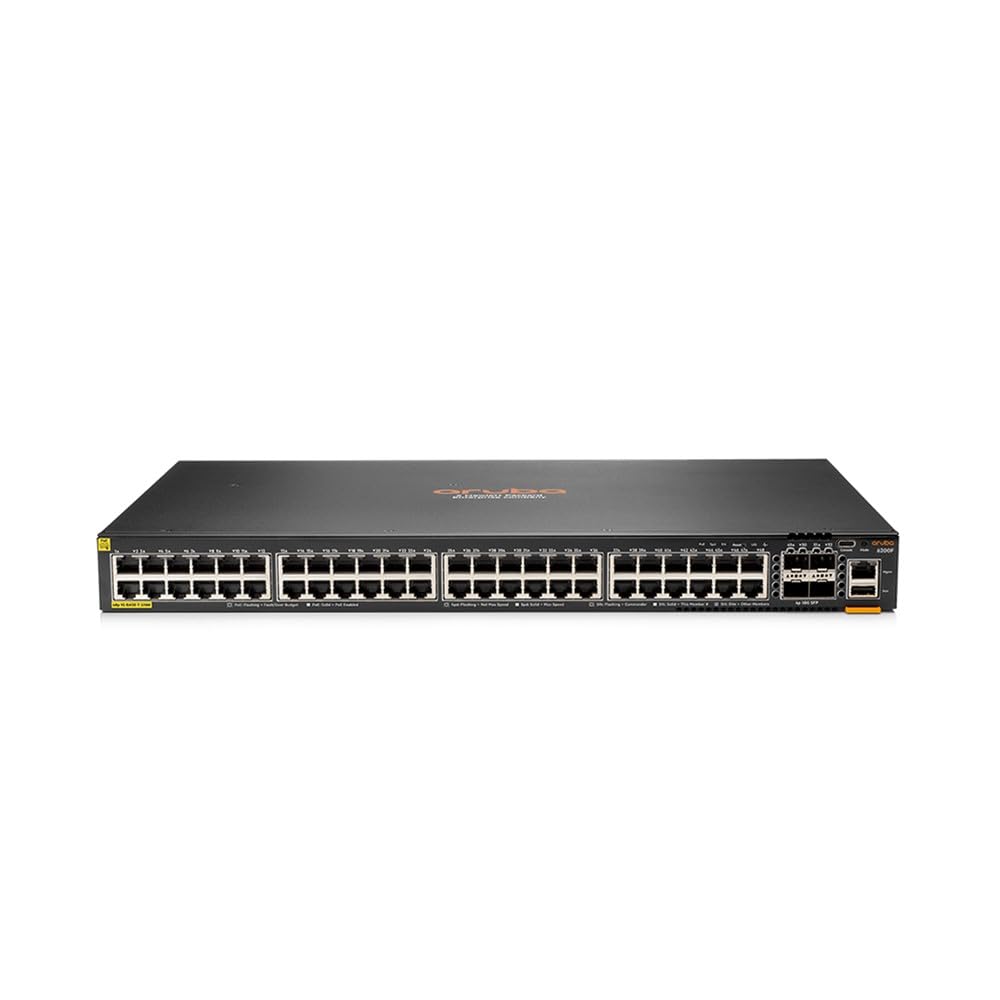
Figure 1: Front view of the HP Aruba CX 6200F 48G Class4 4SFP+ 370W Switch. This image shows the front panel of the Aruba CX 6200F switch, featuring 48 Gigabit Ethernet ports and 4 SFP+ uplink ports.
2. Safety Information
Please read all safety instructions carefully before installing or operating the device. Failure to follow these instructions may result in electric shock, fire, or damage to the product.
- Ensure the power supply voltage matches the specifications of the switch.
- Do not open the switch casing. There are no user-serviceable parts inside.
- Install the switch in a well-ventilated area to prevent overheating.
- Keep the switch away from water, moisture, and excessive heat.
- Use only the power cord and accessories provided or approved by HP.
- Properly ground the device to prevent electrical hazards.
3. Package Contents
Verify that all items are present in the package. If any item is missing or damaged, contact your vendor immediately.
- Aruba CX 6200F 48G Class4 4SFP+ 370W Switch (Model JL727A)
- Power Cord
- Rack Mount Kit
- Quick Start Guide
4. Physical Overview
The Aruba CX 6200F switch features a robust metal casing designed for durability and efficient heat dissipation. The front panel includes:
- 48 x Gigabit Ethernet Ports: For connecting network devices.
- 4 x SFP+ Uplink Ports: For high-speed fiber or copper uplinks to other switches or network segments.
- LED Indicators: Status LEDs for power, system health, and port activity.
The rear panel typically includes the power input and possibly additional management ports (e.g., console port).
5. Setup
5.1. Rack Mounting
Use the included rack mount kit to secure the switch in a standard 19-inch equipment rack. Ensure adequate space for airflow around the unit.
5.2. Power Connection
- Connect the power cord to the power input on the rear of the switch.
- Plug the other end of the power cord into a grounded electrical outlet.
- Verify that the power LED on the front panel illuminates, indicating the switch is receiving power.
5.3. Network Connections
- Connect your network devices (computers, servers, IP cameras, access points) to the Gigabit Ethernet ports using standard Ethernet cables.
- For high-speed connections to your core network or other switches, insert SFP+ transceivers into the SFP+ uplink ports and connect appropriate fiber or copper cables.
5.4. Initial Configuration
Refer to the included Quick Start Guide for initial network configuration steps, including accessing the management interface (CLI or Web GUI) and setting up basic network parameters.
6. Operating Instructions
The Aruba CX 6200F switch operates automatically once powered on and configured. Key operational aspects include:
- Network Analytics Engine: Provides advanced monitoring and troubleshooting capabilities by collecting and analyzing network data.
- Programmable OS: Allows for flexible network automation and integration with various management tools.
- PoE (Power over Ethernet): The Class4 PoE ports can deliver power to compatible devices such as IP phones, wireless access points, and surveillance cameras, simplifying deployment.
- Stacking: Multiple Aruba CX 6200F switches can be stacked to create a single logical unit, increasing port density and simplifying management. Consult the advanced configuration guide for stacking procedures.
For detailed configuration and management, use the Aruba NetEdit platform or the Aruba CX Mobile App, as described in the product documentation.
7. Maintenance
- Cleaning: Periodically clean the exterior of the switch with a soft, dry cloth. Do not use liquid or aerosol cleaners. Ensure ventilation openings are free from dust and obstructions.
- Firmware Updates: Regularly check the HP support website for the latest firmware updates. Keeping the firmware up-to-date ensures optimal performance, security, and access to new features. Follow the instructions provided with the firmware update package.
- Environmental Conditions: Ensure the switch operates within its specified temperature and humidity ranges to prevent hardware failure.
8. Troubleshooting
If you encounter issues with your Aruba CX 6200F switch, refer to the following common troubleshooting steps:
- No Power:
- Check if the power cord is securely connected to both the switch and the power outlet.
- Verify that the power outlet is functional.
- Ensure the power supply voltage is correct.
- No Network Connectivity:
- Check the Ethernet cables for secure connections and damage.
- Verify that the port LEDs on the switch are active.
- Confirm IP address settings and VLAN configurations.
- PoE Device Not Powering On:
- Ensure the connected device is PoE compatible.
- Check the PoE status LEDs on the switch.
- Verify that the switch's PoE budget is not exceeded.
For more advanced troubleshooting, consult the comprehensive documentation available on the HP support website or contact technical support.
9. Specifications
| Feature | Specification |
|---|---|
| Model Number | JL727A |
| Brand | HP |
| Product Weight | 7.33 kg (16.15 pounds) |
| Voltage | 50.8 Volts |
| Case Material | Metal |
| Maximum Power | 370 Watts |
| Upper Temperature Rating | 40°C (104°F) |
| Interface Type | PoE |
| UPC | 190017408989 |
| Color | Black |
| Batteries Included | No |
| Batteries Required | No |
| Package Dimensions | 58.42 x 50.8 x 17.78 cm |
| Number of Ports | 48 |
| Included Components | Power cord, rack mount kit, quick start guide |
| Compatible Devices | Camera |
10. Warranty and Support
For warranty information and technical support, please refer to the official HP website or the documentation included with your product. You can typically find support resources, FAQs, and contact information by visiting www.hp.com/support and searching for your product model (JL727A).
Keep your purchase receipt and product serial number handy when contacting support.