
ADESSO NuScan 2700R
Adesso NuScan 2700R Wireless Barcode Scanner Instruction Manual
Model: NuScan 2700R
Introduction
This manual provides detailed instructions for the setup, operation, and maintenance of your Adesso NuScan 2700R Wireless Barcode Scanner. Please read this manual thoroughly before using the device to ensure proper functionality and to prevent damage.
Package Contents
Verify that all items are present in your package:
- Adesso NuScan 2700R Wireless Barcode Scanner
- Charging Cradle with Built-in USB Receiver
- USB Cable
- Quick Start Guide (or similar documentation)
Product Overview

Figure 1: Adesso NuScan 2700R Wireless Barcode Scanner. This image shows the handheld scanner unit with its scanning window and trigger, emitting a red laser beam, indicating it is active and ready to scan.

Figure 2: Scanner with Charging Cradle. The image displays the barcode scanner being inserted into its dedicated charging cradle, which also functions as a receiver for wireless communication.
Key Features
- 2.4 GHz RF Wireless Technology: The wireless receiver enables the scanner to operate up to 150 feet from the connected device without physical cables.
- 2D Scanning Engine: Decodes both 1D and 2D barcodes, including PDF417, Data Matrix, QR Code, and MicroQR.
- Spill Resistant Design: Engineered to help prevent fluid ingress, reducing potential damage from spills.
- CMOS Sensor: Provides efficient scanning with a motion tolerance of 5 inches per second.
- Charging Cradle with Built-In Receiver: Facilitates hands-free scanning and charges the scanner. The integrated USB receiver offers plug-and-play connectivity.
Setup
1. Connecting the Charging Cradle
- Connect the provided USB cable to the charging cradle.
- Plug the other end of the USB cable into an available USB port on your computer or host device.
- The cradle's indicator light will illuminate, confirming power connection.
2. Pairing the Scanner
The scanner and cradle are typically pre-paired. If re-pairing is necessary:
- Ensure the charging cradle is connected to your computer.
- Place the scanner into the charging cradle.
- The scanner should automatically connect. A successful connection is usually indicated by an audible beep and/or a specific LED pattern on the scanner.
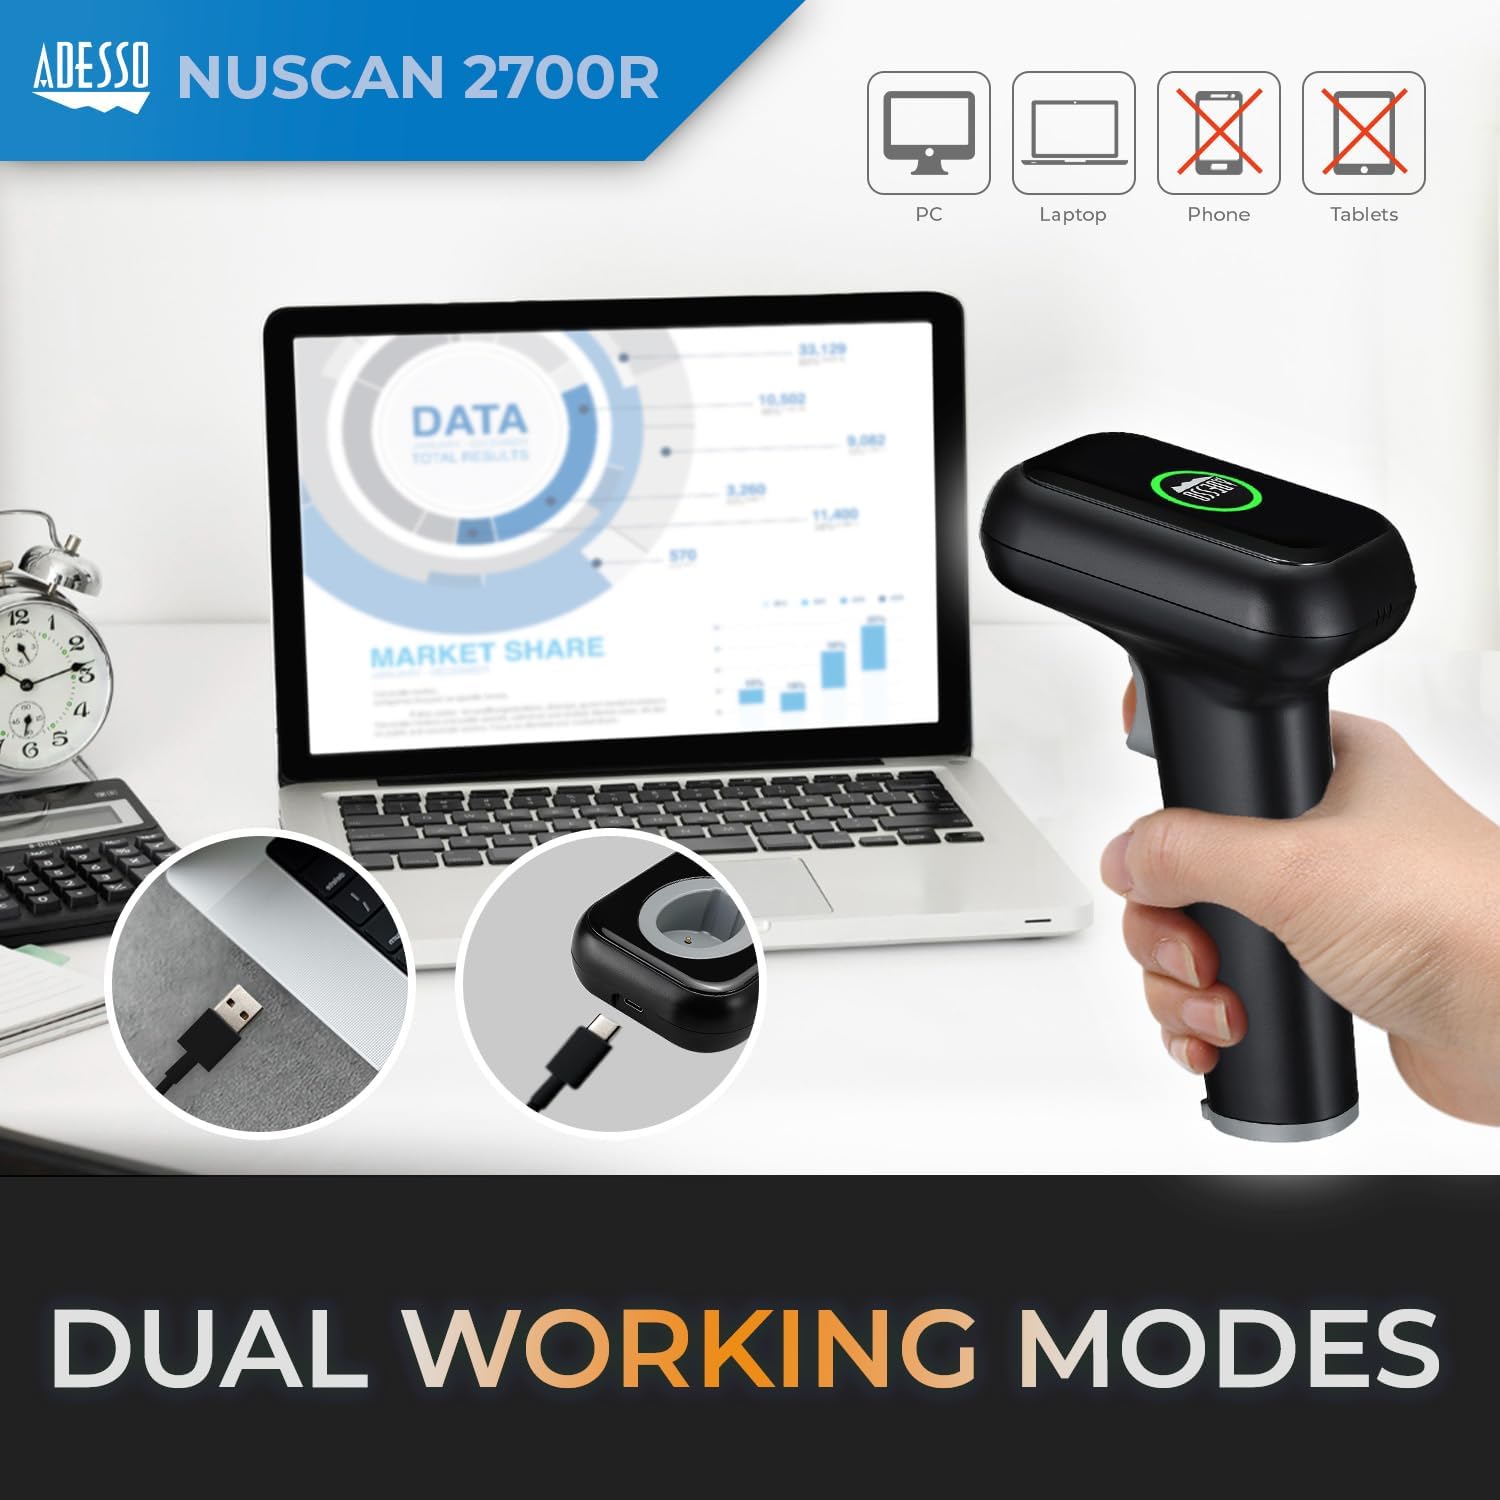
Figure 3: Dual Working Modes. This image shows the scanner connected to a laptop via its charging cradle, demonstrating its compatibility with PC and laptop systems.
Operating Instructions
Scanning Barcodes
To scan a barcode, aim the scanner's beam at the barcode and press the trigger button. The scanner will emit a beep and/or flash an LED to indicate a successful scan.
Scanning Modes

Figure 4: Three Scanning Modes. This diagram illustrates the three operational scanning modes: Auto-sensing, where the scanner activates upon detecting a barcode; Continuous, where the scanner constantly emits a beam; and Manual Trigger, requiring a button press for each scan.
- Manual Trigger Mode: Press the trigger to activate the scan beam for each barcode.
- Continuous Scanning Mode: The scan beam remains active, continuously scanning barcodes as they pass within range.
- Auto-sensing Scanning Mode: The scanner automatically detects a barcode in its field of view and activates the scan beam.
Upload Modes

Figure 5: Flexible Upload Modes. This diagram shows two methods for data transfer: Instant Upload, where scanned data is immediately sent to the connected device; and Storage Mode, which allows the scanner to store up to 100,000 barcodes internally before uploading.
- Instant Upload Mode: Barcode data is immediately transmitted to the connected device after each successful scan.
- Storage Mode: Scanned barcode data is stored internally in the scanner's memory. This mode is useful when out of range of the receiver. Data can be uploaded later when the scanner is reconnected. The scanner can store up to 100,000 barcodes.
Maintenance
- Cleaning: Use a soft, dry cloth to clean the scanner's exterior. For the scanning window, use a lint-free cloth lightly dampened with a mild, non-abrasive cleaner. Avoid harsh chemicals.
- Battery Care: To prolong battery life, avoid fully discharging the scanner frequently. Charge the scanner regularly using the provided charging cradle.
- Storage: Store the scanner and cradle in a cool, dry place away from direct sunlight and extreme temperatures.

Figure 6: Drop Protection. This image visually represents the scanner's durability, showing it withstanding an impact, highlighting its drop-resistant design.
Troubleshooting
| Problem | Possible Cause | Solution |
|---|---|---|
| Scanner not connecting to computer | Cradle not powered; Scanner out of range; Pairing lost. | Ensure USB cable is securely connected. Move scanner closer to cradle. Re-pair scanner by placing it in the cradle. |
| Scanner not reading barcodes | Barcode damaged; Incorrect scanning mode; Low battery. | Try scanning a different barcode. Verify the correct scanning mode is active. Charge the scanner. Ensure the barcode is flat and well-lit. |
| Scanned data not appearing on screen | Scanner in Storage Mode; Application not in focus. | Switch scanner to Instant Upload Mode. Ensure the cursor is in the desired input field of your application. |
| Short wireless range | Interference; Obstructions. | Reduce obstacles between scanner and cradle. Avoid operating near other 2.4GHz devices. |
Specifications
| Feature | Detail |
|---|---|
| Model Number | NuScan 2700R |
| Connectivity Technology | 2.4 GHz RF Wireless Technology |
| Scanning Engine | 2D CMOS Sensor |
| Motion Tolerance | 5 inches per second |
| Wireless Range | Up to 150 feet (line of sight) |
| Barcode Storage Capacity | Up to 100,000 barcodes (in Storage Mode) |
| Compatible Devices | Android, Mac, PC |
| Power Source | Corded Electric (via USB for cradle) |
| Product Dimensions | 6.6"D x 3.4"W x 2.4"H |
| Item Weight | 6.7 ounces |
Warranty and Support
For warranty information and technical support, please refer to the documentation included with your product or visit the official Adesso website. Keep your purchase receipt as proof of purchase for warranty claims.
Manufacturer: Adesso Inc
Website: www.adesso.com (Example link, please verify official support URL)
Related documentsNuScan 2700R


Ask a question about this manual
Ask about setup, troubleshooting, compatibility, parts, safety, or missing instructions. Manuals+ will review the question and use this page’s manual context to help answer it.