Introduction
Thank you for choosing the Frigidaire 6.5 cu. ft. Upright Freezer. This manual provides essential information for the safe and efficient operation, installation, and maintenance of your new appliance. Please read it thoroughly before use and keep it for future reference.
Safety Information
Your safety and the safety of others are very important. We have provided many important safety messages in this manual and on your appliance. Always read and obey all safety messages.
- Electrical Safety: Ensure the freezer is connected to a grounded 120 Volt, 60 Hz, AC only electrical outlet with a dedicated 15-amp circuit. Do not use extension cords.
- Proper Placement: Place the freezer on a level surface away from direct sunlight or heat sources. Allow adequate air circulation around the unit.
- Child Safety: This appliance is not intended for use by persons (including children) with reduced physical, sensory or mental capabilities, or lack of experience and knowledge, unless they have been given supervision or instruction concerning use of the appliance by a person responsible for their safety.
- Flammable Refrigerant: This appliance contains R600a refrigerant, which is flammable. Handle with care and ensure proper ventilation.
Product Overview
The Frigidaire 6.5 cu. ft. Upright Freezer is designed for efficient and compact frozen food storage. Its sleek design and thoughtful features make it suitable for various living spaces.

Figure 1: Front view of the Frigidaire 6.5 cu. ft. Upright Freezer.

Figure 2: Interior of the freezer, highlighting its ample 6.5 cu. ft. storage capacity.

Figure 3: Key design features including flush back, adjustable leveling legs, recessed handle, and reversible door.

Figure 4: Detailed view of the interior and exterior components, including shelves and leg positions.
Components:
- Adjustable Temperature Control: External dial for precise temperature management.
- Wire Shelves: Six interior wire shelves for organized storage.
- Reversible Door: Door can be configured to open from the left or right.
- Flush Back Design: Allows for placement close to walls.
- Recessed Handle: Integrated handle for a sleek look and space saving.
- Adjustable Leveling Legs: For stability on uneven surfaces.
Setup
- Unpacking: Carefully remove all packaging materials, including tape and labels. Keep packaging materials until you are sure the freezer is working correctly.
- Cleaning: Before first use, clean the interior and exterior of the freezer with a mild detergent and warm water. Wipe dry thoroughly.
- Placement: Position the freezer on a firm, level floor. Ensure there is at least 4 inches (10 cm) of space at the back and sides for proper air circulation. The flush back design allows for minimal clearance at the rear.
- Leveling: Use the adjustable leveling legs at the front of the freezer to ensure it is level. A level freezer operates more efficiently and prevents door alignment issues.
- Door Reversal (Optional): If desired, the door can be reversed to open from the opposite side. Refer to the detailed instructions in the full user manual (link provided in Warranty & Support section) for this procedure.
- Power Connection: Plug the freezer into a dedicated 120 Volt, 60 Hz, AC only electrical outlet. Allow the freezer to stand upright for at least 2-4 hours before plugging it in to allow refrigerants to settle.
Operating Instructions
Temperature Control:
The freezer features an external adjustable temperature control dial located on the top front of the unit. This dial allows you to set the desired freezing temperature.
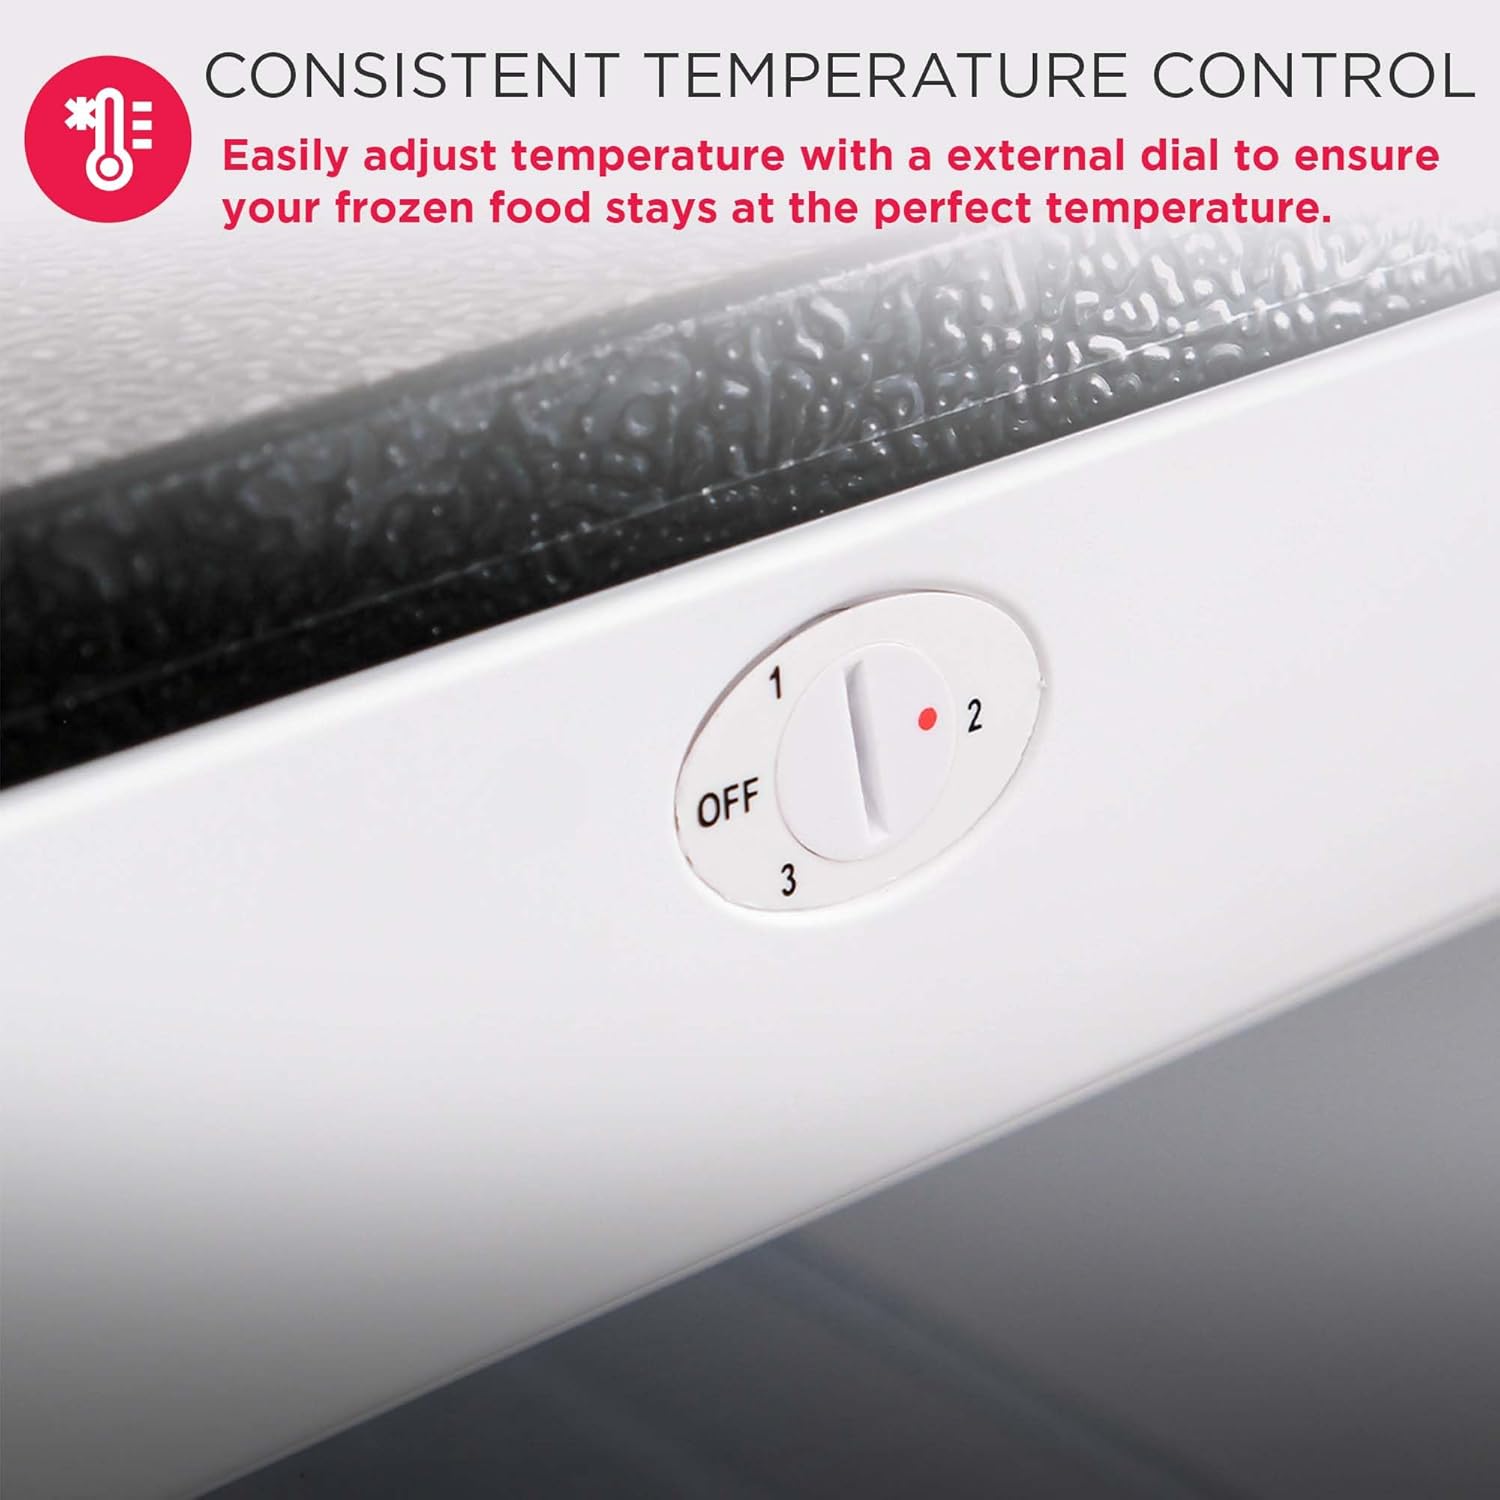
Figure 5: Temperature control dial.
- Setting 1: Least cold setting.
- Setting 3: Coldest setting.
- OFF: Turns the cooling system off.
For optimal performance, start with setting 2. Adjust as needed based on the amount of food stored and ambient room temperature. Allow several hours for the temperature to stabilize after making adjustments.
Loading the Freezer:
Utilize the six wire shelves to organize your frozen items efficiently. Avoid overloading shelves to ensure proper air circulation and freezing performance.
Maintenance
Cleaning:
Regular cleaning helps maintain the appearance and efficiency of your freezer.
- Interior: Unplug the freezer. Remove all food and shelves. Wash the interior surfaces with a solution of two tablespoons of baking soda to one quart of warm water. Rinse and dry thoroughly.
- Exterior: Clean the exterior, including the vinyl coated metal finish, with a mild detergent and warm water. Wipe dry with a soft cloth.
- Door Gasket: Clean the door gasket regularly to ensure a tight seal.
Defrosting:
This freezer is a manual defrost model. Frost buildup on the interior walls is normal and should be removed periodically to maintain efficiency.
- When to Defrost: Defrost when frost accumulation reaches about 1/4 to 1/2 inch (0.6 to 1.2 cm) thick.
- Procedure: Unplug the freezer. Remove all food and place it in a cooler. Leave the freezer door open to allow frost to melt. You can place towels at the bottom to absorb water. Do not use sharp objects or heating devices to speed up defrosting, as this can damage the freezer. Once defrosted, clean and dry the interior before plugging it back in.
Power Outage:
In case of a power outage, keep the freezer door closed to maintain the internal temperature for as long as possible. Food should remain frozen for approximately 24 hours if the door is kept closed.
Troubleshooting
Before contacting customer service, check the following common issues:
| Problem | Possible Cause | Solution |
|---|---|---|
| Freezer does not operate. | Not plugged in; circuit breaker tripped; power outage. | Check power cord connection; reset circuit breaker; check household power. |
| Temperature is not cold enough. | Temperature control set too warm; door opened too frequently; heavy frost buildup. | Adjust temperature control to a colder setting; minimize door openings; defrost the unit. |
| Excessive frost buildup. | Door not closed properly; door gasket not sealing; high humidity. | Ensure door is fully closed; check and clean door gasket; defrost regularly. Tip: If the seal is not seating well, a hair dryer can be used to gently soften and reshape the gasket for a better seal. |
| Noises. | Normal operating sounds (compressor, refrigerant flow); unit not level. | These are normal; ensure the unit is level using the adjustable legs. |
Specifications
| Feature | Detail |
|---|---|
| Model Number | EFRF696-AMZ |
| Capacity | 6.5 cu ft |
| Dimensions (D x W x H) | 21 x 23 x 56 inches |
| Item Weight | 93.8 pounds |
| Color | Silver |
| Material | Stainless Steel, Metal |
| Power Source | Corded Electric |
| Voltage | 120 Volts |
| Wattage | 760 watts |
| Installation Method | Freestanding |
| Included Components | 3 shelves, Owners Manual |
| Country of Origin | China |
Warranty and Support
This Frigidaire appliance comes with a 1-year parts and labor warranty from the date of purchase. Please retain your proof of purchase for warranty claims.
For detailed instructions, safety warnings, and comprehensive troubleshooting, please refer to the official User Manual PDF:
Download Full User Manual (PDF)
For further assistance or technical support, please visit the official Frigidaire website or contact their customer service.