Introduction
This instruction manual provides essential information for the proper setup, operation, and maintenance of your Como Audio Analog Turntable, Model CATA. Please read this manual thoroughly before using the product to ensure optimal performance and longevity.
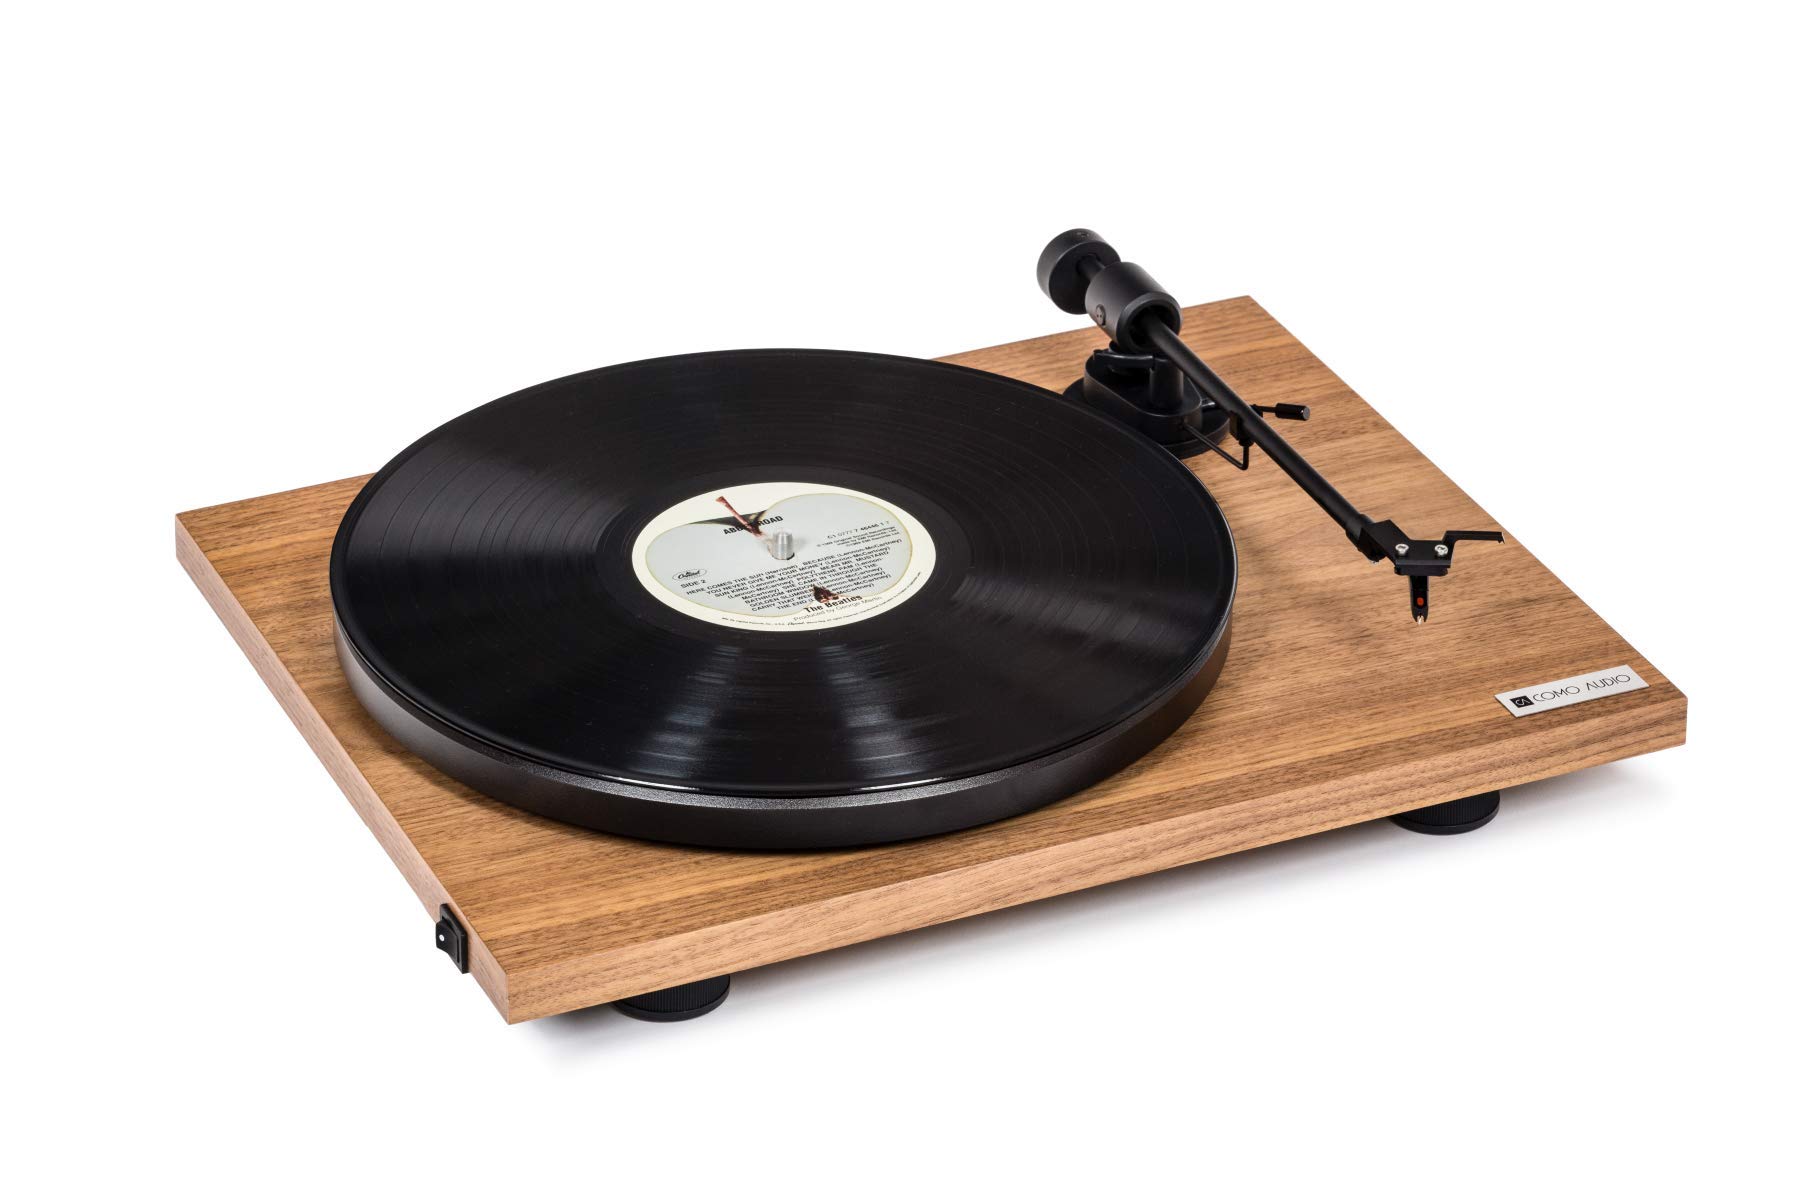
Image: The Como Audio Analog Turntable, featuring a walnut wood plinth, black platter, and tonearm.

Image: A detailed view of the rich walnut finish on the turntable's plinth, showcasing the wood grain.
Package Contents
Before proceeding with setup, ensure all components are present and undamaged:
- Como Audio Analog Turntable unit
- Pre-mounted Ortofon cartridge/stylus
- Platter
- Drive Belt
- Removable clear dust cover
- Felt mat
- Audio cable
- Power supply (15V/0.8A, universal 110V-240V, 50-60Hz)
- Instruction Manual (this document)
Setup Instructions
1. Unpacking and Placement
- Carefully remove all components from the packaging.
- Place the turntable on a stable, level surface away from direct sunlight, heat sources, and excessive vibration.
2. Platter and Drive Belt Installation
- Place the platter onto the spindle located on the turntable plinth.
- Locate the drive belt. Gently stretch the belt around the motor pulley (small metal cylinder) and the inner rim of the platter. Ensure the belt is not twisted.
3. Cartridge and Stylus
The Como Audio Analog Turntable comes with a premium Ortofon cartridge and stylus pre-mounted. No adjustment of counterweight or anti-skating is required for initial setup.
4. Dust Cover Installation

Image: Detail of the removable clear dust cover, designed to protect the turntable from dust.
- Carefully align the hinges of the clear dust cover with the corresponding slots on the rear of the turntable plinth.
- Gently push down until the dust cover is securely in place. The dust cover is removable for cleaning or when not in use.
5. Audio Connection
The turntable offers selectable Line output or Phono output. Choose the appropriate connection for your audio system:
- Line Output (Integrated Phono Pre-Amp): Use this option if your amplifier or music system (e.g., Como Audio music system) has an Auxiliary (AUX) input and does not have a dedicated Phono input. Connect the included audio cable from the turntable's Line Out to your system's AUX input.
- Phono Output: Use this option if your amplifier or music system has a dedicated Moving Magnet (MM) Phono input. Connect the included audio cable from the turntable's Phono Out to your system's Phono input. Ensure your amplifier's Phono input is selected.
Note: If experiencing a humming noise, ensure proper grounding. Some audio systems may require a separate ground wire connection if available on your amplifier.
6. Power Connection
- Connect the power supply cable to the DC input jack on the rear of the turntable.
- Plug the power adapter into a suitable wall outlet.
Operating Instructions
1. Powering On and Speed Selection
- Locate the integrated power and speed control switch, typically on the bottom left side of the turntable plinth.
- Turn the switch to select either 33 1/3 RPM for LPs or 45 RPM for singles. The platter will begin to spin.
2. Playing a Record

Image: The turntable with a record spinning on the platter, and the tonearm positioned over the record.
- Place the felt mat on the platter.
- Carefully place a vinyl record onto the felt mat.
- Gently lift the tonearm using the cueing lever.
- Position the stylus over the desired starting groove of the record.
- Slowly lower the cueing lever to allow the stylus to descend onto the record.
- Adjust the volume on your connected audio system.
3. Stopping Playback
- At the end of a record, or when you wish to stop playback, gently lift the tonearm using the cueing lever.
- Return the tonearm to its rest position and secure it with the tonearm clip.
- Turn the power/speed switch to the "Off" position to stop the platter from spinning.
- Note: This turntable does not feature an automatic shut-off function. The platter will continue to spin until manually turned off.
Maintenance
1. Cleaning the Turntable
- Always power off and unplug the turntable before cleaning.
- Use a soft, dry, lint-free cloth to wipe the plinth and platter. Avoid abrasive cleaners or solvents.
- For the dust cover, use a soft cloth and a mild, non-abrasive cleaner if necessary.
2. Stylus Care
- Regularly clean the stylus using a dedicated stylus brush, brushing gently from back to front.
- Avoid touching the stylus with your fingers.
- A worn or damaged stylus can harm your records and degrade sound quality. Replace the stylus when necessary (typically after 500-1000 hours of playback, depending on usage and record condition).
3. Drive Belt
The drive belt is a wear item. If you notice inconsistent speed or the platter not spinning, the belt may need to be inspected or replaced. Contact Como Audio support for replacement parts.
Troubleshooting
| Problem | Possible Cause | Solution |
|---|---|---|
| No sound or very low sound |
|
|
| Humming noise |
|
|
| Inconsistent or incorrect playback speed |
|
|
| Turntable not spinning |
|
|
Specifications
| Feature | Detail |
|---|---|
| Model Number | CATA |
| Product Dimensions (L x W x H) | 16.3 x 12.6 x 4.65 inches |
| Item Weight | 11.68 pounds |
| Brand | Como Audio |
| Maximum Rotational Speed | 45 RPM |
| Included Components | Pre-mounted Ortofon cartridge/stylus, audio cable, power supply, dust cover, felt mat |
| Special Features | Belt-Drive, Built-In Cartridge, Integrated Phono Pre-Amp, DC Motor with TPE Damping |
| Material | Engineered Wood (MDF), Plastic |
| Color | Walnut |
| Compatible Devices | Speaker, Personal Computer (via appropriate audio input) |
| Motor Type | DC Motor |
Warranty and Support
For warranty information, technical support, or replacement parts, please contact Como Audio directly through their official website or customer service channels. Keep your purchase receipt as proof of purchase.
Official Como Audio Website: www.comoaudio.com


