
GLARRY GEP-103
Contents
GLARRY 61-Key Portable Electronic Piano Keyboard
Instruction Manual
Model: GEP-103
Introduction
Thank you for choosing the GLARRY 61-Key Portable Electronic Piano Keyboard. This versatile instrument is designed for both beginners and experienced players, offering a wide range of features to enhance your musical journey. Please read this manual carefully to ensure proper use and maintenance of your keyboard.
Key features include:
- 61 standard-sized keys for comfortable play.
- 350 Timbres (instrument sounds) and 350 Rhythms (accompaniment styles).
- 3 Teaching Modes (Single Key, Advanced, Master) to assist learning.
- Built-in LCD screen for clear function display and finger guidance.
- Integrated speakers, microphone input, and headphone output for versatile use.
- Dual power supply options (AC adapter or batteries) for portability.
Setup
Before first use, please ensure all components are present and undamaged.
Package Contents:
- GLARRY 61-Key Electronic Piano Keyboard
- Headphones
- Microphone
- Sheet Stand
- Power Supply (AC Adapter)
- Auxiliary Cable
Powering the Keyboard:
Your keyboard can be powered in two ways:
- AC Adapter: Connect the included power adapter to the DC 9V input jack on the back of the keyboard and plug the other end into a standard wall outlet.
- Batteries (Not Included): For portable use, insert 6 'AA' size batteries into the battery compartment on the underside of the keyboard. Ensure correct polarity.

Image: Two power modes for the keyboard, showing connection for the power adapter and a battery icon for optional battery power.
Connecting Accessories:
- Sheet Stand: Insert the sheet stand into the designated slots on top of the keyboard.
- Headphones: Plug the headphones into the 'PHONES OUTPUT' jack for private practice.
- Microphone: Connect the microphone to the 'MIC' input jack to sing along while playing.
- Audio Input: Use the 'AUDIO INPUT' jack to connect external audio devices (e.g., MP3 player, phone) and play along with your favorite music.

Image: Detailed view of the keyboard's rear panel, highlighting the MIDI, USB, Audio Input, Headphones, Microphone, and Power Supply ports.
Operating Instructions
Power On/Off:
Locate the red 'POWER' button on the left side of the control panel. Slide the switch to 'ON' to power on the keyboard. Slide to 'OFF' to power off.
Controls and Functions Overview:

Image: An overview of the keyboard's control panel, illustrating the various buttons for tones, rhythms, teaching modes, and volume controls.
Selecting Timbres (Sounds):
The keyboard features 350 different timbres. Use the numeric keypad and the '+' / '-' buttons to select your desired instrument sound. The selected timbre number will be displayed on the LCD screen.

Image: A close-up of the LCD display, showing the 'MUSICAL INFORMATION SYSTEM' and various control buttons for functions like Timbre, Rhythm, and Teaching Modes.
Selecting Rhythms:
Choose from 350 built-in rhythms to accompany your playing. Similar to timbres, use the numeric keypad and '+' / '-' buttons to select a rhythm. Press 'START/STOP' to begin or end the rhythm.
Teaching Modes:
The keyboard offers 3 teaching modes to help beginners learn:
- Single Key Mode: Focuses on playing one key at a time.
- Advanced Mode: Guides you through more complex melodies.
- Master Mode: For practicing full songs with accompaniment.
Refer to the LCD screen for finger follow-up instructions in these modes.
Volume and Tempo Control:
- Volume: Adjust the overall volume using the 'VOLUME' '+' / '-' buttons.
- Accompaniment Volume: Control the volume of the rhythm accompaniment using 'ACCOMP VOL' '+' / '-' buttons.
- Chord Volume: Adjust the volume of chords using 'CHORD VOL' '+' / '-' buttons.
- Tempo: Modify the speed of rhythms and demo songs using the 'TEMPO' '+' / '-' buttons.
Sustain and Vibrato:
- Sustain: Press the 'SUSTAIN' button to add a lingering effect to notes. Press again to deactivate.
- Vibrato: Press the 'VIBRATO' button to add a slight pitch variation to notes. Press again to deactivate.
Recording and Playback:
The keyboard allows you to record your performances. Press 'RECORD' to start recording. Play your desired melody. Press 'PLAY' to listen to your recorded track. Consult the full manual for detailed instructions on programming and playback functions.
Dual Keyboard / Split Function:
This feature allows the keyboard to be split into two sections, each with its own sound, enabling two people to play simultaneously or for practicing with different instrument sounds on each hand. Refer to the detailed manual for activation and configuration.
Maintenance
To ensure the longevity and optimal performance of your GLARRY keyboard, follow these maintenance guidelines:
- Cleaning: Use a soft, dry cloth to wipe the surface of the keyboard. For stubborn dirt, slightly dampen the cloth with water and a mild soap, then wipe dry immediately. Avoid abrasive cleaners or solvents.
- Storage: Store the keyboard in a cool, dry place away from direct sunlight, extreme temperatures, and high humidity. If storing for an extended period, remove batteries to prevent leakage.
- Handling: Avoid dropping the keyboard or subjecting it to strong impacts. Do not place heavy objects on top of it.
- Liquid Contact: Keep liquids away from the keyboard. If liquid spills on the unit, immediately power off and disconnect from the power source. Allow it to dry completely before attempting to use it again.
Troubleshooting
If you encounter any issues with your keyboard, please refer to the following common problems and solutions:
| Problem | Possible Cause | Solution |
|---|---|---|
| No sound from speakers/headphones. | Power is off, volume is too low, headphones not fully plugged in, or batteries are depleted. | Ensure power is ON. Increase master volume. Check headphone connection. Replace batteries or use AC adapter. |
| Lowest volume setting does not mute sound. | This is a characteristic of the keyboard's design; the lowest setting is not intended for full mute. | To completely mute, use headphones or power off the unit. |
| Difficulty with recording function. | Incorrect sequence of operations or unfamiliarity with the feature. | Refer to the 'Recording and Playback' section in the detailed manual for step-by-step instructions. Practice the sequence. |
| Keys are unresponsive or sticky. | Dust or debris under keys, or physical damage. | Gently clean around the keys with a soft brush or compressed air. If the problem persists, contact customer support. |
Specifications
The GLARRY 61-Key Portable Electronic Piano Keyboard is designed with the following specifications:

Image: A close-up view of the 61 premium keys, emphasizing their suitability for beginners and comfortable feel.
| Feature | Detail |
|---|---|
| Model Name | GEP-103 |
| Number of Keys | 61 |
| Timbres | 350 |
| Rhythms | 350 |
| Demo Songs | 30 |
| Keyboard Percussion | 61 types |
| Teaching Modes | 3 (Single Key, Advanced, Master) |
| Display | LCD Screen |
| Connectivity | 3.5mm Jack (Headphones, Microphone, Audio Input) |
| Power Source | Electric (AC Adapter) or Batteries (6 'AA' - not included) |
| Material Type | Plastic |
| Color | Black |
| Skill Level | Beginner |
| Special Feature | Portable |
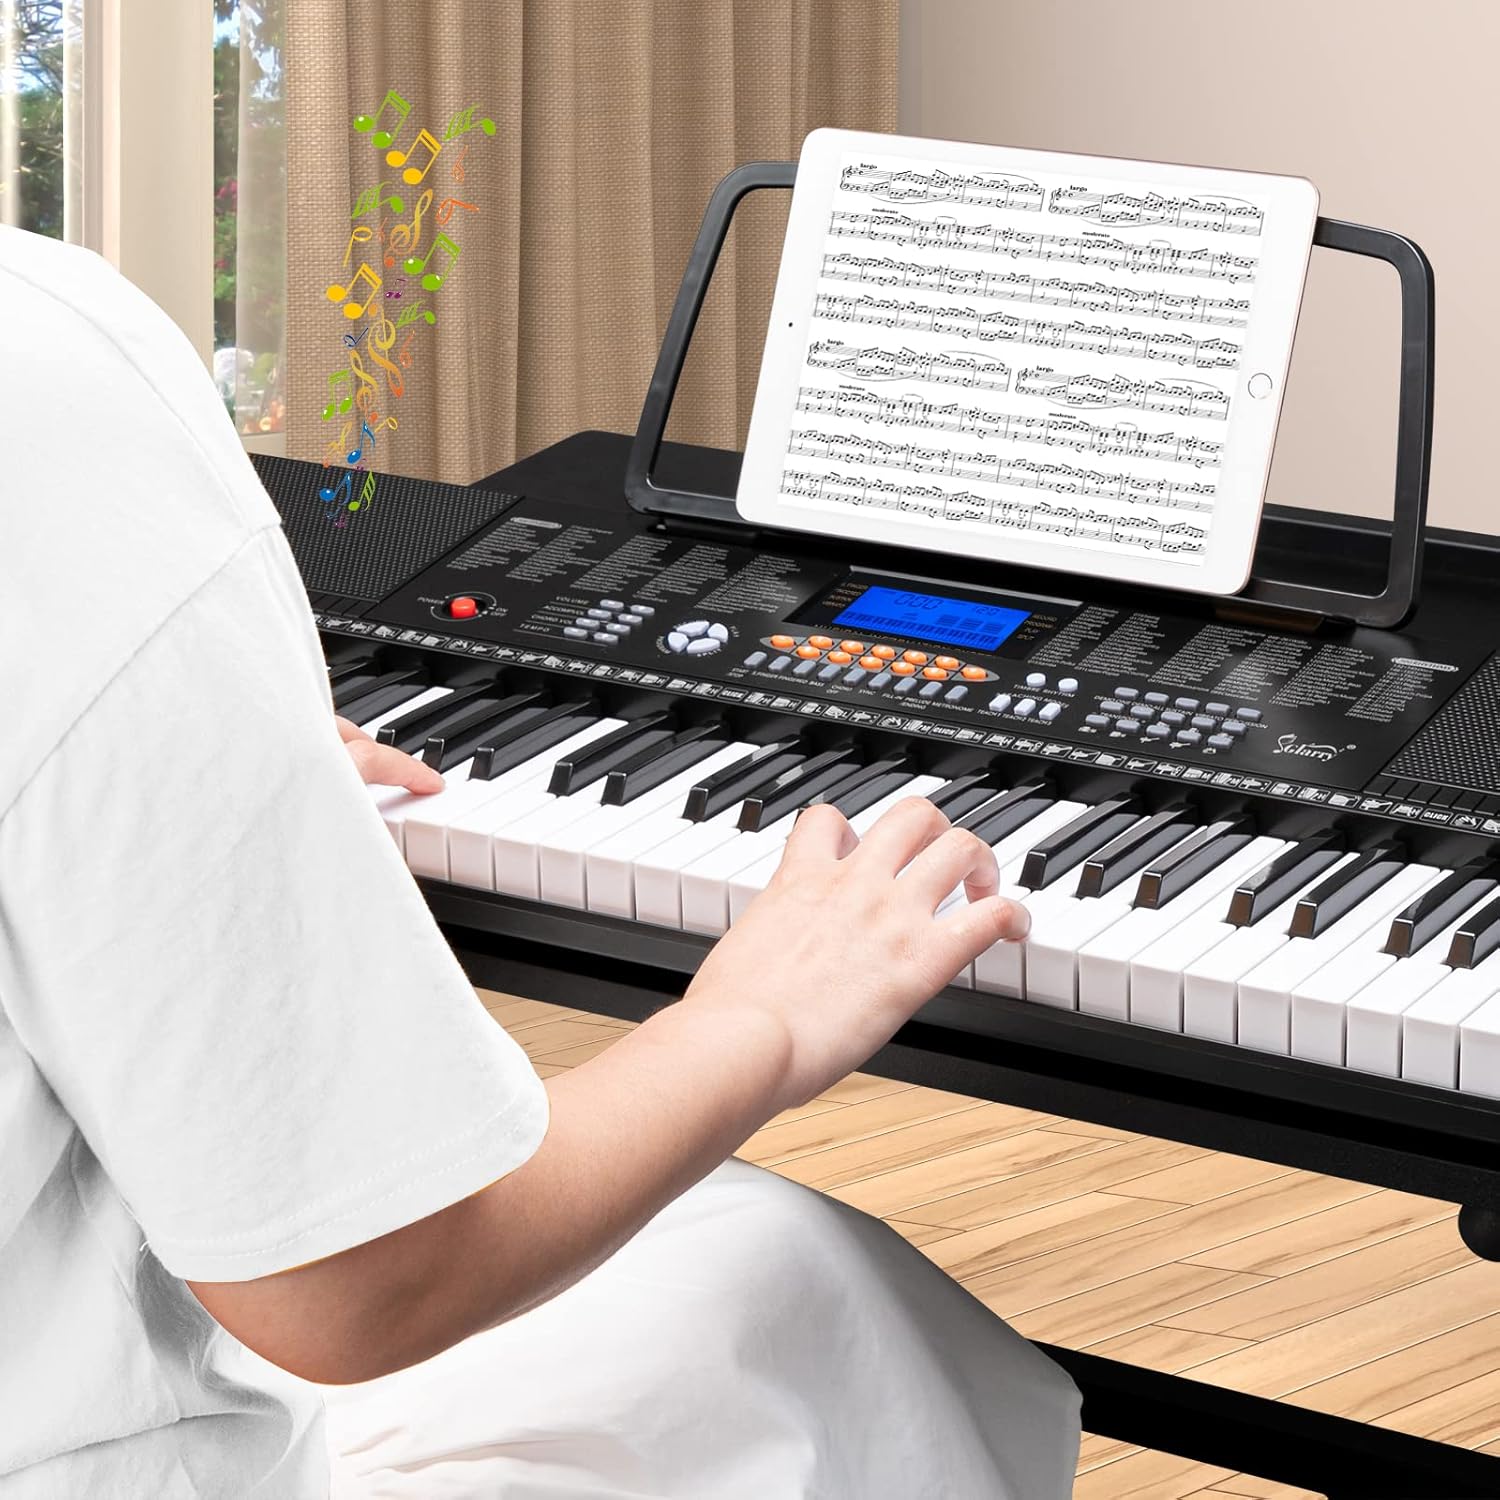
Image: Diagram showing the dimensions of the GLARRY 61-Key Portable Electronic Piano Keyboard.
Warranty and Support
For warranty information and customer support, please refer to the documentation included with your purchase or contact GLARRY customer service directly. Keep your purchase receipt as proof of purchase.
Ask a question about this manual
Ask about setup, troubleshooting, compatibility, parts, safety, or missing instructions. Manuals+ will review the question and use this page’s manual context to help answer it.