
Introduction
This manual provides essential instructions for the safe and effective use, setup, operation, and maintenance of your YESWELDER Auto Darkening Welding Helmet, Model LYG-17800F-ST. Please read this manual thoroughly before operating the helmet to ensure proper function and safety.

The YESWELDER Auto Darkening Welding Helmet, Model LYG-17800F-ST, featuring an integrated LED light for enhanced visibility.
Key Features:
- Integrated LED Light: USB-powered LED light provides clear visibility in low-light conditions.
- Large Viewing Screen: 3.93" x 3.66" viewing area with 1/1/1/1 optical clarity and True Color technology.
- Fast Auto Darkening: Equipped with 4 advanced sensors, switching from light to dark in 1/30000 seconds.
- Extended Service Life: Features a front solar panel and a rear lithium battery for efficient power management.
- Superior Comfort: Made from 100% recyclable upgraded PP material with an ergonomically designed, adjustable headgear.
Setup
1. Unpacking and Contents Verification
Carefully remove all components from the packaging. Ensure the following items are included:
- 1 x Welding Helmet
- 3 x Replacement Lenses
- 1 x Headlamp (LED Light)
- 1 x Replaceable Battery
- 1 x Headlamp Charging Cable

Overview of included components and key specifications.
2. Headgear Adjustment
Adjust the headgear to ensure a comfortable and secure fit. Proper adjustment is crucial for stability and protection during welding operations.
- Size Adjustment: Use the top strap to adjust the headband's height for different head sizes.
- Tightness Adjustment: Rotate the knob at the back of the headgear to tighten or loosen the fit around your head. This prevents the helmet from falling off.
- Angle Adjustment: Adjust the helmet's angle to your desired position for optimal viewing.
- Distance Adjustment: Modify the distance between the helmet and your face for comfortable observation.

Detailed illustration of the headgear adjustment points for a customized fit.
3. LED Light Attachment and Charging
The helmet includes a detachable LED light for improved visibility. Attach the LED light securely to the designated slot on top of the helmet. Charge the LED light using the provided USB charging cable before first use and as needed.

The LED headlamp offers two lighting modes (concentrated and larger area) and is rechargeable via USB.
4. Battery Installation/Replacement
The helmet uses a replaceable lithium battery in conjunction with a solar panel for power. To install or replace the battery, locate the battery compartment, typically on the auto-darkening filter (ADF) unit. Ensure the battery is inserted with the correct polarity.

Instructions for replacing the helmet's internal battery.
Operating Instructions
1. Auto-Darkening Function
The helmet features an advanced auto-darkening filter (ADF) with four sensors that detect the welding arc. Upon arc ignition, the lens darkens automatically within 1/30000 seconds to protect your eyes from harmful UV/IR radiation.

The helmet's advanced sensors provide rapid auto-darkening for eye protection.
2. Control Settings (Shade, Delay, Sensitivity)
Adjust the helmet's settings using the external control knobs to match your welding application and personal preference.
- Shade Control: Select the appropriate shade level for your welding process. The helmet offers a wide shade range of 4/5-9/9-13, suitable for TIG, MIG, ARC, and cutting operations.
- Delay Control: Adjust the time it takes for the lens to return from the dark state to the light state after the arc stops. This can be set between 0.1 and 0.8 seconds.
- Sensitivity Control: Adjust the sensitivity of the sensors to detect the welding arc. This stepless control allows fine-tuning to prevent false triggering in varying light conditions.
The helmet features external controls for adjusting delay, shade, and sensitivity settings.
3. Operating Modes
The helmet supports multiple operating modes for various tasks:
- Weld Mode: For TIG, MIG, and ARC welding. The lens darkens to a shade between 9 and 13.
- Cut Mode: For plasma cutting. The lens darkens to a shade between 5 and 9.
- Grind Mode: For grinding operations. The lens remains in a light state (Shade 4) to provide clear vision while protecting against sparks and debris.

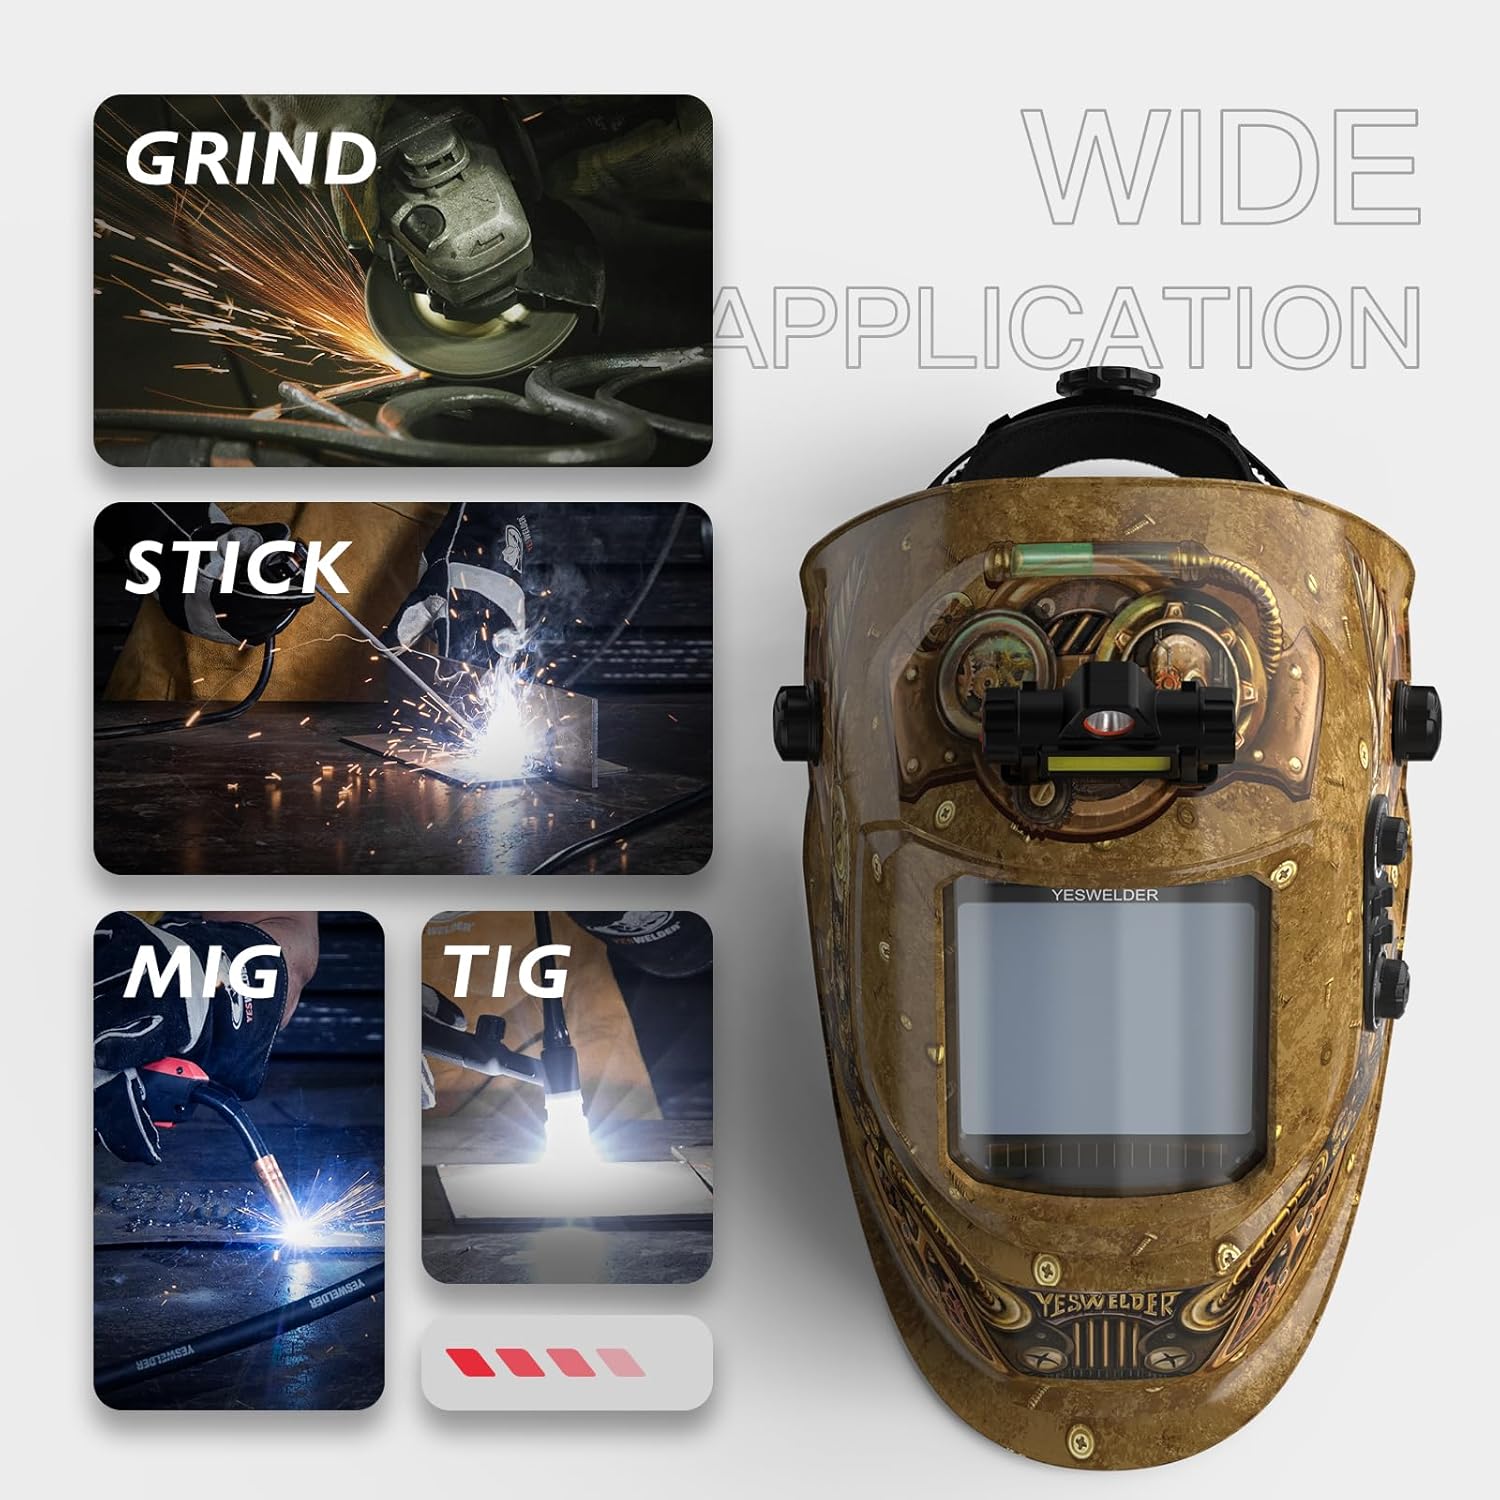
The helmet is suitable for various applications including grinding, stick welding, MIG welding, and TIG welding.
4. True Color Technology
The helmet incorporates True Color technology with 1/1/1/1 optical clarity, providing a clearer and more natural view of your work area. This reduces eye strain and improves weld puddle visibility compared to traditional green-tinted lenses.

True Color technology offers a wider, more natural view compared to traditional lenses.
Maintenance
1. Cleaning
- Regularly clean the helmet shell with a soft, damp cloth. Avoid abrasive cleaners or solvents.
- Clean the inner and outer protective lenses with a soft, lint-free cloth and a mild lens cleaning solution. Do not use harsh chemicals.
- Keep the sensors clean and free from obstructions to ensure proper auto-darkening function.
2. Lens Replacement
Replace the inner and outer protective lenses when they become scratched, pitted, or too dirty to clean effectively. Refer to the helmet's design for specific instructions on how to remove and install new lenses.
3. Battery Care
The helmet's solar panel helps extend the life of the internal lithium battery. Ensure the solar panel is exposed to light regularly. Replace the battery when the low battery indicator appears or if the auto-darkening function becomes unreliable.
Troubleshooting
| Problem | Possible Cause | Solution |
|---|---|---|
| Helmet does not darken | Low battery; Sensors obstructed/dirty; Incorrect sensitivity setting; Helmet not in Weld/Cut mode. | Replace battery; Clean sensors; Adjust sensitivity; Switch to appropriate mode. |
| Poor visibility through lens | Lens is dirty/scratched; Incorrect shade setting. | Clean or replace lenses; Adjust shade to appropriate level. |
| Helmet feels loose or uncomfortable | Headgear not properly adjusted. | Re-adjust headgear for size, tightness, angle, and distance. |
| LED light not working | LED light battery low or uncharged; Loose connection. | Charge LED light battery; Ensure LED light is securely attached. |
Specifications
| Feature | Detail |
|---|---|
| Model | LYG-17800F-ST |
| Viewing Size | 3.93" x 3.66" (100mm x 93mm) |
| Optical Clarity | 1/1/1/1 (True Color View) |
| Dark State Shade | No. 5-9 / No. 9-13 |
| Light State Shade | No. 4 |
| UV and IR Protection | DIN 16 |
| Switching Time | 1/30000s |
| Delay Time | 0.1s ~ 0.8s (Adjustable) |
| Sensitivity Adjustment | Stepless Control |
| Power Supply | Lithium Battery & Solar Supply |
| Operating Temperature | 23°F ~ 131°F (-5°C ~ +55°C) |
| Material | Polypropylene (PP) |
| Item Weight | 1.05 kg |
Warranty and Support
Warranty Information
The YESWELDER Auto Darkening Welding Helmet, Model LYG-17800F-ST, typically comes with a 1-year warranty from the date of purchase. This warranty covers manufacturing defects and ensures the product meets quality standards. Please retain your proof of purchase for warranty claims.
Customer Support
For technical assistance, troubleshooting not covered in this manual, or warranty inquiries, please contact YESWELDER customer support. Refer to the product packaging or the official YESWELDER website for the most current contact information.


