
1. Introduction
This manual provides essential information for the safe and efficient installation, operation, and maintenance of your Goeco LED Ceiling Light. Please read these instructions carefully before use and retain them for future reference.
The Goeco LED Ceiling Light features a modern, floral-inspired design that integrates seamlessly into various interior spaces. It offers adjustable color temperature settings (3000K, 4500K, 6500K) to suit different moods and needs.
2. Safety Information
- Ensure the power supply is disconnected before installation or maintenance.
- Installation should be performed by a qualified electrician if you are unsure.
- Do not attempt to modify the product.
- This product is designed for indoor use only and is not waterproof.
- Keep out of reach of children.
3. Package Contents
Verify that all components are present and undamaged before proceeding with installation.
- Goeco LED Ceiling Light fixture (Model VGOL/308633)
- Mounting hardware (screws, anchors)
- Instruction Manual

4. Specifications
| Feature | Detail |
|---|---|
| Model Number | VGOL/308633 |
| Brand | Goeco |
| Power | 20W |
| Luminous Flux | 2200 Lumens |
| Voltage | 220V (AC) |
| Color Temperature | 3000K (Warm White), 4500K (Neutral White), 6500K (Cool White) |
| Dimensions (L x W x H) | 25 cm x 25 cm x 10 cm (approx. 9.84 x 9.84 x 3.94 inches) |
| Illumination Area | 5-10 square meters |
| Material | Iron, Acrylic |
| Control Method | Wall Switch (toggle to change color temperature) |
| Mounting Type | Flush Mount Ceiling |
| Waterproof Level | Not waterproof (Indoor use only) |
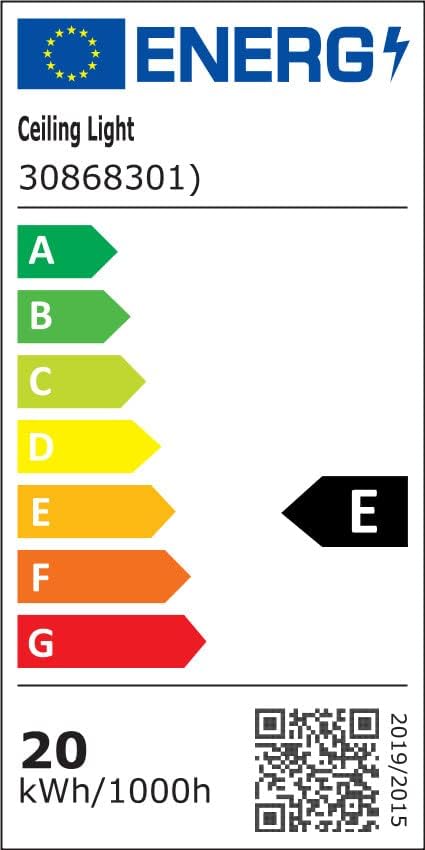
| Energy Efficiency Class | E |

5. Setup (Installation)
The Goeco LED Ceiling Light is designed for straightforward installation. No complex assembly steps are required; simply connect it to your pre-wired electrical cable.
Installation Steps:
- Turn off Power: Before starting, ensure the main power supply to the installation area is switched off at the circuit breaker to prevent electrical shock.
- Prepare Mounting Surface: Identify the desired mounting location on the ceiling. Ensure the surface is clean, dry, and capable of supporting the light fixture's weight.
- Mark Drilling Points: Use the mounting bracket (if separate) or the fixture's base as a template to mark the drilling points on the ceiling.
- Drill Holes: Drill pilot holes at the marked points. Insert wall anchors if necessary (for drywall or plaster ceilings).
- Secure Mounting Bracket/Base: Attach the mounting bracket or the light fixture's base securely to the ceiling using the provided screws.
- Connect Wiring: Carefully connect the electrical wires from the ceiling to the corresponding wires on the light fixture. Typically, this involves connecting live (L), neutral (N), and ground (E) wires. Ensure connections are secure and insulated.
- Attach Fixture: Mount the light fixture onto the secured mounting bracket or base, ensuring it is firmly in place.
- Restore Power: Once the installation is complete and all connections are secure, restore power at the circuit breaker.

6. Operating Instructions
The Goeco LED Ceiling Light offers adjustable color temperature settings controlled by a standard wall switch.
Changing Color Temperature:
- Turn the light on using your wall switch. The light will illuminate with a default color temperature (e.g., 3000K Warm White).
- To change the color temperature, quickly toggle the wall switch OFF and then ON again. The light will cycle to the next color temperature (e.g., 4500K Neutral White).
- Repeat the OFF/ON toggle to cycle through the available color temperatures: 3000K (Warm White), 4500K (Neutral White), and 6500K (Cool White).
- The light will retain the last selected color temperature when turned off for an extended period.


7. Maintenance
Regular cleaning and proper care will ensure the longevity and optimal performance of your LED ceiling light.
- Cleaning: Disconnect power before cleaning. Use a soft, dry, or slightly damp cloth to wipe the surface of the fixture. Do not use abrasive cleaners, solvents, or harsh chemicals, as these can damage the finish or electrical components.
- Bulb Replacement: This fixture uses integrated LED components and does not require traditional bulb replacement. If the LEDs fail, the entire fixture may need to be replaced.
- Inspection: Periodically check for any loose connections or signs of damage. If any issues are found, disconnect power and consult a qualified electrician.
8. Troubleshooting
If you encounter issues with your Goeco LED Ceiling Light, refer to the following common problems and solutions:
| Problem | Possible Cause | Solution |
|---|---|---|
| Light does not turn on. | No power supply; loose wiring; faulty switch. | Check circuit breaker. Ensure all wiring connections are secure. Test the wall switch. |
| Light flickers or dims unexpectedly. | Unstable power supply; loose wiring; incompatible dimmer (if applicable, though this model uses a toggle switch for CCT). | Verify stable power. Check wiring connections. Ensure no incompatible dimmer is used. |
| Cannot change color temperature. | Incorrect toggling sequence; internal fault. | Ensure you are quickly toggling the wall switch OFF and ON. If the issue persists, contact support. |
If the problem persists after attempting these solutions, please contact Goeco customer support.
9. Warranty
This Goeco LED Ceiling Light comes with a Limited Warranty. Please refer to the warranty card included in your package or contact Goeco customer service for specific terms and conditions.
10. Support
For any questions, technical assistance, or support regarding your Goeco LED Ceiling Light, please contact our customer service team. We are committed to providing energy-efficient lighting products and aim to respond to inquiries within 12 hours.
Goeco has over 10 years of experience in professional lighting manufacturing, ensuring quality and reliable products.


