
1. Safety Information
Important: This product is intended for use only under supervision. Always ensure children are supervised by a competent adult when in or near the pool.
- Do not dive or jump into the pool.
- Ensure the pool is set up on a level, stable surface free of sharp objects.
- Keep children away from the pool when not in use.
- Do not leave children unattended in or around the pool.
- Empty the pool completely when not in use for extended periods.
2. Product Overview
The Avenli Rotunda Inflatable Swimming Pool (Model 17794EU) offers a convenient and enjoyable swimming experience for the whole family. Its robust design and easy setup make it an ideal choice for summer fun.

Figure 2.1: The Avenli Rotunda Inflatable Swimming Pool, ready for use.
Key Features:
- Easy to Use: Designed for straightforward setup and operation.
- Durable Construction: Made from high-quality, multi-layered Lam-Tech PVC plastic for enhanced durability.
- Quick Setup: No tools required for assembly, ready for water in approximately 10 minutes.
- Optimal Size: Measures 360 cm in diameter and 76 cm in height, providing ample space for family enjoyment.
- Integrated Drain Valve: Features a quick drain valve for easy water removal.
- Repair Kit Included: Comes with a repair kit for minor punctures.
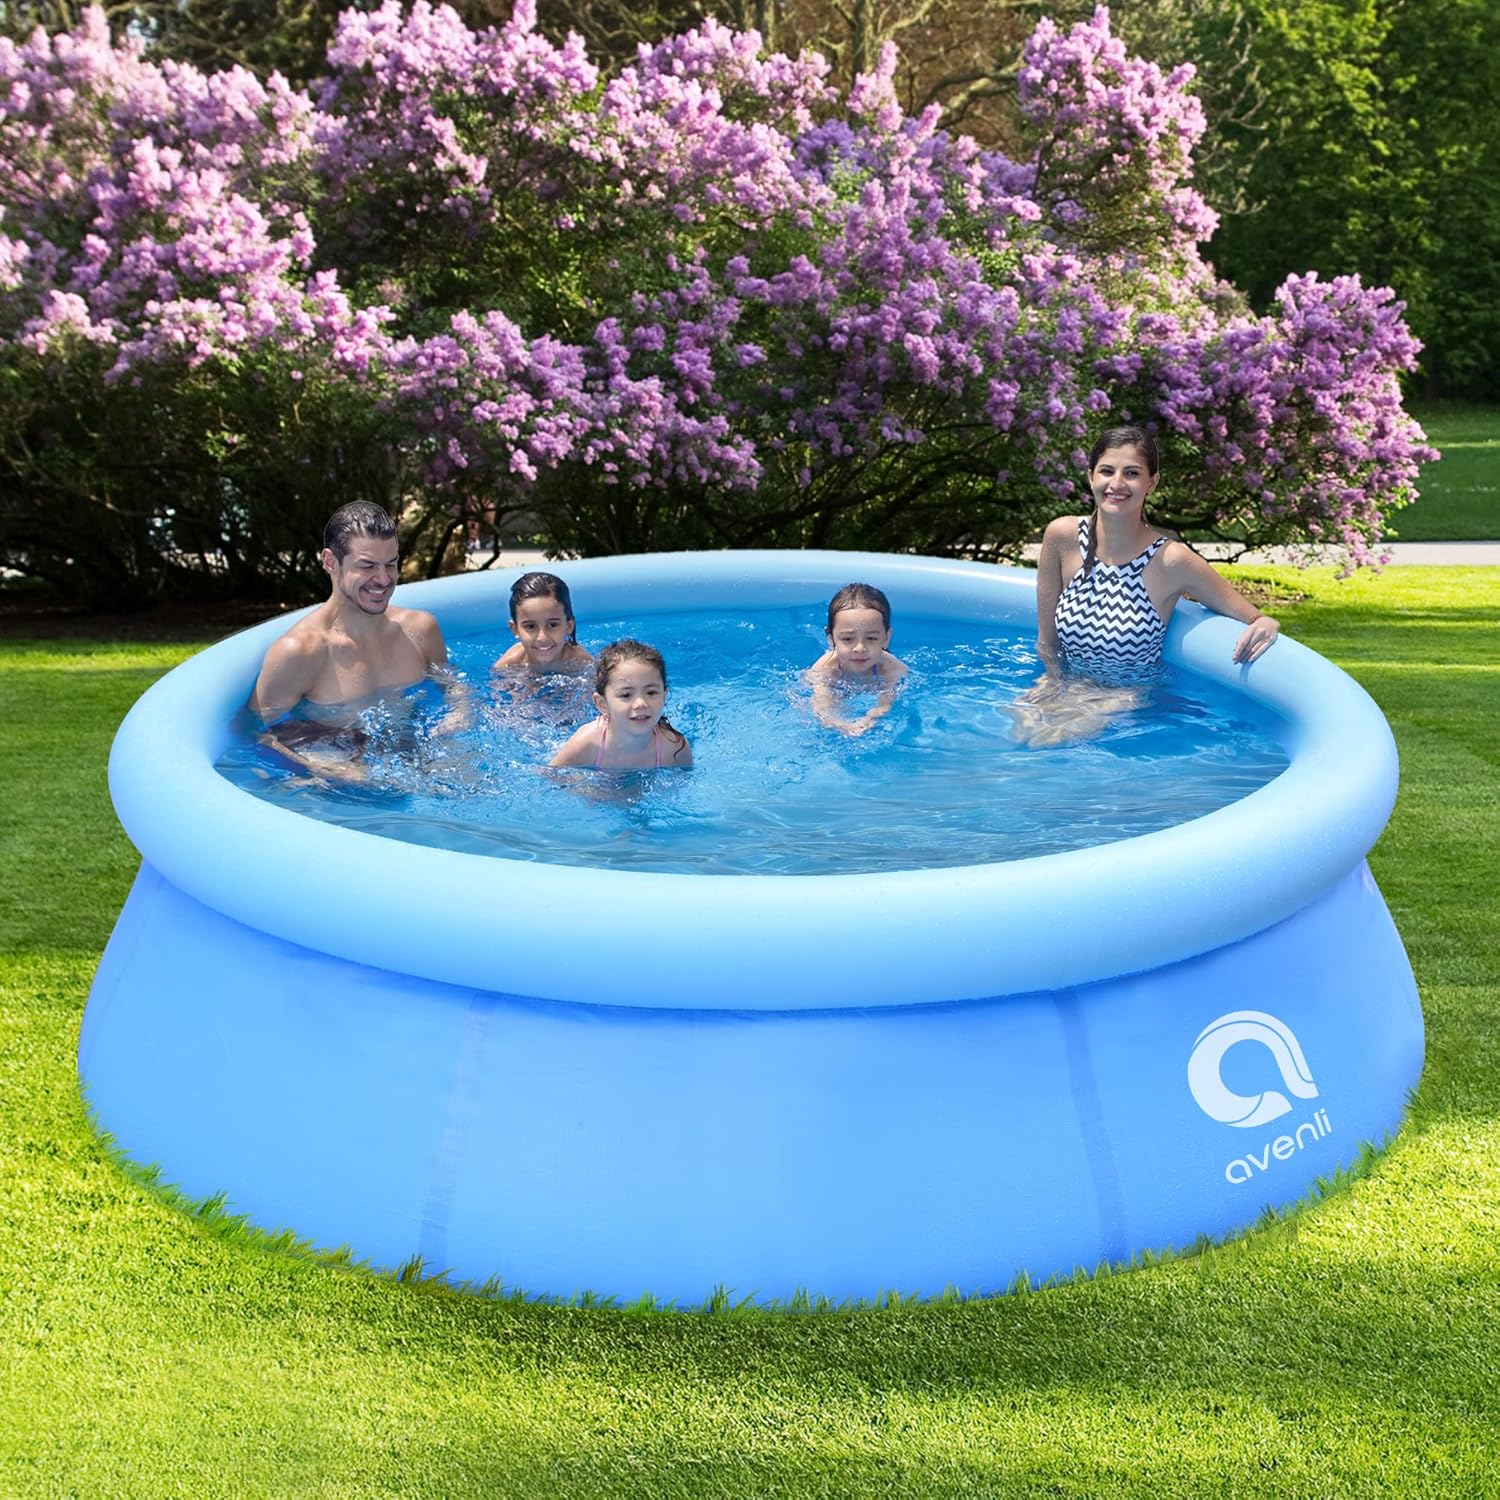
Figure 2.2: The pool provides a refreshing experience for the entire family.

Figure 2.3: Product packaging highlighting key features and dimensions.
3. Setup Instructions
Follow these steps for a quick and easy pool setup:
- Choose a Location: Select a flat, level surface free from sharp objects, debris, or excessive slopes. Ensure there is adequate space around the pool for safe entry and exit.
- Unfold the Pool: Carefully unfold the pool liner and spread it out evenly on the chosen surface.
- Inflate the Top Ring: Locate the inflation valve on the top ring of the pool. Use an air pump (not included) to inflate the ring until it is firm to the touch but not overinflated.
- Begin Filling with Water: Connect a garden hose to the pool's water inlet adapter. Begin filling the pool with water. As the water level rises, the inflated top ring will float, causing the pool walls to rise and take shape. This process typically takes about 30 minutes for the walls to fully form.
- Fill to Optimal Level: Fill the pool to approximately 80% of its depth. This ensures proper buoyancy of the top ring and stability of the pool walls.

Figure 3.1: Setup diagram indicating dimensions and approximate setup time.
4. Operation
Once the pool is set up and filled, it is ready for use. For optimal water quality and circulation, connecting a filter pump is recommended.
Connecting a Filter Pump:
The pool is equipped with an adapter for connecting a filter pump. Refer to your filter pump's manual for specific connection instructions. Ensure all connections are secure to prevent leaks.

Figure 4.1: An example of a compatible filter pump (sold separately).
Draining the Pool:
To drain the pool, locate the quick drain valve at the bottom of the pool. Connect a garden hose to the valve to direct the water away from your property. Open the valve to allow the water to drain completely.

Figure 4.2: The quick drain valve for easy water removal.

Figure 4.3: Water being drained from the pool using a garden hose connection.
5. Maintenance
Proper maintenance will extend the life of your Avenli pool and ensure a clean swimming environment.
- Water Treatment: Regularly test and treat pool water with appropriate chemicals to maintain hygiene and clarity.
- Cleaning: Use a pool skimmer to remove debris from the water surface. Periodically clean the pool walls and floor.
- Filter Pump Maintenance: If using a filter pump, clean or replace the filter cartridge as recommended by the pump manufacturer.
- Storage: When not in use for an extended period, drain the pool completely, clean it thoroughly, allow it to dry, and store it in a cool, dry place away from direct sunlight and extreme temperatures.
- Repair Kit: The included repair kit can be used for minor punctures. Clean the damaged area, apply the patch according to the kit instructions, and allow sufficient time for it to cure before refilling the pool.
6. Troubleshooting
This section addresses common issues you might encounter with your inflatable pool.
- Pool Not Inflating Properly: Ensure the air pump is functioning correctly and the inflation valve is securely closed after inflation. Check for any leaks in the top ring.
- Water Level Dropping: Inspect the pool liner for any punctures or tears. Use the included repair kit to patch any damage. Also, check the drain valve for a secure closure.
- Water Not Draining: Ensure the drain valve is fully open and the hose connected is not kinked or blocked.
- Unstable Walls: Ensure the top ring is adequately inflated and the pool is filled to approximately 80% of its depth. The pool must be on a completely level surface.
7. Specifications
| Specification | Detail |
|---|---|
| Model Number | 17794EU |
| Product Dimensions (L x W x H) | 360 x 360 x 76 cm (12 ft x 30 in) |
| Item Weight | 4 kg |
| Capacity | 5377 liters |
| Material Type | Multi-layered PVC plastic |
| Color | Blue |
| Item Shape | Round |
| Manufacturer Recommended Age | 3 years and up |
| Assembly Required | Yes |
| Batteries Required | No |
| Included Components | Inflatable swimming pool |
| Manufacturer | Jilong |
| Date First Available | March 16, 2022 |
8. Warranty and Support
For warranty information or technical support, please refer to the contact details provided on the product packaging or visit the official Avenli website. Keep your purchase receipt as proof of purchase.


