Introduction
Welcome to the Gener8 Lets Start Sewing Machine instruction manual. This guide provides essential information for setting up, operating, maintaining, and troubleshooting your new sewing machine. Designed for beginners, this machine is ideal for sewing lightweight fabrics and embarking on creative projects.
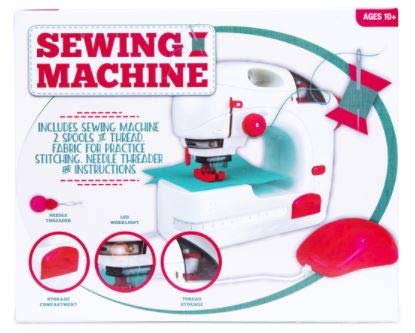
An image displaying the Gener8 Lets Start Sewing Machine, a compact white and red unit. The image highlights key features such as the needle threader, LED work-light, storage compartment, and thread storage. The package contents, including 2 spools of thread, practice fabric, needle threader, and instructions, are also listed on the box.
Safety Information
- Always keep fingers away from the needle area during operation.
- Ensure the machine is turned off when changing needles, threading, or performing maintenance.
- Do not allow children to operate the machine unsupervised. Recommended for ages 10 and up.
- Use only the recommended power source (3 x AA batteries).
- Avoid operating the machine in wet conditions.
Package Contents
Please verify that all items are present in your package:
- Gener8 Lets Start Sewing Machine
- 2 Spools of Thread
- Fabric for Practice Stitching
- Needle Threader
- Operating Instructions (this manual)
Setup
1. Battery Installation
- Locate the battery compartment on the underside or back of the machine.
- Open the compartment cover.
- Insert 3 x AA batteries, ensuring correct polarity (+/-).
- Close the battery compartment cover securely.
2. Threading the Machine
- Place a spool of thread onto the spool pin.
- Follow the numbered threading path indicated on the machine, guiding the thread through all tension discs and guides.
- Use the needle threader to pass the thread through the eye of the needle from front to back.
- Pull approximately 6 inches of thread through the needle eye.
3. Preparing for Sewing
- Lift the presser foot using the lever.
- Place your fabric under the presser foot, aligning the edge with the desired seam allowance.
- Lower the presser foot onto the fabric.
Operating Instructions
1. Powering On/Off
Locate the power switch, typically on the side or back of the machine. Flip the switch to the 'ON' position to power on the machine and to 'OFF' when not in use.
2. Using the LED Work-light
The machine features a built-in LED work-light to illuminate your sewing area. This light typically activates automatically when the machine is powered on, or via a separate switch if available.
3. Basic Stitching
- With the fabric in place and presser foot lowered, gently press the foot pedal or the start button (if available) to begin sewing.
- Guide the fabric gently with both hands, ensuring it feeds evenly under the needle. Do not pull or push the fabric forcefully.
- To stop sewing, release the foot pedal or press the stop button.
- Lift the presser foot and carefully pull the fabric away from the needle. Cut the threads, leaving a short tail.
4. Measuring Tape Usage
A built-in measuring tape is provided for quick reference. Use it to measure fabric lengths or seam allowances directly on the machine's work surface.
Maintenance
- Cleaning: Regularly clean lint and dust from the bobbin area and feed dogs using a small brush. Ensure the machine is off before cleaning.
- Needle Replacement: Replace bent or dull needles immediately. Turn off the machine, loosen the needle clamp screw, remove the old needle, insert a new needle with the flat side facing the back, and tighten the screw.
- Storage: When not in use, store the machine in a clean, dry place, away from direct sunlight and extreme temperatures. Utilize the built-in storage compartment for accessories.
Troubleshooting
| Problem | Possible Cause | Solution |
|---|---|---|
| Machine not sewing | No power; incorrect threading; needle bent/dull. | Check batteries; re-thread machine; replace needle. |
| Skipped stitches | Incorrect needle; needle bent/dull; improper threading. | Ensure correct needle type for fabric; replace needle; re-thread. |
| Thread breaking | Incorrect tension; poor quality thread; needle bent/dull. | Adjust tension; use good quality thread; replace needle. |
| Fabric not feeding | Presser foot not lowered; lint in feed dogs. | Lower presser foot; clean feed dogs. |
Specifications
- Brand: Gener8
- Model Number: 6164
- Material: Metal, Plastic
- Power Source: Battery Powered (3 x AA batteries, not included)
- Dimensions (approx.): 10in (L) x 8in (H) x 3.5in (D)
- Features: LED work-light, Storage compartment, Built-in measuring tape
Warranty and Support
For information regarding warranty coverage or technical support, please refer to the contact details provided on the product packaging or the official Gener8 website. Keep your proof of purchase for any warranty claims.


