Introduction
Thank you for choosing the NBCP Universal Gaming Controller and Headset Stand. This stand is designed to organize your gaming accessories, providing a stable and convenient storage solution for your controllers and headset. It is compatible with a wide range of gaming consoles, including PS5, PS4, Xbox Series X|S, Xbox One, Switch, and Steam Controller, as well as most gaming headsets and mobile phones.

Image: The NBCP Universal Gaming Controller and Headset Stand in black, holding two black gaming controllers and a black over-ear headset. The stand is placed on a desk with a computer monitor in the background, demonstrating its organizational function.
What's Included
Upon opening your package, please verify that all the following components are present:
- Main Stand Brackets (2 pieces)
- Connecting Tubes/Pillars (6 pieces)
- Screws (6 pieces)
- Hex Key / Allen Wrench (1 piece)
- Protective Rubber Strips (for controller rests)
- Anti-slip Rubber Feet (4 pieces for base)
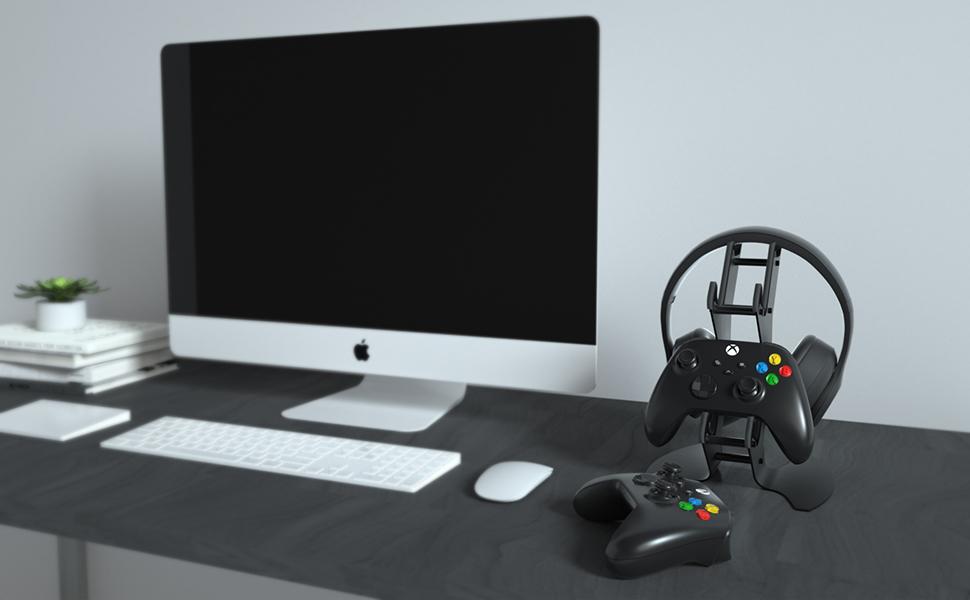
Image: All individual components of the stand, including the two main metal brackets, six connecting tubes, screws, hex key, and rubber feet, are neatly arranged on a white background, ready for assembly.
Assembly Instructions
Follow these steps to assemble your NBCP Controller and Headset Stand:
- Connect the Main Brackets: Take the two main stand brackets. Insert the six connecting tubes into the designated holes on both brackets. Ensure they align properly.
- Secure with Screws: Use the provided screws and hex key to tighten the connections. It is recommended to hand-tighten all screws initially, then fully tighten them once all components are in place to ensure stability. Do not overtighten.
- Attach Protective Rubber Strips: Locate the protective rubber strips. These are designed to prevent scratches on your controllers. Carefully apply them to the edges of the controller cradles on the stand.
- Apply Anti-slip Rubber Feet: Peel off the backing from the four small anti-slip rubber feet. Attach them to the bottom of the stand's base. This will provide stability and prevent the stand from sliding on your desk surface.
Video: A detailed step-by-step guide demonstrating the assembly process of the NBCP Universal Gaming Controller and Headset Stand. This video shows how to connect the main brackets, secure them with screws, and apply the protective rubber components.
Video: An alternative assembly demonstration for the NBCP Universal Gaming Controller and Headset Stand, highlighting the ease of putting together the components and the final stable structure.

Image: This diagram illustrates the simple, non-invasive installation method of the stand, emphasizing that no wall mounting or drilling is required, making it easy to set up on any flat surface.
Operating Instructions
Once assembled, the stand is ready for use. Its design allows for organized storage and easy access to your gaming gear.
- Controller Placement: Place your gaming controllers onto the designated cradles. The stand is designed to hold two controllers securely.
- Headset Placement: Rest your gaming headset on the top section of the stand. The design accommodates most over-ear headsets.
- Cable Management: The stand features a gap design in the middle, allowing for convenient charging cable routing and wired cord storage, helping to keep your gaming area tidy.

Image: A visual comparison highlighting the stable, gravity-based design of the NBCP stand on the left, contrasted with an unstable, easily tilted stand on the right, demonstrating the product's robust construction.
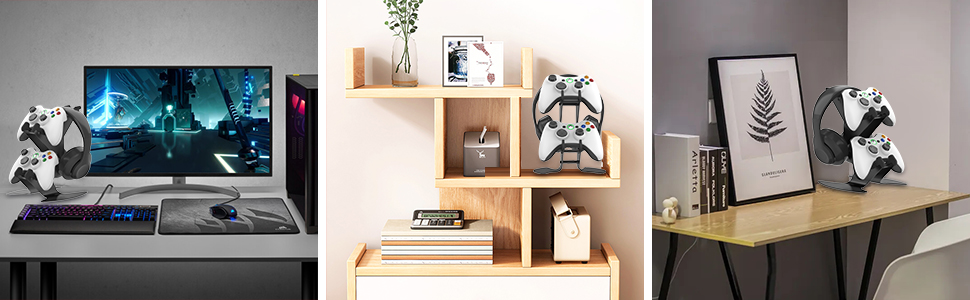
Image: A collage of different gaming headsets, illustrating the stand's universal compatibility with a wide range of headset brands and styles.
Specifications
| Feature | Detail |
|---|---|
| Model Number | KTA-72 Black |
| Product Dimensions | 7 x 8 x 9 inches |
| Item Weight | 2.2 Pounds |
| Material | High quality thickened aluminum alloy with soft silicone coating |
| Compatibility | PS5, PS4, Xbox Series X|S, Xbox One, 360, Switch, Steam Controller, most gaming headsets, mobile phones |

Image: A technical drawing of the stand with key dimensions labeled in centimeters (17.5cm, 23.4cm, 20.2cm), providing precise measurements for users.
Maintenance
To ensure the longevity and appearance of your stand, follow these simple maintenance guidelines:
- Cleaning: Wipe the stand regularly with a soft, damp cloth. Avoid abrasive cleaners or solvents that could damage the finish.
- Placement: Place the stand on a flat, stable surface to prevent accidental tipping.
- Avoid Overloading: Do not place items heavier than recommended on the stand to maintain its structural integrity.
Troubleshooting
If you encounter any issues with your stand, consider the following:
- Stand Instability: Ensure all screws are securely tightened. Verify that the stand is placed on a completely flat and level surface. The anti-slip rubber feet should be properly attached.
- Scratches on Devices: Confirm that the protective rubber strips are correctly applied to the controller cradles. These are designed to cushion your devices.
- Missing Parts: Refer to the "What's Included" section. If any parts are missing upon arrival, please contact customer support immediately.
Warranty and Support
NBCP offers a comprehensive after-sales service. If you have any questions or experience issues with your product, please do not hesitate to contact us. We are committed to processing refund or replacement requests within 24 hours for product-related problems.
For support, please visit the NBCP Store on Amazon or contact our customer service team directly.


