
1. Introduction
This manual provides detailed instructions for the setup, operation, and maintenance of your COOSPO BC200set GPS Bike Computer. Please read this manual thoroughly before using the device to ensure proper function and to maximize your cycling experience.
2. Package Contents
Verify that all items listed below are included in your package:
- COOSPO BC200set GPS Bike Computer
- Cadence Speed Sensor
- USB Charging Cable
- Bike Computer Front Mount
- User Manual (this document)
- Mounting accessories (rubber bands, pads)

Figure 2.1: All components included in the COOSPO BC200set package. This includes the main bike computer unit, a combined speed and cadence sensor, a USB charging cable, various mounting hardware such as rubber bands and pads, and the user manual.
3. Device Overview
The COOSPO BC200set is a GPS-enabled bike computer designed to track and display various cycling data. It features a 2.6-inch LCD screen with automatic backlight and supports ANT+ and Bluetooth connectivity for external sensors.

Figure 3.1: Front view of the COOSPO BC200set GPS Bike Computer, highlighting its clear 2.6-inch LCD display and the intuitive button layout on the sides for navigation and control.
4. Setup
4.1 Charging the Device
Before first use, fully charge the BC200set. Connect the supplied USB cable to the charging port on the device and to a USB power source (e.g., computer, USB wall adapter). The battery indicator on the screen will show charging status. A full charge provides up to 36 hours of operation.
4.2 Mounting the Bike Computer
Use the provided front mount to secure the BC200set to your bicycle handlebars.
- Attach the mount to your handlebars using the appropriate rubber bands and pads for a secure fit.
- Align the BC200set with the mount and twist it clockwise until it locks into place.

Figure 4.1: Illustration of the COOSPO BC200set bike computer securely mounted on bicycle handlebars, along with a close-up of the speed/cadence sensor attached to the bicycle's front wheel hub.

Figure 4.2: Another view of the COOSPO BC200set bike computer mounted on handlebars, with a detailed inset showing the speed/cadence sensor attached to the bicycle's crank arm for cadence measurement.
4.3 Installing and Pairing Sensors
The BC200set supports ANT+ and Bluetooth sensors, including power meters, speed/cadence sensors, and heart rate monitors.
- Install the Cadence Speed Sensor: Attach the sensor to either your wheel hub (for speed) or crank arm (for cadence) using the provided rubber bands. Ensure it is securely fastened and does not interfere with moving parts.
- Pairing:
- Turn on the BC200set.
- Navigate to the "Sensor" menu.
- Select "Add Sensor" or "Search".
- Activate your sensor (e.g., spin the wheel or crank arm for the speed/cadence sensor).
- The BC200set will detect available sensors. Select the desired sensor to pair.
- Once paired, the sensor icon will appear on the display.
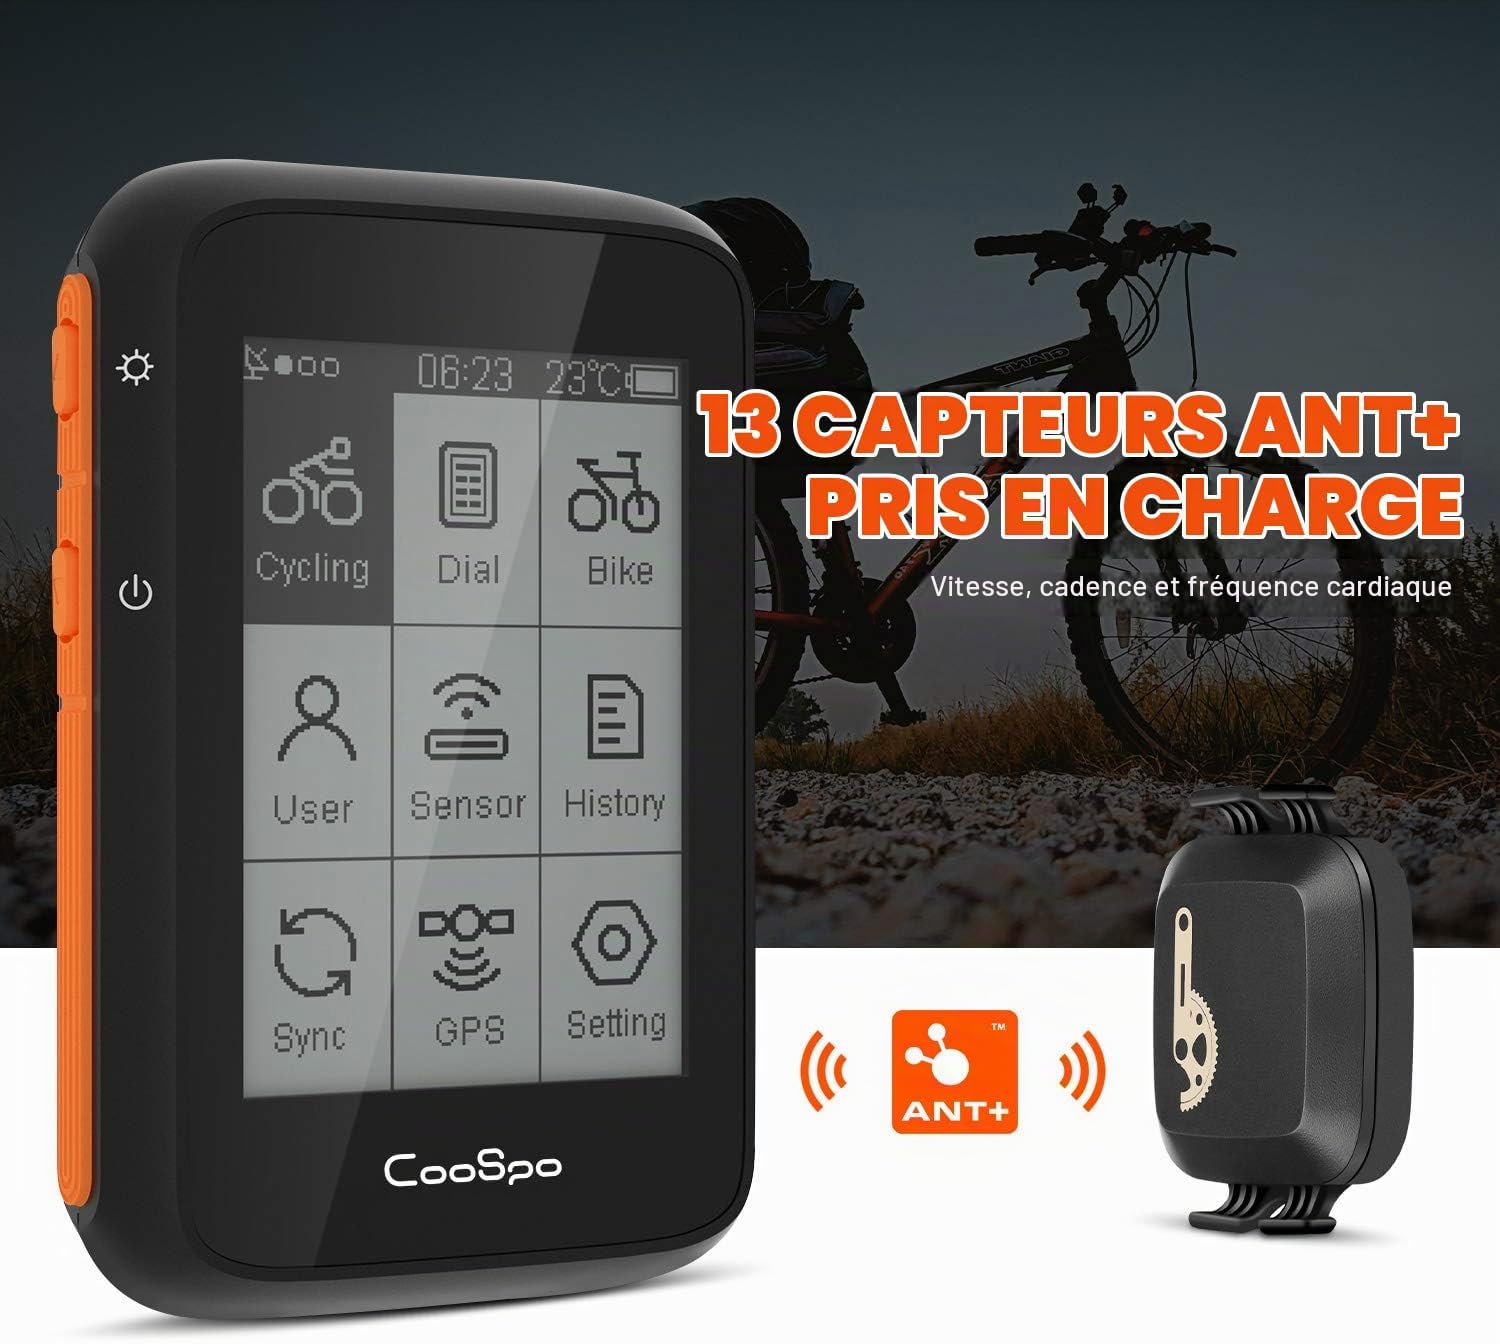
Figure 4.3: The COOSPO BC200set screen displaying the sensor pairing interface, indicating support for ANT+ sensors for speed, cadence, and heart rate monitoring.
5. Operating the Device
5.1 Power On/Off
Press and hold the power button (usually on the side) to turn the device on or off.
5.2 GPS Signal Acquisition
Upon powering on, the device will automatically search for GPS, GLONASS, and BeiDou satellite signals. For faster acquisition, ensure you are in an open outdoor area. The GPS icon will become solid when a signal is acquired.
For indoor cycling, GPS can be disabled in the settings to conserve battery.

Figure 5.1: The COOSPO BC200set screen illustrating its high-sensitivity GPS capabilities, showing icons for GPS, GLONASS, and BeiDou satellite systems, ensuring fast and accurate positioning.
5.3 Display Customization
The BC200set allows you to customize the data fields displayed on screen. You can choose from over 70 types of cycling data.
- Navigate to the "Settings" menu.
- Select "Display Settings" or "Data Fields".
- Choose the data pages and the specific data types (e.g., speed, distance, heart rate, cadence, power, altitude, temperature, calories) to be shown on each page.

Figure 5.2: The COOSPO BC200set displaying multiple customizable data screens, showcasing various metrics such as speed, distance, time, heart rate, cadence, power, altitude, and temperature, which can be freely selected and combined.
5.4 Starting and Ending a Ride
- Start: Once GPS is acquired and sensors are connected, press the "Start" button (usually the bottom right button) to begin recording your ride.
- Pause: Press the "Start/Pause" button during a ride to pause recording.
- Resume: Press the "Start/Pause" button again to resume recording.
- End: Press and hold the "Start/Pause" button to end and save the ride.
5.5 Data Synchronization with CoospoRide App and Strava
You can synchronize your ride data with the CoospoRide app and then to platforms like Strava for analysis.
- Download the "CoospoRide" app from your smartphone's app store (Android/iOS).
- Open the app and create an account or log in.
- Turn on Bluetooth on your smartphone and the BC200set.
- In the CoospoRide app, search for and connect to your BC200set.
- Once connected, you can synchronize your ride data from the device to the app.
- Within the CoospoRide app, you can link your Strava account to automatically upload your activities.
- Alternatively, you can connect the BC200set to a computer via USB and manually upload the .fit files to Strava or other platforms.

Figure 5.3: The COOSPO BC200set interface alongside the CoospoRide smartphone application, demonstrating how cycling data and tracking records can be saved and shared to Strava and TrainingPeaks via the app.
6. Maintenance
6.1 Cleaning
Wipe the device with a soft, damp cloth. Do not use abrasive cleaners or solvents. Ensure the charging port cover is securely closed to maintain water resistance.
6.2 Battery Care
To prolong battery life, avoid fully discharging the device frequently. Store the device in a cool, dry place when not in use for extended periods. Recharge the battery at least once every three months.
6.3 Water Resistance
The BC200set is IP67 waterproof, meaning it is protected from dust and can withstand immersion in water up to 1 meter for 30 minutes. It is suitable for riding in various weather conditions, including rain. However, it is not designed for underwater use.
7. Troubleshooting
7.1 Device Not Turning On
- Ensure the device is fully charged. Connect it to a power source and wait a few minutes before attempting to turn it on.
- Try a different USB cable or power adapter.
7.2 No GPS Signal
- Ensure you are in an open outdoor area with a clear view of the sky.
- Wait a few minutes for the device to acquire satellites.
- If indoors, ensure GPS is not disabled in settings.
7.3 Sensor Not Connecting/Reading
- Ensure the sensor is properly installed and its battery (if applicable) is not depleted.
- Activate the sensor (e.g., spin the wheel/crank, wear HR monitor).
- Ensure the sensor is within range of the BC200set.
- Try re-pairing the sensor through the device's "Sensor" menu.
- Check for any physical obstructions between the sensor and the device.
7.4 Data Not Syncing to App
- Ensure Bluetooth is enabled on both your smartphone and the BC200set.
- Make sure the CoospoRide app is open and running.
- Try restarting both the BC200set and your smartphone.
- Ensure the BC200set is not connected to another device via Bluetooth.
8. Specifications
| Brand | CooSpo |
| Model | BC200set (RM) |
| Screen Size | 2.6 Inches |
| Display Type | LCD with Automatic Backlight |
| Connectivity | ANT+, Bluetooth |
| GPS Systems | GPS, GLONASS, BeiDou |
| Battery Life | Up to 36 hours |
| Water Resistance | IP67 |
| Compatible Sensors | Heart Rate, Power, Speed, Cadence |
| App Compatibility | CoospoRide (Android, iOS) |
9. Warranty and Support
For warranty information and technical support, please refer to the official CooSpo website or contact your local distributor. Keep your proof of purchase for warranty claims.
Official CooSpo Website: www.coospo.com