Introduction
This manual provides comprehensive instructions for the safe and efficient operation of your InFocus IN119BB Multimedia Projector. Please read this manual thoroughly before using the projector and retain it for future reference.
The InFocus IN119BB projector is designed for versatile use, offering a very long lamp life, high brightness, and extensive connectivity options. Its compact and lightweight design ensures ease of portability and installation.
Safety Information
Always observe the following safety precautions to prevent fire, electric shock, or injury:
- Do not block ventilation openings.
- Do not expose the projector to rain or moisture.
- Refer all servicing to qualified service personnel.
- Avoid looking directly into the projector lens when the lamp is on.
- Ensure proper grounding for the power cord.
Product Overview
Components and Controls
Familiarize yourself with the main components and controls of your InFocus IN119BB projector.

Figure 1: Angled view of the InFocus IN119BB projector, showing the lens, ventilation grilles, and top panel controls.

Figure 2: Front view of the InFocus IN119BB projector, highlighting the main projection lens.

Figure 3: Top-down angled view of the InFocus IN119BB projector, showing the control panel layout.

Figure 4: Side view of the InFocus IN119BB projector, illustrating its compact profile.
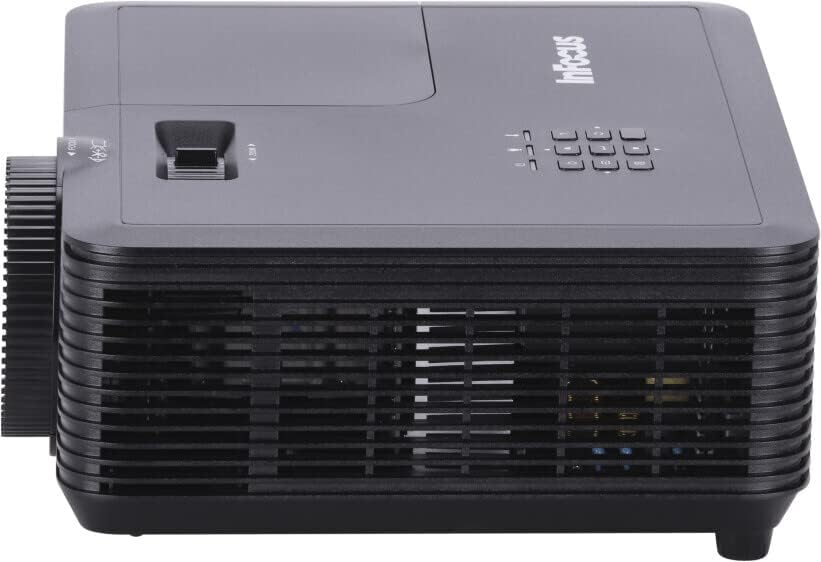
Figure 5: Rear view of the InFocus IN119BB projector, displaying all available input and output ports including HDMI, VGA, S-Video, and audio connections.
Setup
Placement
Choose a stable, flat surface for the projector. Ensure adequate ventilation around the unit. For optimal image quality, position the projector perpendicular to the projection surface.
Connecting Power
- Connect the power cord to the projector's power input.
- Plug the other end of the power cord into a grounded electrical outlet (240V recommended).
Connecting Input Sources
The IN119BB projector supports multiple input sources:
- HDMI: Use an HDMI cable to connect your computer, Blu-ray player, or other HDMI-enabled device to either HDMI 1 or HDMI 2 port.
- VGA: Connect your computer's VGA output to the VGA IN port using a VGA cable.
- S-Video: For older video sources, connect an S-Video cable to the S-VIDEO port.
- Audio: Connect external audio devices to the AUDIO IN port. Audio output is available via the AUDIO OUT port.
Operating Instructions
Powering On/Off
- To power on, press the Power button on the projector or remote control. The power indicator light will turn blue.
- To power off, press the Power button twice. The projector will enter a cooling down cycle before shutting down completely.
Adjusting the Image
- Focus: Rotate the focus ring on the lens until the image is sharp and clear.
- Zoom: Adjust the zoom lever next to the lens to change the image size.
- Keystone Correction: If the image appears trapezoidal, use the keystone correction function in the OSD menu to square the image.
Selecting Input Source
Press the "Source" button on the projector's control panel or remote control to cycle through available input sources (HDMI 1, HDMI 2, VGA, S-Video).
On-Screen Display (OSD) Menu
Press the "Menu" button to access the OSD menu. Use the arrow keys to navigate and the "Enter" button to select options. Adjust settings such as brightness, contrast, color, and aspect ratio.
Maintenance
Lamp Replacement
The lamp life of the IN119BB is very long, but eventually, it will need replacement. When the lamp indicator lights up or the image becomes dim, it's time to replace the lamp. Refer to the detailed lamp replacement guide in the full user manual for specific steps.
Cleaning the Projector
- Lens: Use a soft, lint-free cloth specifically designed for optical lenses. Do not use abrasive cleaners.
- Casing: Wipe the projector casing with a soft, damp cloth. Avoid using harsh chemicals.
- Air Filters: Regularly check and clean the air filters to ensure proper ventilation and prevent overheating.
Troubleshooting
| Problem | Possible Cause | Solution |
|---|---|---|
| No image displayed | Power cord disconnected; Incorrect input source selected; Lamp issue. | Check power connection; Select correct input source; Replace lamp if necessary. |
| Image is blurry | Lens out of focus; Projector too close/far from screen. | Adjust focus ring; Reposition projector. |
| Projector overheats | Blocked ventilation; Dirty air filter. | Ensure clear ventilation; Clean air filter. |
Specifications
| Feature | Detail |
|---|---|
| Model Number | IN119BB |
| Display Technology | DLP |
| Native Resolution | 1280 x 800 (WUXGA) |
| Brightness | 3500 Lumens |
| Connectivity | HDMI (x2), VGA In, VGA Out, S-Video, Audio In, Audio Out, RS232 |
| Power Supply | 240V, 267W |
| Product Dimensions (L x W x H) | 23.62 x 31.24 x 10.67 cm |
| Product Weight | 2.6 kg (5.5 pounds) |
| Form Factor | Portable |
| Recommended Use | Home Cinema |
Warranty and Support
For warranty information and technical support, please visit the official InFocus website or contact their customer service. Keep your purchase receipt as proof of purchase.
Online Support: www.infocus.com/support


