
Home Décor 70*70cm
Nordic Smart Round LED Vanity Mirror User Manual
Model: 70*70cm (Also applicable to 60*60cm, 80*80cm)
1. Product Overview
This manual provides detailed instructions for the installation, operation, and maintenance of your Nordic Smart Round LED Vanity Mirror. Designed for bathrooms, living rooms, and bedrooms, this mirror features stepless dimming, color temperature adjustment, and an integrated anti-fog function for enhanced convenience and clarity.
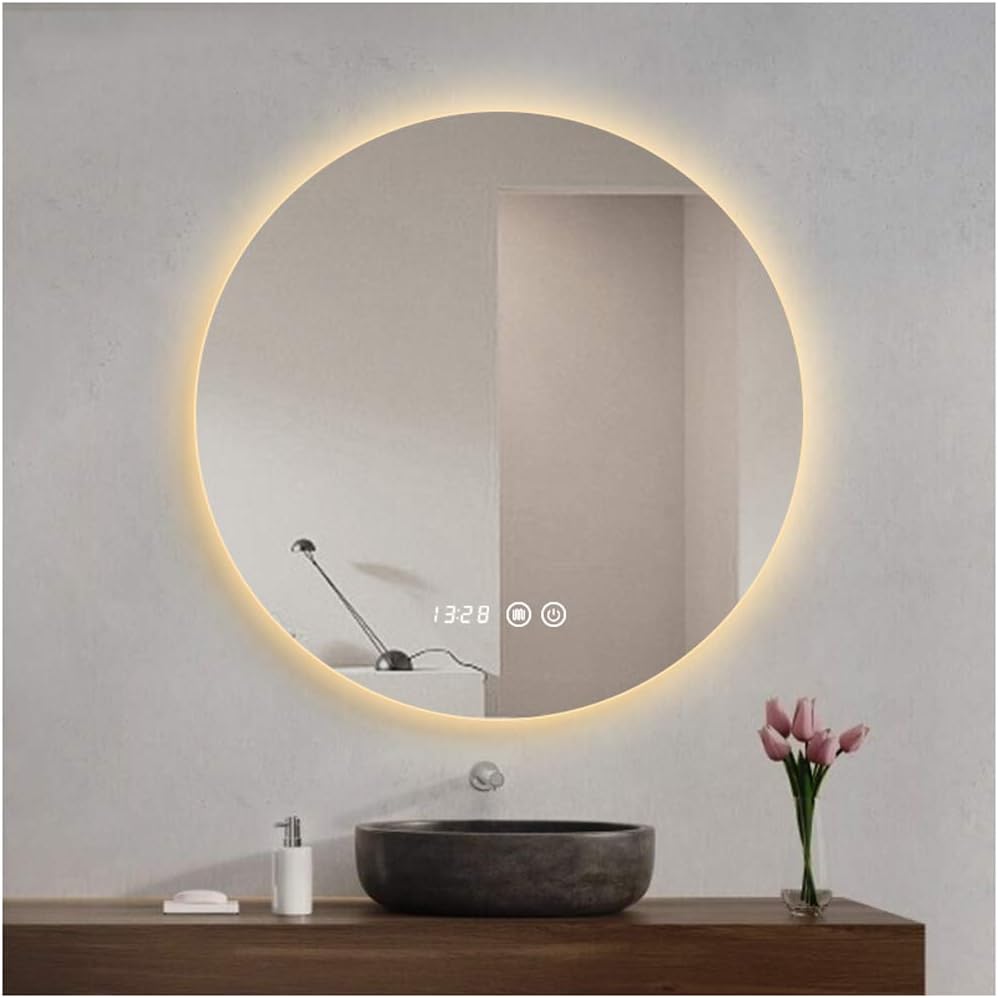
Figure 1: Nordic Smart Round LED Vanity Mirror with warm backlighting.
2. Product Features
- Stepless Dimming: Long press the touch switch to freely adjust light brightness.
- Color Temperature Adjustment: Double-click the touch switch to cycle through warm light (3000K), neutral light (4000K), and white light (6000K).
- Integrated Anti-Fog Function: A separate switch controls the defogging function, ensuring a clear reflection after showers.
- High-Definition Glass: Features 5mm HD silver mirror for superior clarity and imaging.
- Safety Low-Voltage: Operates on a 12V safety voltage with durable, flicker-free lamp beads.
- Time and Temperature Display: Integrated digital display for convenience.

Figure 2: Key features of the Smart Round LED Vanity Mirror.
3. Specifications
| Attribute | Detail |
|---|---|
| Product Name | Round Promise Backlit Mirror |
| Product Sizes Available | 60*60cm, 70*70cm, 80*80cm |
| Switch Type | Double touch switch (Light power supply & Defogging) |
| Light Color Temperatures | White light (6000K), Warm light (3000K), Neutral light (4000K) |
| Working Voltage | 12V safety voltage |
| Lamp Beads | Safety lamp beads, internal copper wire |
| Power | 9.6W/M |
| Chip | Sanan chip, long service life |
| Material | Glass |
| Mounting Type | Wall Mount |
| Item Weight (70*70cm) | 6 Kilograms (13.2 pounds) |
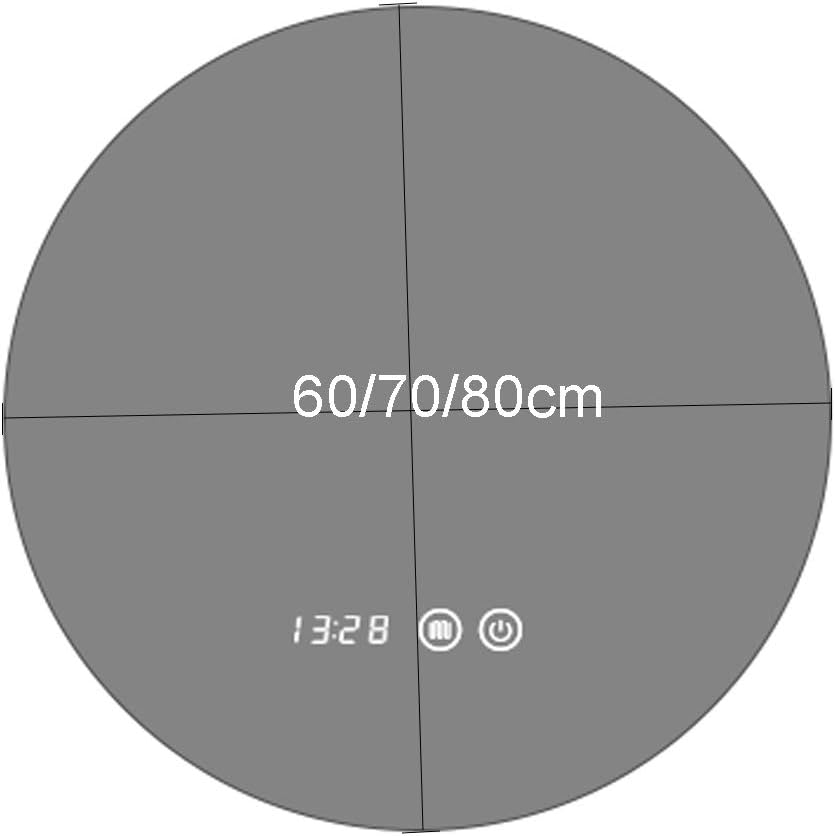
Figure 3: Available mirror sizes and integrated display/controls.
4. Setup and Installation
This mirror is designed for wall mounting. Professional installation is recommended, especially for electrical connections, to ensure safety and proper functionality.
4.1 Pre-Installation Checklist
- Verify all components are present and undamaged.
- Ensure the wall surface is suitable for mounting and can support the mirror's weight.
- Confirm electrical wiring is available at the desired installation location and meets 12V safety voltage requirements.
4.2 Mounting Instructions
- Carefully unpack the mirror, retaining all packaging materials until installation is complete.
- Determine the precise mounting location and mark the drilling points on the wall. Use a level to ensure horizontal alignment.
- Drill holes at the marked points and insert appropriate wall anchors suitable for your wall type.
- Secure the mounting hardware (e.g., brackets, screws) to the wall.
- Carefully lift the mirror and attach it to the secured mounting hardware. Ensure it is firmly seated and stable.
4.3 Electrical Connection
The mirror operates on a 12V safety voltage. Connect the mirror's power supply to your electrical system. It is highly recommended to have a qualified electrician perform this step to prevent electrical hazards and ensure compliance with local electrical codes.
5. Operating Instructions
Your smart mirror features intuitive touch controls for various functions.
5.1 Power and Light Control
- Power On/Off: Tap the power icon on the mirror surface to turn the LED light on or off.
- Adjust Brightness (Stepless Dimming): When the light is on, long press the power icon. The brightness will gradually increase or decrease. Release your finger when the desired brightness is achieved.
- Change Color Temperature: Double-click the power icon to cycle through the three light color temperatures: Warm Light (3000K), Neutral Light (4000K), and White Light (6000K).

Figure 4: White Light (6000K)

Figure 5: Neutral Light (4000K)

Figure 6: Warm Light (3000K)
5.2 Anti-Fog Function
- Activate/Deactivate Defogging: Tap the defogging icon (often depicted as a fan or steam icon) on the mirror surface. The anti-fog function will activate or deactivate. This function operates independently of the light.

Figure 7: One-click defogging in action.
5.3 Time and Temperature Display
The mirror features an integrated digital display showing the current time and temperature. This display is always active when the mirror is powered.
6. Maintenance and Cleaning
Proper care will ensure the longevity and performance of your mirror.
- General Cleaning: For routine cleaning, wipe the mirror surface with a soft, dry towel.
- Stubborn Stains: If the mirror surface has difficult stains, you may wipe it with alcohol or a 30% cleaning diluent. Apply the cleaner to a soft cloth first, then wipe the mirror. Avoid spraying directly onto the mirror, especially near electrical components.
- Ventilation: Ensure the bathroom is well-ventilated to minimize moisture buildup, which can affect mirror longevity.
- Avoid Abrasives: Do not use abrasive cleaners, scouring pads, or harsh chemicals, as these can damage the mirror surface or coating.
7. Troubleshooting
If you encounter issues with your mirror, refer to the following common solutions:
- Light Not Turning On:
- Check if the mirror is properly connected to the power supply.
- Ensure the wall switch (if any) controlling the mirror's power is in the 'On' position.
- Verify that the touch switch on the mirror is being pressed correctly.
- Anti-Fog Function Not Working:
- Ensure the mirror has power.
- Confirm you are pressing the correct anti-fog touch icon.
- Light Brightness or Color Not Changing:
- For brightness, ensure you are long-pressing the power icon.
- For color temperature, ensure you are double-clicking the power icon.
- Time/Temperature Display Not Visible:
- Ensure the mirror is receiving power.
If the issue persists after attempting these solutions, please contact customer support.
8. Warranty and Support
Your Nordic Smart Round LED Vanity Mirror comes with dedicated after-sales support.
- Damaged or Missing Parts: If you receive any accidentally damaged products or missing parts during transportation, please contact us as soon as possible.
- Replacement Policy: We will arrange to resend a new mirror or necessary parts as soon as possible in case of transit damage or missing components.
For any inquiries or support needs, please refer to the contact information provided with your purchase or on the product packaging.
Ask a question about this manual
Ask about setup, troubleshooting, compatibility, parts, safety, or missing instructions. Manuals+ will review the question and use this page’s manual context to help answer it.