
Yakry Y34
Contents
Yakry RV Backup Camera Wireless HD 1080P System User Manual
Model: Y34 | Brand: Yakry
1. Product Overview
The Yakry Y34 Wireless HD 1080P Backup Camera System is designed to enhance safety and visibility for various large vehicles, including RVs, trailers, trucks, forklifts, cranes, harvesters, and boats. It features a 7-inch waterproof monitor and a robust camera, providing clear, high-definition video for both reversing and continuous observation.

Image 1.1: The Yakry Y34 wireless backup camera system, showing the 7-inch monitor and the camera unit.

Image 1.2: Illustration of the Yakry Y34 system's compatibility with various vehicles, including RVs, trucks, forklifts, cranes, harvesters, and boats, highlighting its 56ft wireless range.
2. Package Contents
Please verify that all items listed below are included in your package:
- 7-inch HD 1080P Waterproof Monitor
- Wireless Backup Camera
- Sunshade for Monitor
- Installation Kits (Mounting brackets, screws)
- Antennas (for monitor and camera)
- Pedestal Mount
- Power Cord
- Lighter Adapter
- User Manual (this document)

Image 2.1: Visual representation of the complete package contents.
3. Setup and Installation
3.1 Camera Installation
- Choose Mounting Location: Select a suitable location at the rear of your vehicle for optimal rear view. Ensure the camera has a clear line of sight.
- Secure Camera: Use the provided installation kits to securely mount the camera. Ensure it is firmly attached to prevent vibration.
- Connect Power:
- For Reversing View: Connect the camera's power cable to your vehicle's reverse light circuit. This will power the camera only when the vehicle is in reverse.
- For Continuous View: Connect the camera's power cable to a 12V-24V DC power source that is continuously active when the vehicle is on.
- For Furrion Pre-Wired Vehicles: Utilize the optional Furrion bracket adapter and pigtail wire plug (if provided) for seamless integration with existing Furrion pre-wired setups.
- Attach Antenna: Screw the antenna firmly onto the camera's antenna port.
3.2 Monitor Installation
- Mount Monitor: Attach the monitor to the pedestal mount. Choose a dashboard or surface mount location that provides a clear view for the driver without obstructing driving visibility.
- Connect Power: Plug the monitor's power cord into the lighter adapter, then insert the lighter adapter into your vehicle's 12V power outlet. The lighter adapter features an ON/OFF switch for convenience.
- Attach Antenna: Screw the antenna firmly onto the monitor's antenna port.

Image 3.1: Illustration of connecting the lighter adapter and typical monitor placement in a vehicle.
4. Operating Instructions
4.1 Powering On/Off
- To power on the monitor, press the power button on the monitor or use the ON/OFF switch on the lighter adapter.
- To power off, press the power button again or switch off the lighter adapter.
4.2 Monitor Controls (Touch Buttons)
The monitor features touch-sensitive buttons for easy operation. These buttons can be locked to prevent accidental changes.

Image 4.1: Monitor features including touch buttons.
- MODE: Cycles through display modes (single view, split view, quad view).
- CH (Channel): Selects the camera channel to display (up to 4 cameras supported).
- MENU: Accesses the monitor's settings menu.
- ENTER/SEL: Confirms selections within the menu.
- Arrow Buttons (< / >): Navigate through menu options or adjust settings.
4.3 Display Modes
The system supports various display configurations:
- Single View: Displays one camera at a time. Use the CH button to switch between connected cameras.
- Split View: Displays two cameras simultaneously.
- Quad View: Displays up to four cameras simultaneously (if additional cameras are connected).

Image 4.2: Examples of single, split, and quad screen display modes.
4.4 Image Adjustment and Parking Lines
Within the monitor's menu, you can adjust image settings and control parking guidelines:
- Brightness/Contrast/Saturation: Adjust these settings for optimal image quality based on lighting conditions.
- Mirror/Normal Image: Switch between mirrored and normal views, useful for front or side camera applications.
- Parking Lines (ON/OFF): Enable or disable the on-screen parking guidelines to assist with parking and reversing maneuvers.
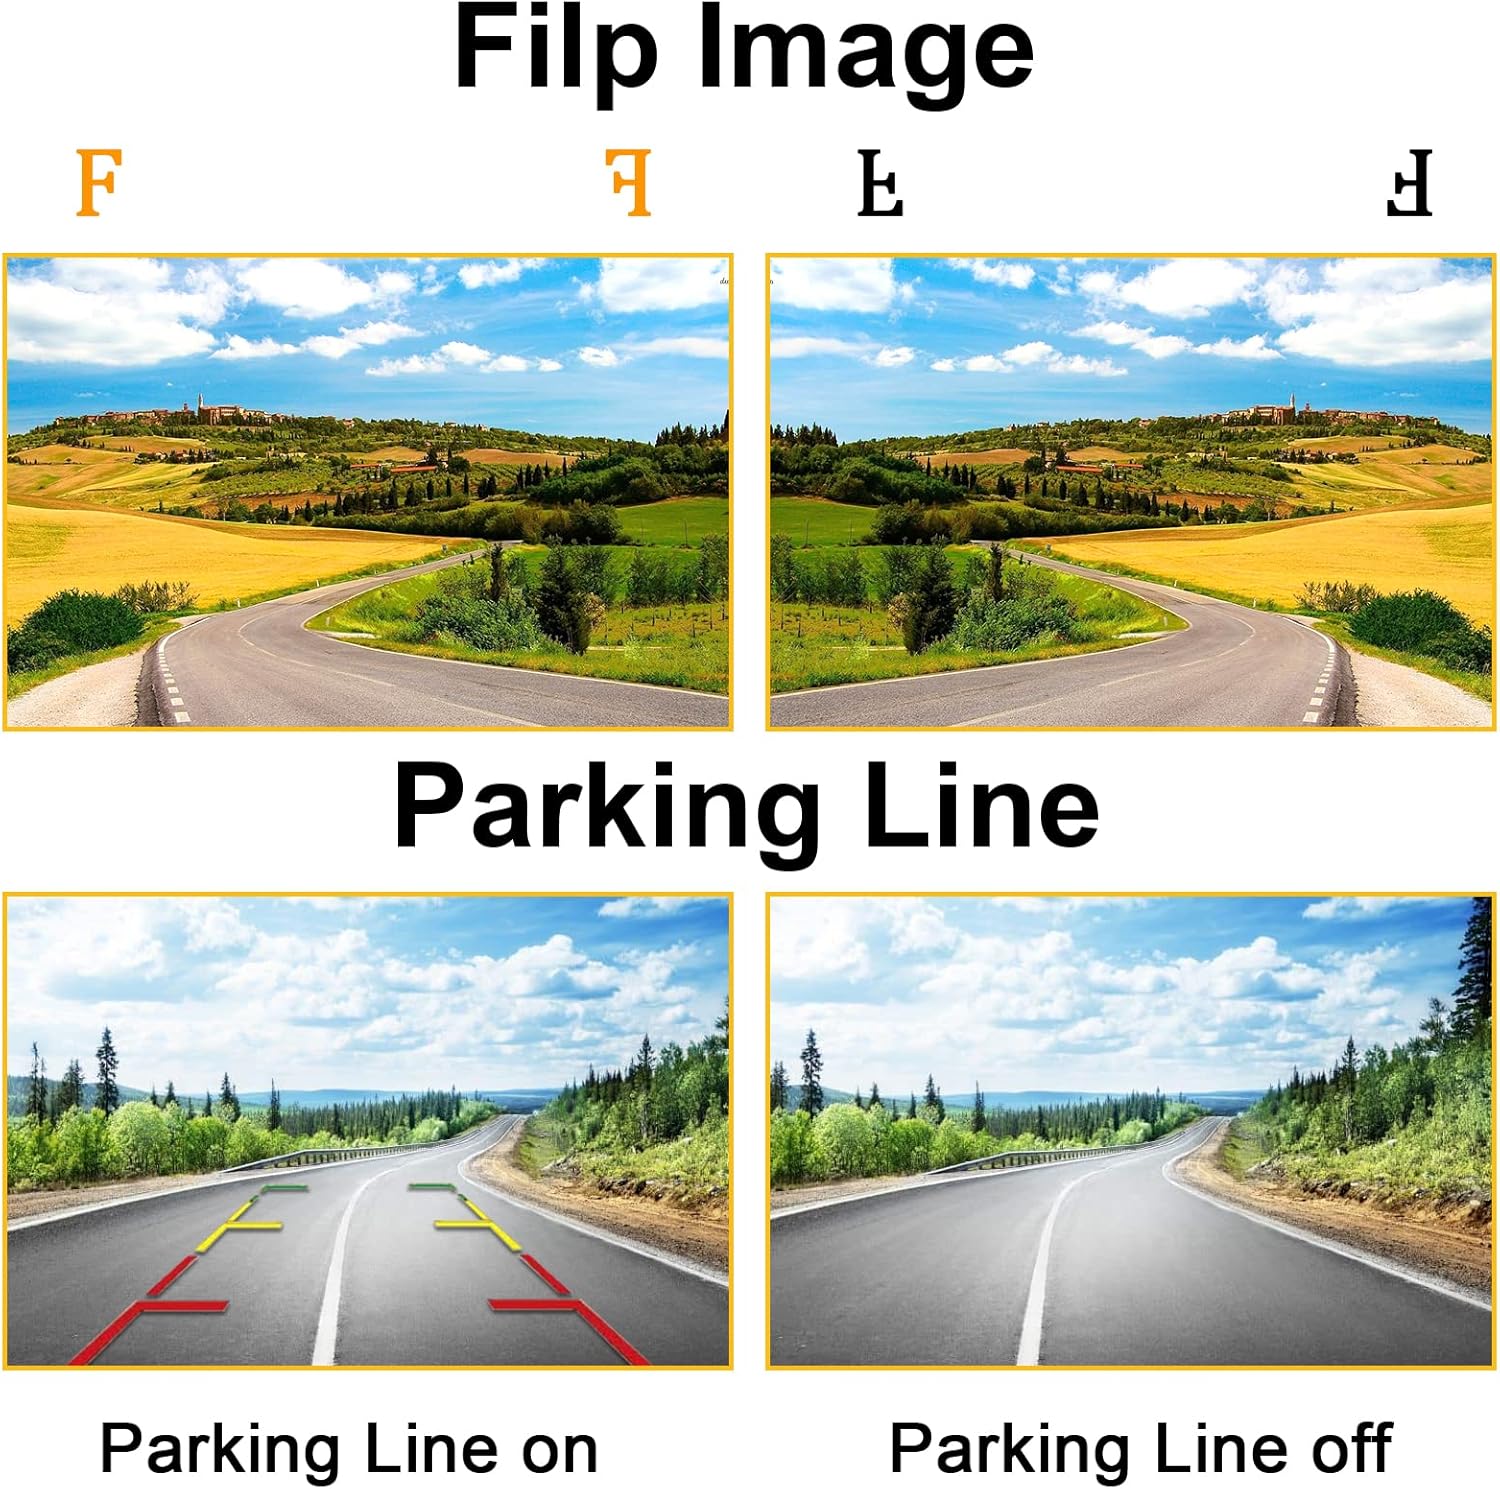
Image 4.3: Demonstrating image flip and parking line options.
5. Maintenance
- Cleaning: Use a soft, damp cloth to clean the monitor screen and camera lens. Avoid abrasive cleaners or solvents.
- Cable Inspection: Periodically check all cables and connections for wear, damage, or loose fittings.
- Camera Lens: Ensure the camera lens is free from dirt, mud, snow, or ice for clear visibility.
- Waterproof Design: The monitor is IP68 waterproof and the camera is IP69K rated, designed to withstand harsh weather conditions. However, avoid submerging the units.
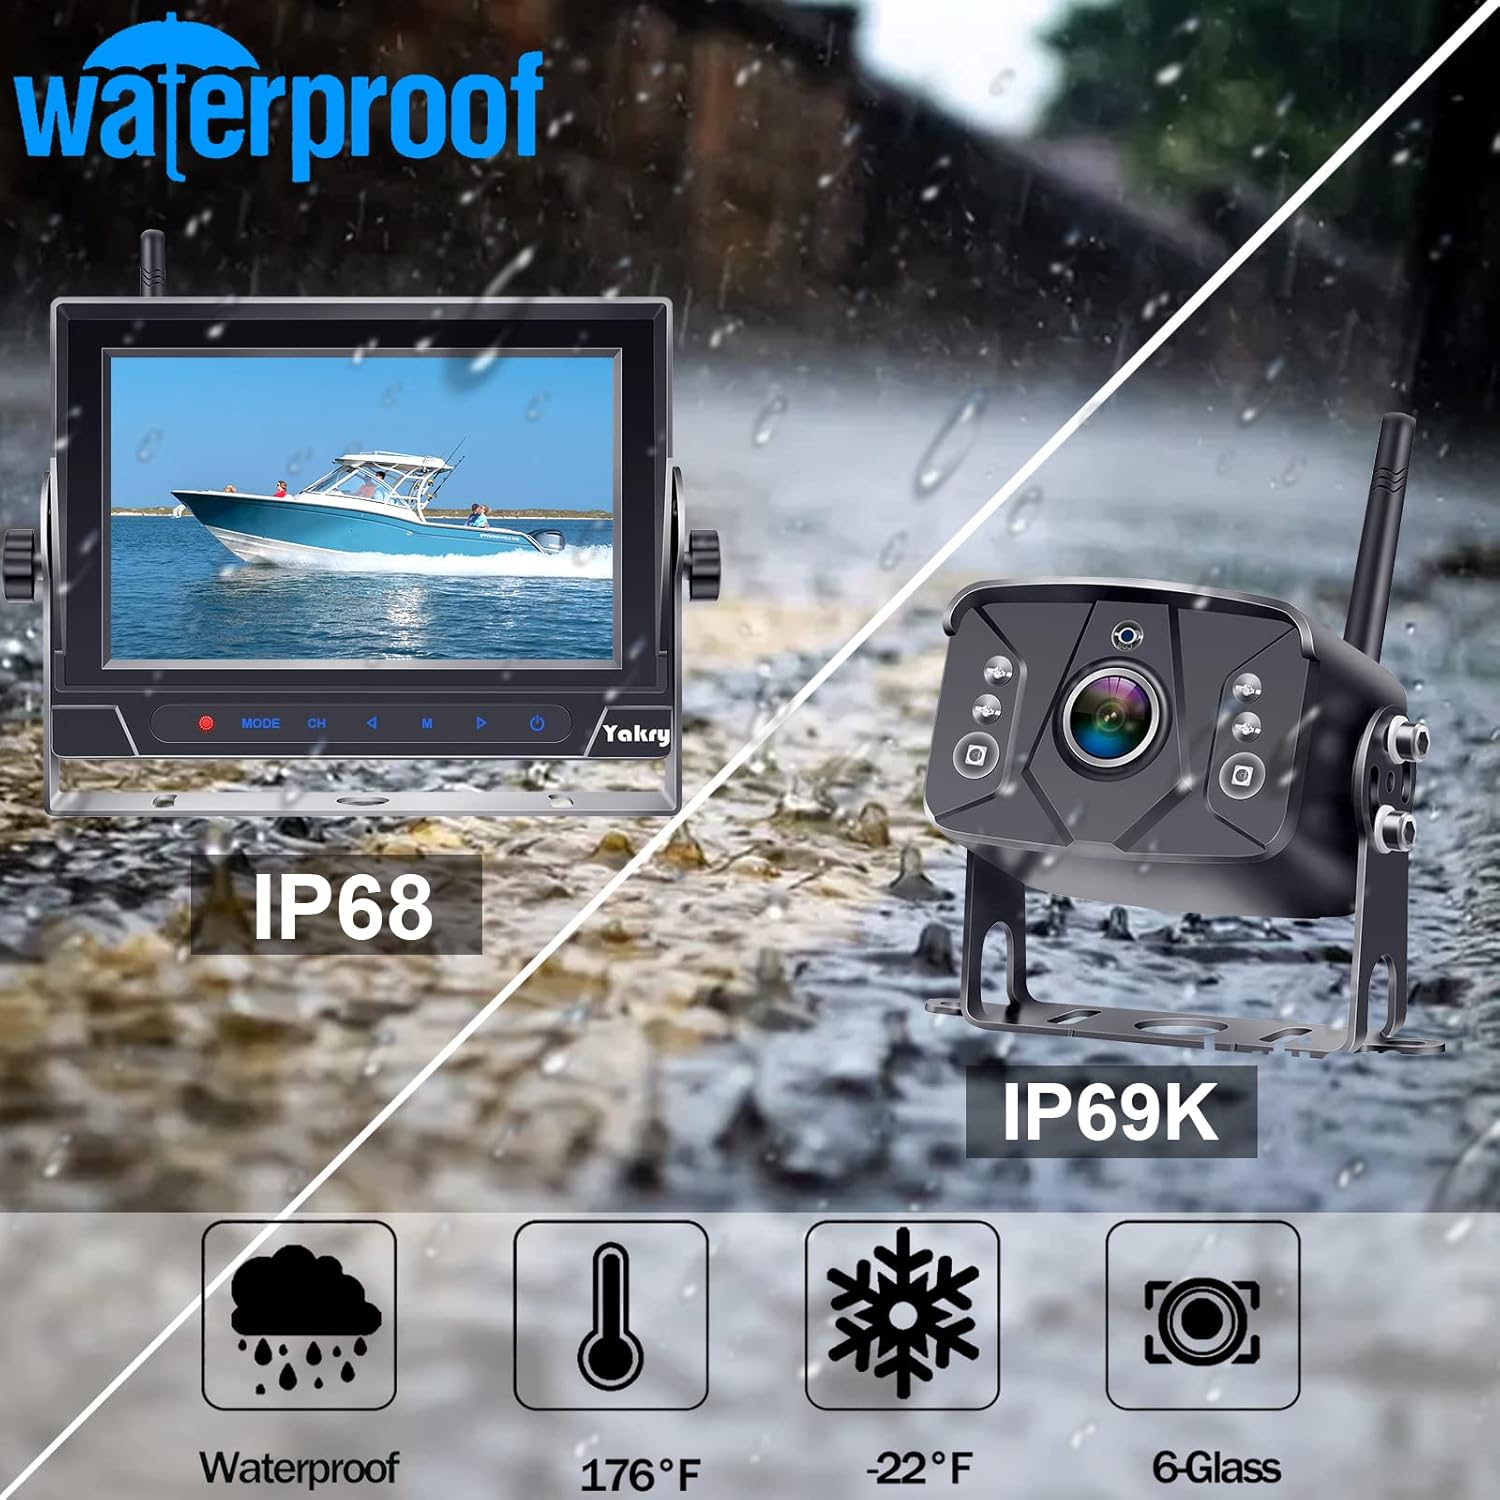
Image 5.1: Waterproof ratings for the monitor and camera.
6. Troubleshooting
| Problem | Possible Cause | Solution |
|---|---|---|
| No image on monitor / "No Signal" |
|
|
| Image is blurry or distorted |
|
|
| Monitor not turning on |
|
|
7. Specifications
| Feature | Detail |
|---|---|
| Model Number | Y34 |
| Display Technology | LED |
| Screen Size | 7 Inches |
| Video Capture Resolution | 1080p |
| Wireless Working Range | Up to 56 ft (without interference) |
| Monitor Waterproof Rating | IP68 |
| Camera Waterproof Rating | IP69K |
| Operating Voltage | 12-24 Volts |
| Optical Sensor Technology | CMOS |
| Installation Type | Dashboard Mount, Surface Mount |
| Operating Temperature | -22°F to 176°F (-30°C to 80°C) |
8. Warranty and Support
Yakry provides comprehensive customer support for its products:
- Lifetime Technical Support: Assistance is available for any technical questions or issues you may encounter.
- 2-Year Replacement Service: In case of product defects or malfunctions within two years of purchase, a replacement service is offered.
- 30-Day Money-Back Guarantee: If you are not satisfied with the product, you may be eligible for a refund within 30 days of purchase.
For further assistance, please refer to the contact information provided with your product or visit the official Yakry website.

Image 8.1: Yakry customer service information.
Documents and downloads
Ask a question about this manual
Ask about setup, troubleshooting, compatibility, parts, safety, or missing instructions. Manuals+ will review the question and use this page’s manual context to help answer it.