Introduction
This manual provides detailed instructions for the setup, operation, maintenance, and troubleshooting of your ViewSonic VP2768a 27-inch IPS 1440p Monitor. Please read this manual thoroughly before using your monitor to ensure proper functionality and to maximize your viewing experience.
1. Setup
1.1 What's in the Box
Verify that all components are present in the packaging:
- VP2768a Display
- Power Cable
- DP to DP Cable
- USB Type C cable
- USB Type B Uplink Cable
- Quick Start Guide
- Factory Calibrated Report

Figure 1: Contents of the ViewSonic VP2768a monitor box. Includes the monitor, power cable, DisplayPort cable, USB-C cable, USB-B uplink cable, quick start guide, and factory calibration report.
Video 1: Unboxing the ViewSonic VP2768a 27-inch QHD Professional Display. This video demonstrates the unboxing process and highlights the included accessories.
1.2 Monitor Assembly
The monitor stand is designed for easy assembly. The stand column is pre-attached to the display. To attach the base:
- Carefully remove the monitor from its packaging, keeping the display protected.
- Locate the stand base and align it with the bottom of the stand column.
- Secure the base to the column, typically by tightening a captive screw on the underside of the base. This is a tool-less design, allowing for hand-tightening.
- Once assembled, carefully place the monitor on a stable, flat surface.
Video 2: Monitor assembly demonstration. This video shows how to attach the monitor base to the stand column.
1.3 Connecting Your Monitor
The VP2768a offers versatile connectivity options. Ensure your computer is powered off before making any connections.
- Power Connection: Connect the provided power cable to the monitor's power input and then to a power outlet.
- USB-C Connection: For a simplified setup, connect your laptop or device to the monitor using the supplied USB Type-C cable. This single cable can deliver video, audio, data, and up to 90W of power to charge your connected device.
- DisplayPort Connection: Use the provided DisplayPort (DP to DP) cable to connect your computer's DisplayPort output to the monitor's DisplayPort input for high-resolution video.
- HDMI Connection: Alternatively, connect your computer's HDMI output to the monitor's HDMI 1.4 input using an HDMI cable (not included).
- USB Type B Uplink: If not using USB-C, connect the USB Type B Uplink cable from your computer to the monitor to enable the monitor's integrated USB Type A ports.
- RJ45 Ethernet: Connect an Ethernet cable to the monitor's RJ45 port for a stable wired network connection, especially useful when using USB-C with a laptop.

Figure 2: Rear view of the monitor highlighting the connectivity ports. This includes HDMI 1.4, DisplayPort In, DisplayPort Out (DaisyChain), 2x USB Type A, 1x USB Type B, 1x 65W Powered USB Type C, and 1x Ethernet LAN (RJ45).
2. Operating Your Monitor
2.1 Power On/Off and OSD Menu
To power on the monitor, press the power button, usually located on the backside or bottom edge. The On-Screen Display (OSD) menu allows you to adjust various settings such as brightness, contrast, color modes, and input sources. The OSD menu buttons are located on the backside of the monitor for a clean front bezel design.
2.2 Ergonomic Adjustments
The VP2768a features an advanced ergonomic stand for optimal viewing comfort:
- Height Adjustment: Raise or lower the display to eye level.
- Tilt: Adjust the screen's vertical angle to reduce glare and improve viewing.
- Swivel: Rotate the screen horizontally to share content or adjust your viewing angle.
- Pivot: Rotate the screen 90 degrees for portrait mode, ideal for document viewing or web browsing.
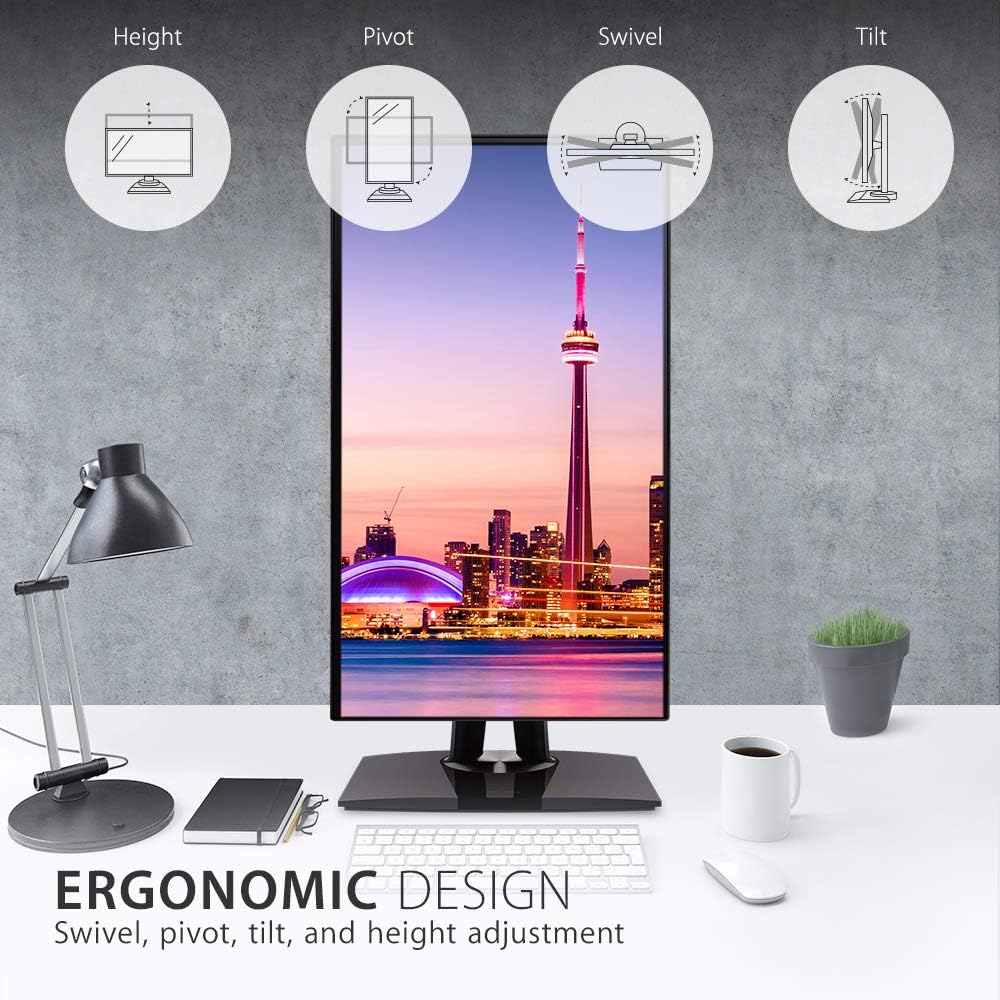
Figure 3: Ergonomic design features of the monitor, illustrating height, pivot, swivel, and tilt adjustments.
2.3 Color Accuracy and Calibration
This monitor is designed for professional color-critical applications:
- Factory Calibration: Each monitor is factory calibrated to achieve an impressive Delta E<2 value, ensuring high color accuracy right out of the box.
- Color Spaces: Supports 100% sRGB, EBU, SMPTE-C, Rec. 709, and DICOM-SIM color spaces.
- 14-bit 3D LUT: A 14-bit 3D Look-Up Table generates a smooth palette of 4.39 trillion colors for precise color reproduction.
- 6-Axis Color Adjustment: Provides advanced control over color settings.
- Color Uniformity: An integrated function ensures consistent chromaticity across the entire screen.
- Hardware Calibration: For the most precise color management, hardware calibration is available with the optional ViewSonic Colorbration Kit (sold separately).
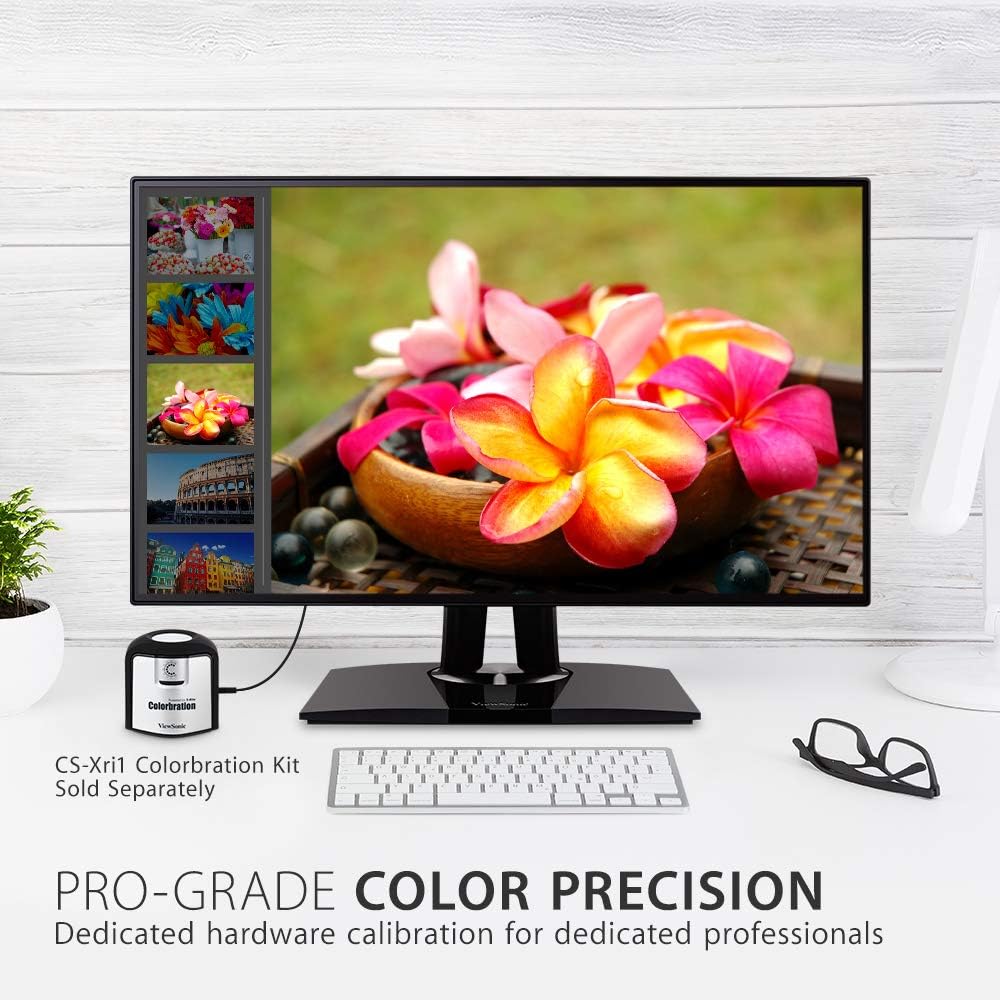
Figure 4: The monitor showcasing its color precision, with an optional Colorbration Kit for hardware calibration.
2.4 Eye Care Technology
The monitor incorporates Flicker-Free technology and a Blue Light Filter to minimize eye strain and fatigue during extended use.
2.5 Daisy Chaining
The DisplayPort out feature allows for seamless daisy-chaining of multiple monitors. Connect your primary monitor to your computer via DisplayPort, then connect the primary monitor's DisplayPort out to the DisplayPort in of a second monitor. This reduces cable clutter and simplifies multi-monitor setups.
2.6 USB-C Docking Functionality
The USB-C port on the VP2768a acts as a powerful docking station. A single USB-C cable from your laptop can provide:
- 90W Power Delivery: Charges your connected laptop or device.
- Video Signal: Transmits high-resolution video to the monitor.
- Audio Signal: Transmits audio.
- Data Transfer: Enables data transfer for connected USB peripherals.
- RJ45 Ethernet: Provides a stable wired network connection through the monitor's integrated Ethernet port.

Figure 5: USB-C connectivity for power, video, audio, and data, simplifying your workspace.
3. Maintenance
To maintain the performance and appearance of your monitor:
- Cleaning the Screen: Gently wipe the screen with a soft, lint-free cloth. For stubborn marks, lightly dampen the cloth with water or a specialized screen cleaner. Avoid using harsh chemicals or abrasive materials.
- Cleaning the Casing: Use a soft, dry cloth to wipe the monitor casing.
- Ventilation: Ensure the ventilation openings on the monitor are not blocked to prevent overheating.
4. Troubleshooting
4.1 No Image or Intermittent Display
- Check Power: Ensure the power cable is securely connected to both the monitor and the power outlet.
- Check Video Cables: Verify that the video cable (USB-C, DisplayPort, or HDMI) is firmly connected to both the monitor and your computer.
- Input Source: Confirm the correct input source is selected in the monitor's OSD menu.
- USB-C Connectivity Issues: Some users have reported intermittent display cut-outs or erratic behavior when using USB-C with other USB devices. If you experience this, try using a different USB-C cable, or connect via DisplayPort/HDMI and use a separate USB hub for peripherals.
4.2 Color or Brightness Issues
- OSD Settings: Access the OSD menu to adjust brightness, contrast, and color settings.
- Factory Reset: If color issues persist, consider performing a factory reset through the OSD menu.
- Calibration: For professional use, ensure your monitor is properly calibrated using the factory calibration report or an optional hardware calibration kit.
5. Specifications
| Feature | Detail |
|---|---|
| Screen Size | 27 Inches |
| Resolution | QHD Wide 1440p (2560 x 1440 Pixels) |
| Panel Type | IPS |
| Aspect Ratio | 16:9 |
| Color Gamut | 100% sRGB, Rec. 709 |
| Color Accuracy | Delta E<2 |
| Brightness | 350 nits (typical) |
| Connectivity | 1x HDMI 1.4, 1x DisplayPort In, 1x DisplayPort Out (DaisyChain), 2x USB Type A, 1x USB Type B, 1x 90W USB Type C, 1x Ethernet LAN (RJ45) |
| Ergonomics | Height, Tilt, Swivel, Pivot |
| Eye Care | Flicker-Free Technology, Blue Light Filter |
| Item Weight | 15.17 pounds |
| Product Dimensions | 16.1 x 8.5 x 24.1 inches |
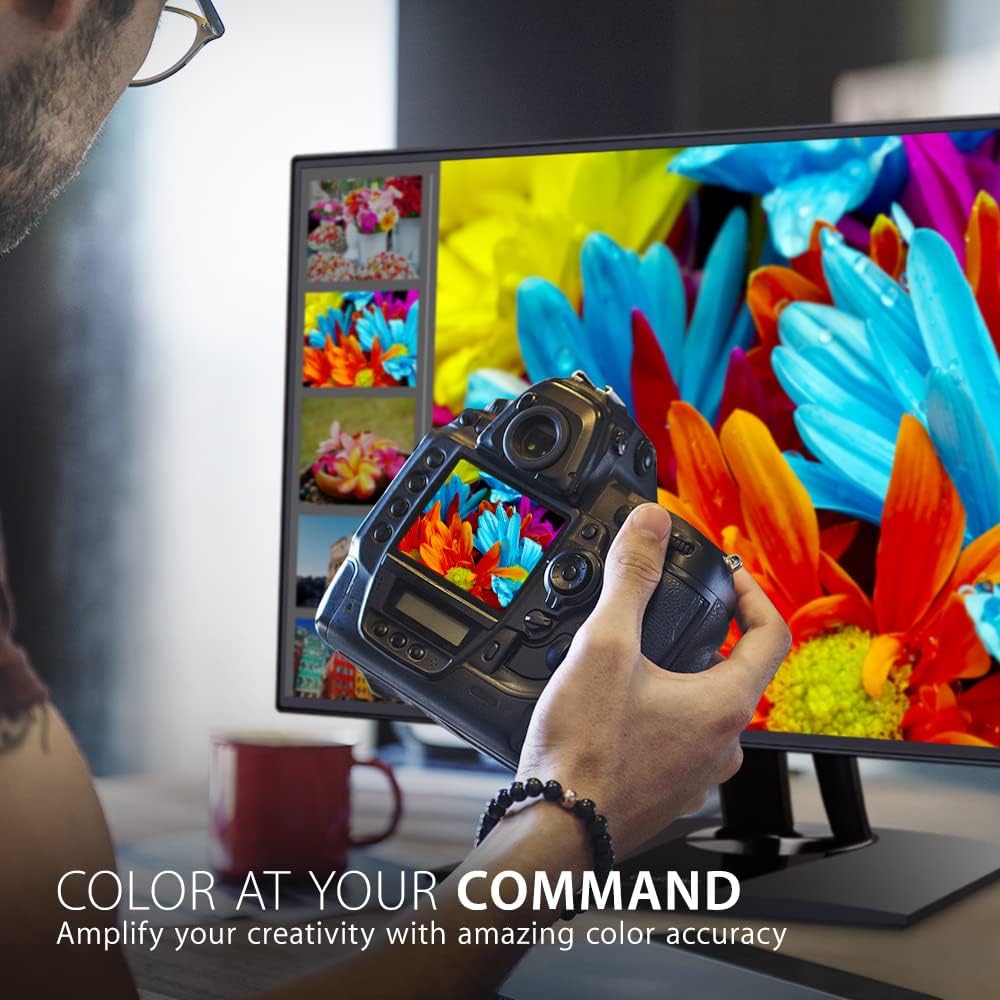
Figure 6: Key dimensions of the ViewSonic VP2768a monitor.
6. Warranty and Support
Your ViewSonic VP2768a monitor comes with a 3-year warranty. For technical assistance or warranty claims, please contact ViewSonic customer support. US-based customer support is available to assist you with any product-related inquiries.

Figure 7: Overview of ViewSonic's commitment to warranty, support, and product features.


