Gaggia RI8433/13
Gaggia Viva Chic Manual Coffee Machine User Manual
Model: RI8433/13
Introduction
The Gaggia Viva Chic is a simple and straightforward manual espresso machine, excellent for preparing authentic Italian espresso. With its simple yet striking design, it is ergonomic and practical for daily use. Thanks to the pressurized filter holder and the two included filters, excellent results can be achieved with both ground coffee and coffee pods.
Safety Instructions
Please read these safety instructions carefully before using the appliance to prevent injury or damage. Keep this manual for future reference.
- Always connect the appliance to a grounded power outlet.
- Do not immerse the appliance, power cord, or plug in water or any other liquid.
- Do not touch hot surfaces. Use handles or knobs. The brewing group and steam wand become very hot during operation.
- Unplug the appliance from the outlet when not in use and before cleaning. Allow it to cool down before handling parts.
- This appliance is intended for household use only. Do not use outdoors.
- Keep the appliance out of reach of children.
- Do not operate any appliance with a damaged cord or plug, or after the appliance malfunctions or has been damaged in any manner.
- Use only Gaggia recommended accessories.
Product Overview
Components
- Water Tank (removable from top)
- Control Knob (central for operation)
- Filter Holder (pressurized)
- Drip Tray and Grid
- Steam Wand
- Power Button
- Indicator Lights (Power, Coffee Ready, Steam Ready)
Visual Guide
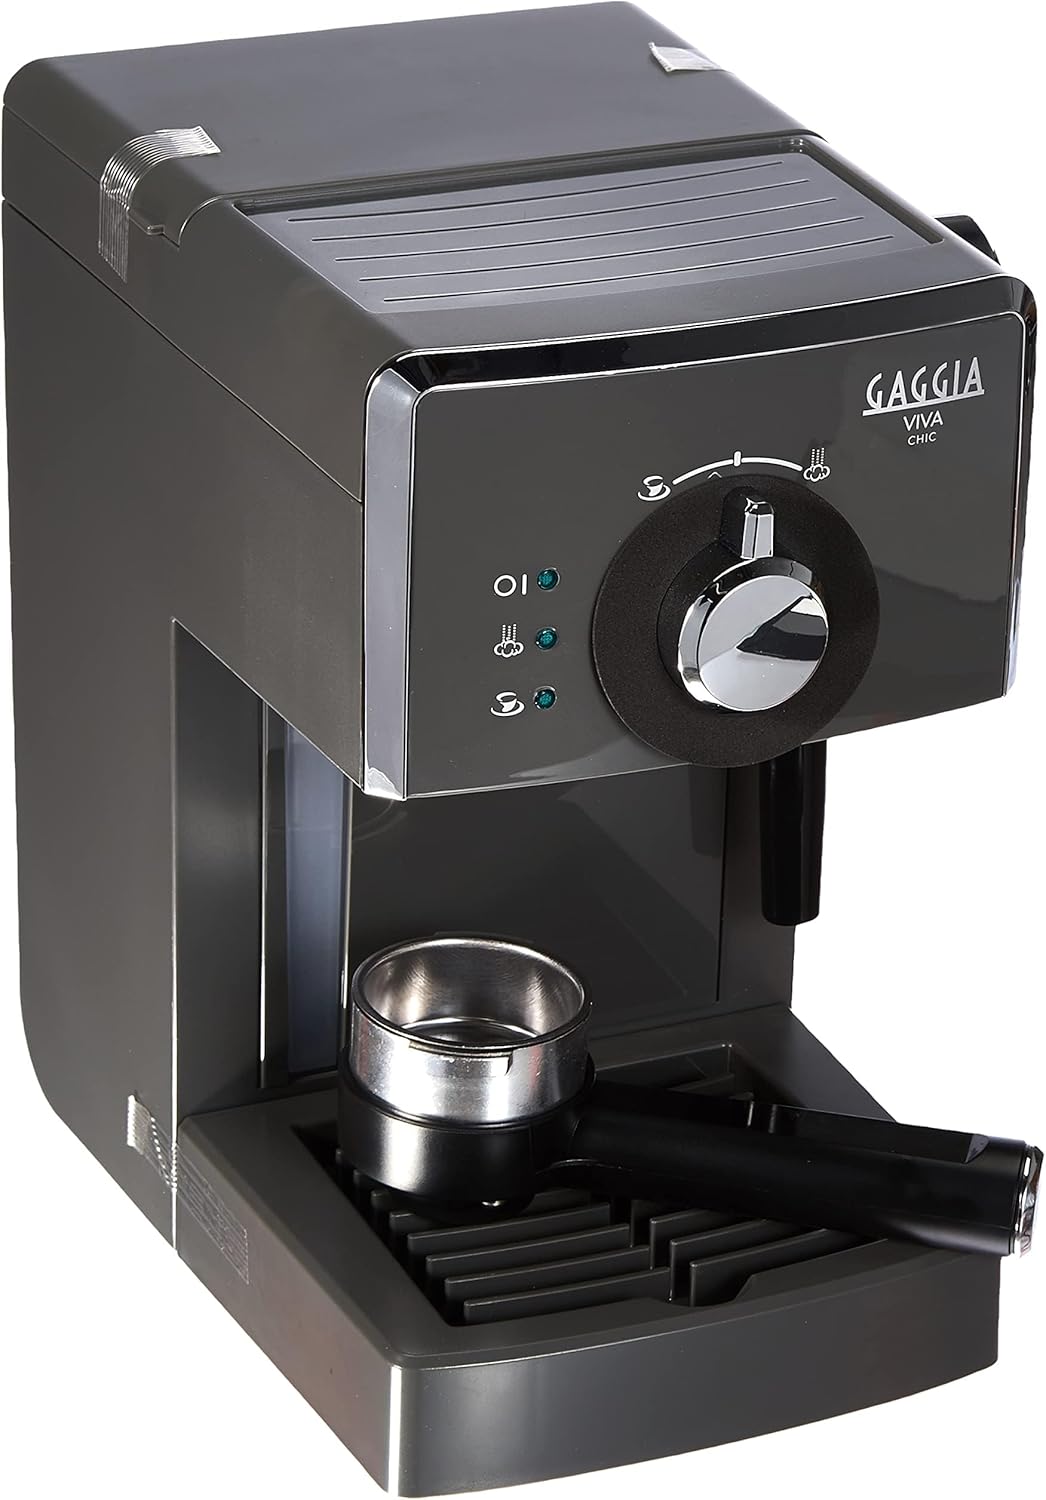
Figure 1: Angled view of the Gaggia Viva Chic coffee machine, showing the water tank on the left, the central control knob, and the filter holder in the drip tray.

Figure 2: Front view of the Gaggia Viva Chic, highlighting the indicator lights (power, coffee, steam), the central control knob for brewing and steaming, and the steam wand on the right.

Figure 3: Side view of the Gaggia Viva Chic, illustrating its dimensions: approximately 23 cm deep, 32 cm wide, and 30 cm high.
Setup
- Unpacking: Carefully remove the coffee machine and all accessories from the packaging. Retain packaging for future transport or storage.
- Initial Cleaning: Before first use, wash the water tank, filter holder, and drip tray with warm water and a mild detergent. Rinse thoroughly and dry.
- Fill Water Tank: Remove the water tank from the top of the machine. Fill it with fresh, cold drinking water up to the MAX level indicator. Replace the tank securely.
- First Prime/Rinse Cycle:
- Place a container under the filter holder and another under the steam wand.
- Plug the appliance into a grounded power outlet.
- Turn the machine on using the power button. The power indicator light will illuminate.
- Wait for the coffee ready indicator light to turn on, indicating the machine has heated up.
- Turn the central control knob to the coffee brewing position to dispense water through the filter holder. Let approximately 100ml of water flow through.
- Turn the control knob to the steam position and open the steam knob to release steam and hot water through the steam wand. Let approximately 50ml flow through. Close the steam knob.
- Turn the control knob back to the standby position. The machine is now primed and ready for use.
Operating Instructions
Making Espresso (Ground Coffee)
- Ensure the water tank is filled.
- Insert the appropriate filter for ground coffee (single or double shot) into the filter holder.
- Using the included measuring spoon, add ground coffee to the filter. For a single shot, use one level spoon; for a double shot, use two level spoons.
- Lightly tamp the coffee grounds with the tamper end of the measuring spoon. Ensure the surface is level.
- Attach the filter holder to the brewing group by aligning it and turning it firmly to the right until it is securely locked.
- Place one or two espresso cups under the filter holder spouts.
- Ensure the machine is powered on and the coffee ready indicator light is illuminated.
- Turn the central control knob to the coffee brewing position. Coffee will begin to flow.
- Once the desired amount of espresso is brewed, turn the control knob back to the standby position to stop the flow.
- Carefully remove the filter holder (it will be hot) and discard the used coffee grounds. Rinse the filter holder and filter.
Using Coffee Pods
- Ensure the water tank is filled.
- Insert the special filter for coffee pods with its adapter into the filter holder.
- Place one coffee pod into the filter, ensuring it is centered.
- Attach the filter holder to the brewing group by aligning it and turning it firmly to the right until it is securely locked.
- Place an espresso cup under the filter holder spout.
- Ensure the machine is powered on and the coffee ready indicator light is illuminated.
- Turn the central control knob to the coffee brewing position. Coffee will begin to flow.
- Once the desired amount of espresso is brewed, turn the control knob back to the standby position to stop the flow.
- Carefully remove the filter holder and discard the used coffee pod. Rinse the filter holder and filter.
Steaming Milk
- Ensure the water tank is filled.
- Place a metal pitcher with cold milk (about 1/3 full) under the steam wand.
- Turn the central control knob to the steam position. The steam ready indicator light will illuminate when the machine reaches steaming temperature.
- Open the steam knob slowly to release any condensed water from the wand into a separate container. Close the steam knob once only steam is emitted.
- Submerge the tip of the steam wand just below the surface of the milk.
- Open the steam knob fully. Move the pitcher up and down slightly to create a swirling motion and incorporate air for foam.
- Once the milk reaches the desired temperature and texture, close the steam knob and remove the pitcher.
- Immediately clean the steam wand by wiping it with a damp cloth and briefly opening the steam knob to clear any milk residue from inside.
- Turn the central control knob back to the standby position.
Cleaning and Maintenance
Regular cleaning ensures optimal performance and extends the lifespan of your Gaggia Viva Chic.
- Daily Cleaning:
- Empty and rinse the drip tray and grid after each use.
- Remove and rinse the filter holder and filter after each use.
- Wipe down the exterior of the machine with a damp cloth.
- Clean the steam wand immediately after each use as described in the "Steaming Milk" section.
- Water Tank: Clean the water tank regularly with warm water and mild detergent. Rinse thoroughly.
- Descaling: Depending on water hardness and frequency of use, descale the machine every 2-3 months. Use a Gaggia-approved descaling solution and follow the product's instructions.
Troubleshooting
| Problem | Possible Cause | Solution |
|---|---|---|
| No coffee dispenses. | No water in tank; machine not heated; filter clogged. | Fill water tank; wait for coffee ready light; clean filter. |
| Coffee is too weak. | Coffee too coarse; not enough coffee; insufficient tamping. | Use finer grind; increase coffee dose; tamp more firmly. |
| Coffee flows too slowly or not at all. | Coffee too fine; too much coffee; machine needs descaling. | Use coarser grind; reduce coffee dose; descale machine. |
| No steam from wand. | Machine not at steam temperature; wand clogged. | Wait for steam ready light; clean steam wand. |
| Water leaks from machine. | Water tank not seated correctly; seal issue. | Reseat water tank; contact customer support if problem persists. |
Specifications
- Brand: Gaggia
- Model Number: RI8433/13
- Color: Industrial Grey
- Product Dimensions (L x W x H): 23 x 32 x 30 cm
- Item Weight: 4.37 Kilograms
- Water Tank Volume: 1 Liter
- Power: 1025 W
- Coffee Machine Type: Espresso Machine
- Special Feature: Removable Water Tank
What's in the Box
The Gaggia Viva Chic package includes the following items:
- Gaggia Viva Chic Coffee Machine
- 1 Filter for Ground Coffee (for one or two cups)
- 1 Filter for Coffee Pods with Special Adapter
- 1 Measuring Cup with Tamper
Note: A stainless steel grid for the drip tray is not included.
Warranty and Support
For warranty information and technical support, please refer to the official Gaggia website or contact your local authorized Gaggia service center. Keep your proof of purchase for warranty claims.
Related Documents - RI8433/13
 |
Gaggia Viva Espresso Machine: Operating Instructions and User Manual Comprehensive operating instructions and user manual for the Gaggia Viva Style, Chic, Deluxe, and Prestige espresso machines (models RI8433, RI8435, RI8437). Includes safety, usage, cleaning, and troubleshooting guides. |
 |
Gaggia Viva Espresso Machine: User Manual & Operating Instructions Comprehensive operating instructions for the Gaggia Viva series espresso machines, including models Style, Chic, Deluxe, and Prestige (RI8433, RI8435, RI8437). Learn setup, usage, cleaning, and maintenance for perfect home espresso. |
 |
Gaggia Viva Manual Espresso Machine RI8433/11 - Authentic Italian Espresso Discover the Gaggia Viva Manual Espresso machine (RI8433/11) for authentic Italian espresso at home. Features a classic milk frother, ground coffee compartment, and durable stainless steel body. |
 |
Gaggia Baby Class Espresso Machine User Manual and Guide Comprehensive user manual for the Gaggia Baby Class Espresso Machine, covering setup, operation, maintenance, troubleshooting, and coffee tips. Learn how to make perfect espresso and cappuccino with your Gaggia machine. |
 |
Gaggia Magenta Plus RI8700 Operating Instructions | Gaggia Milano Comprehensive operating instructions and user manual for the Gaggia Magenta Plus RI8700 automatic coffee machine. Learn how to install, use, clean, and maintain your Gaggia coffee maker for optimal performance and delicious coffee. |
 |
Gaggia Magenta Prestige EG6603 - Automatic Coffee Machine User Manual Comprehensive user manual for the Gaggia Magenta Prestige EG6603 automatic coffee machine, covering setup, operation, maintenance, troubleshooting, and technical specifications. Learn how to make various coffee drinks and care for your machine. |
Ask a question about this manual
Ask about setup, troubleshooting, compatibility, parts, safety, or missing instructions. Manuals+ will review the question and use this page’s manual context to help answer it.