Introduction
This manual provides detailed instructions for the installation, operation, and maintenance of the HANWHA TECHWIN SND-3082P Network Dome Camera. The SND-3082P is a high-performance 4CIF resolution network camera designed for surveillance applications, featuring Wide Dynamic Range (WDR) technology, Day/Night functionality, and Power over Ethernet (PoE) support. Please read this manual thoroughly before using the product to ensure correct and safe operation.
Key Features
- High Resolution: Delivers 30(25)fps at 4CIF resolution for clear images.
- Advanced Codecs: Supports H.264, MPEG-4, and MJPEG multiple codecs for flexible streaming.
- Multi-streaming: Enables simultaneous transmission of various streams for real-time monitoring, high-quality recording, and mobile access.
- Day and Night Function (ICR): Provides clear images in varying light conditions using an Infrared Cut-filter Removable mechanism.
- Wide Dynamic Range (WDR): Optimizes image quality in challenging lighting conditions with strong light/dark contrasts.
- Power over Ethernet (PoE): Simplifies installation by providing power and data over a single Ethernet cable.
- Micro SD Slot: Supports local recording to a Micro SD card.
- Bi-Directional Audio: Allows for two-way audio communication.
- Mobile Monitoring & E-mail Notifications: Facilitates remote viewing and alert notifications.
Package Contents
Please check that all components are present and in good condition. If any items are missing or damaged, contact your supplier immediately.
- HANWHA TECHWIN SND-3082P Network Dome Camera Unit
- Mounting Template
- Mounting Screws and Anchors
- Quick Start Guide
- Software CD or Download Information
- Ethernet Cable (may be sold separately)
Setup
1. Unpacking and Inspection
Carefully remove the camera from its packaging. Inspect the camera and all accessories for any signs of damage.
2. Mounting the Camera
The SND-3082P is designed for ceiling mount installation.
- Choose a suitable mounting location on a ceiling, ensuring it is sturdy enough to support the camera's weight.
- Use the provided mounting template to mark the drill holes on the ceiling.
- Drill pilot holes and insert the wall anchors if necessary.
- Secure the camera's mounting plate to the ceiling using the provided screws.
- Attach the camera body to the mounting plate, ensuring it is firmly locked in place.
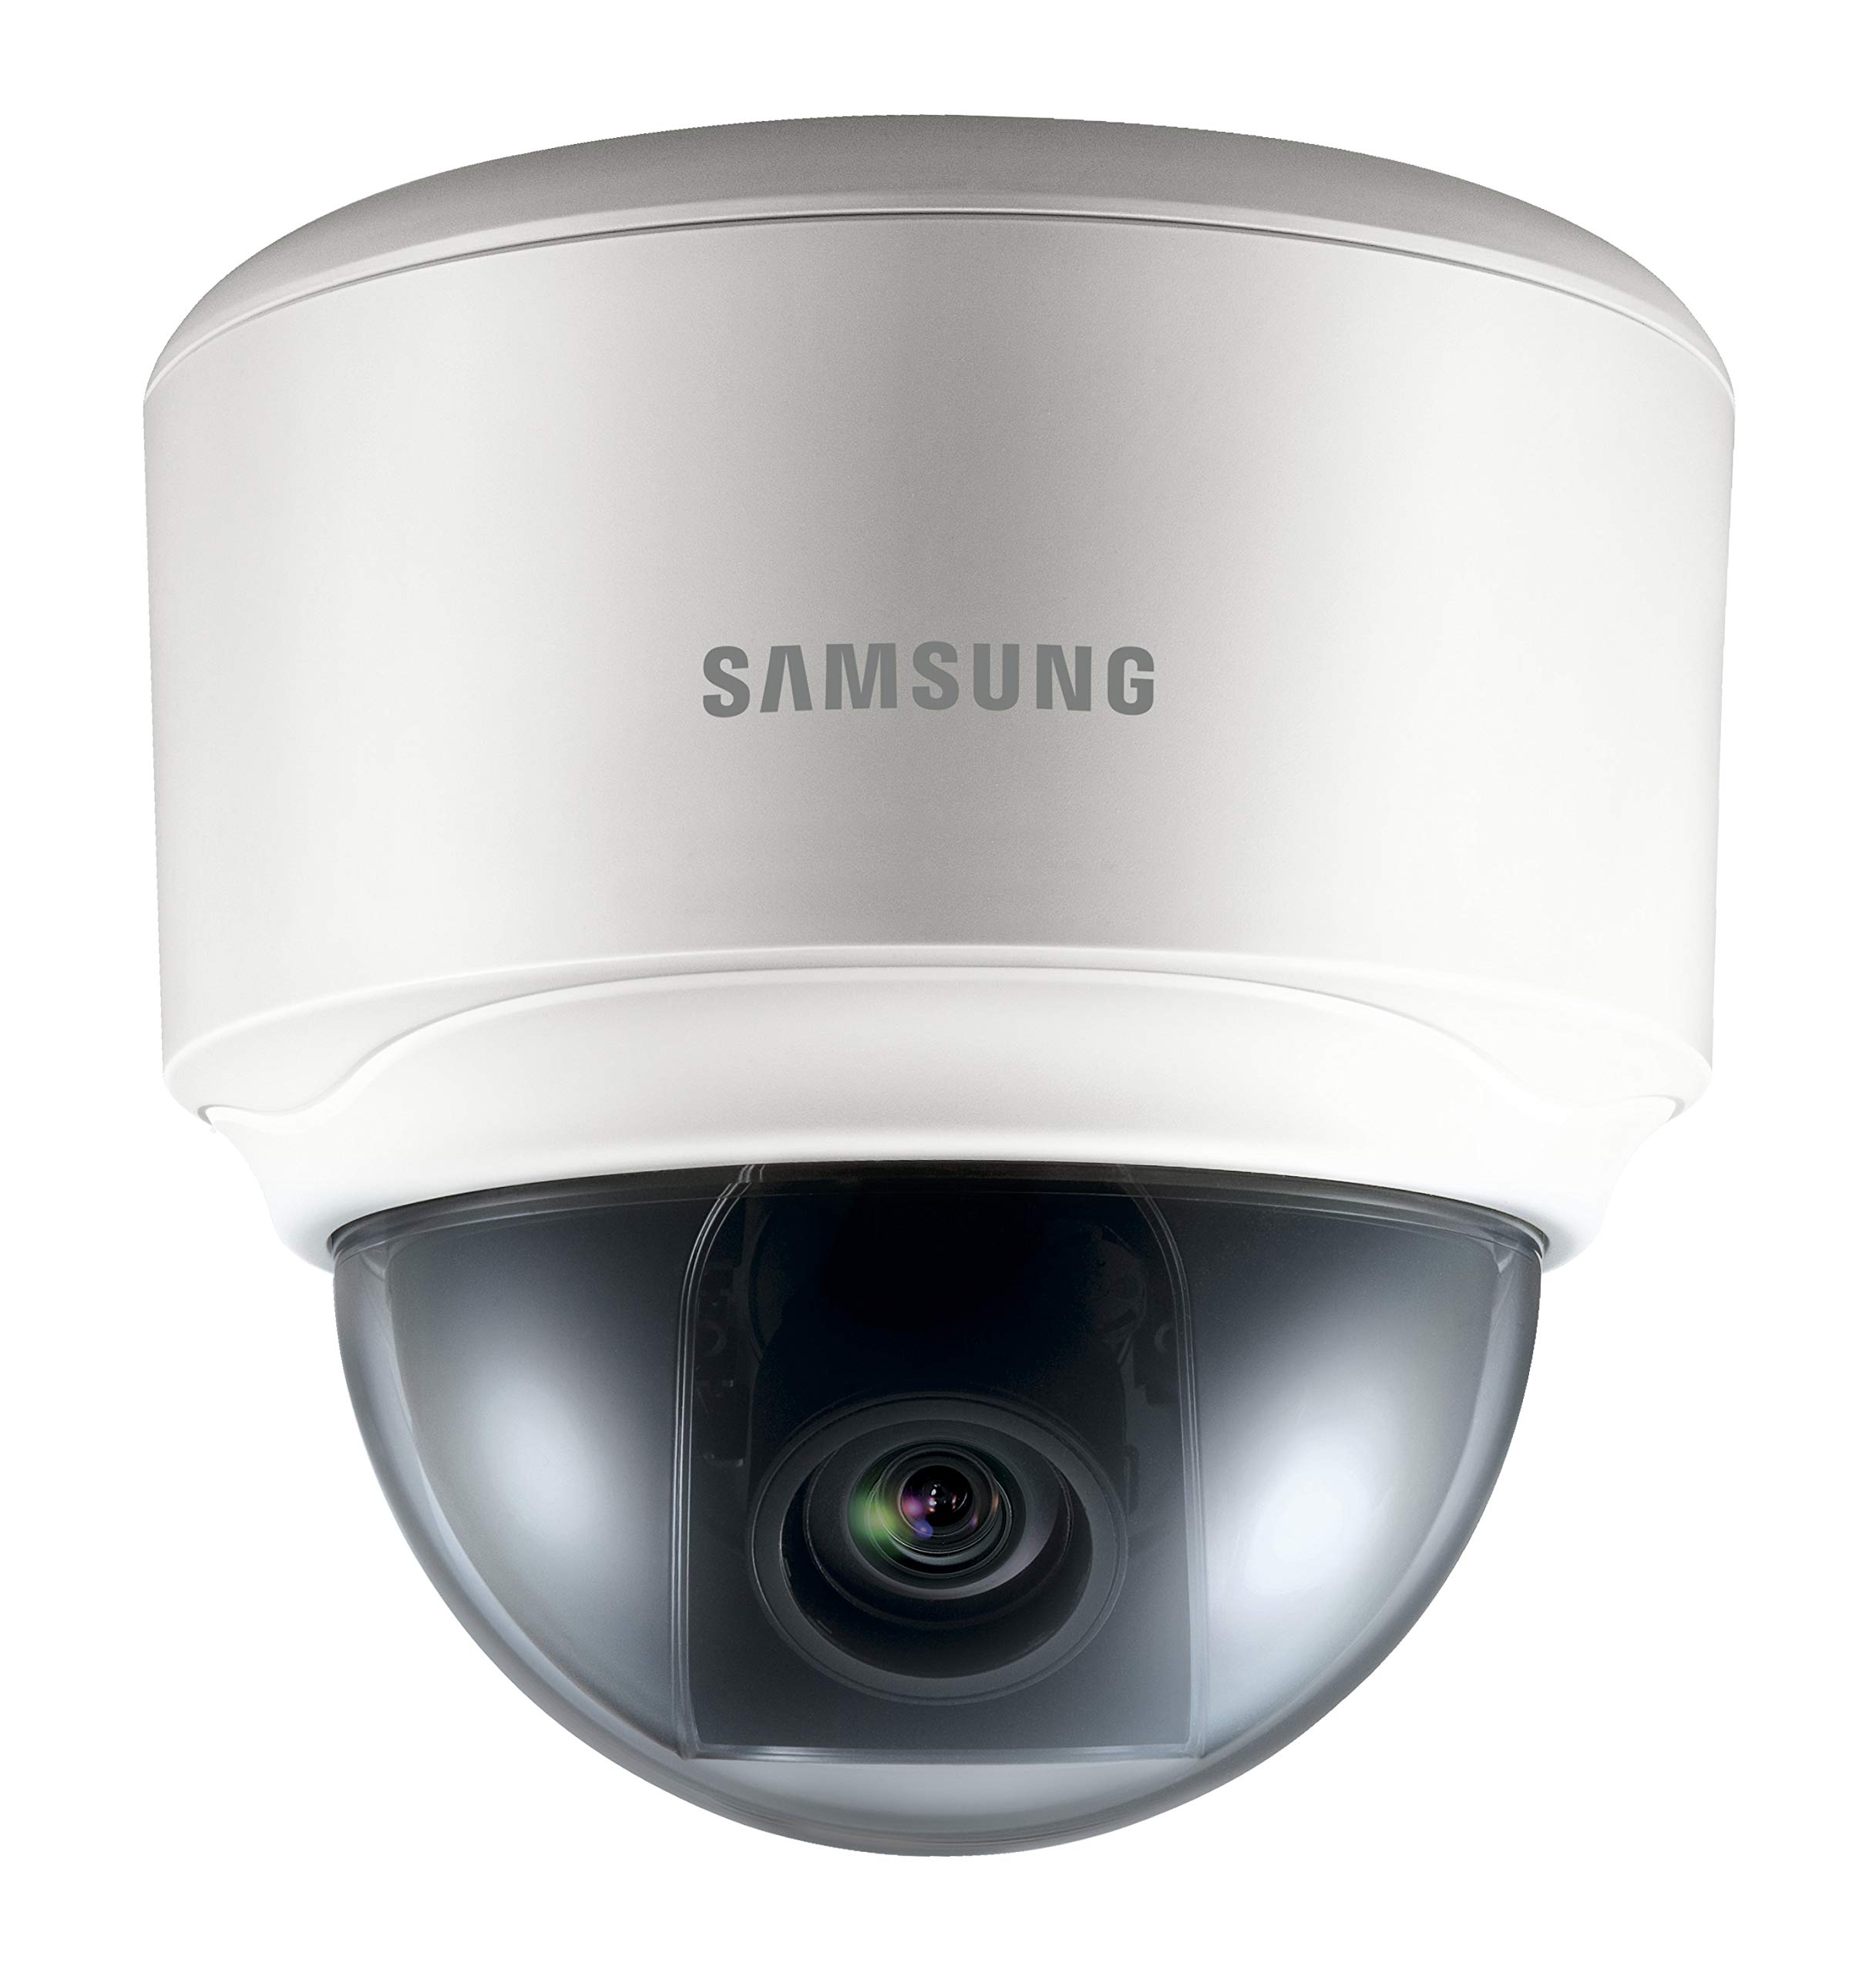
Image: The HANWHA TECHWIN SND-3082P Network Dome Camera, typically mounted on a ceiling for surveillance. This image illustrates the compact dome design.
3. Power and Network Connection
The camera supports Power over Ethernet (PoE) for simplified installation.
- PoE Connection: Connect an Ethernet cable from a PoE-enabled switch or injector to the camera's Ethernet port. This will provide both power and network connectivity.
- Standard Power (Optional): If PoE is not used, connect a 12V DC power adapter (not included) to the camera's power input port. Then, connect an Ethernet cable from your network switch/router to the camera's Ethernet port.
Ensure the network connection is active and the camera receives power. The camera will typically perform a self-test upon power-up.
4. Initial Access and Configuration
To access the camera's web interface for initial configuration:
- Install the provided IP Installer software (or similar discovery tool) on a computer connected to the same network as the camera.
- Run the software to discover the camera's IP address.
- Open a web browser (e.g., Chrome, Firefox) and enter the camera's IP address in the address bar.
- Log in using the default username and password (refer to the Quick Start Guide for default credentials). It is highly recommended to change the default password immediately for security.
- Follow the on-screen prompts to configure basic settings such as network parameters, date/time, and video streaming options.
Operating the Camera
1. Live View
After logging into the web interface, you can access the live video feed. Adjust the camera's pan, tilt, and zoom (if applicable) to achieve the desired viewing angle.
2. Video Settings
Navigate to the video settings section to configure:
- Resolution and Frame Rate: Set the desired resolution (up to 4CIF) and frame rate.
- Compression: Choose between H.264, MPEG-4, or MJPEG codecs.
- WDR: Enable or disable Wide Dynamic Range for improved image quality in high-contrast scenes.
- Day/Night Mode: Configure automatic switching between color (day) and black & white (night) modes.
3. Recording and Storage
The camera supports various recording options:
- Micro SD Card: Insert a compatible Micro SD card into the camera's slot for local storage. Configure recording schedules and event-triggered recording (e.g., motion detection).
- Network Video Recorder (NVR): Connect the camera to a compatible NVR for centralized recording and management.
- FTP/NAS: Configure the camera to upload recordings or snapshots to an FTP server or Network Attached Storage.
4. Event Management
Configure event triggers and actions:
- Motion Detection: Set up detection zones and sensitivity.
- Alarm Output: Trigger external devices upon event detection.
- Email Notification: Receive email alerts with snapshots when an event occurs.
Maintenance
- Cleaning: Regularly clean the camera's dome cover with a soft, damp cloth. Avoid abrasive cleaners.
- Firmware Updates: Check the manufacturer's website periodically for firmware updates. Updating firmware can improve performance, add features, and enhance security. Follow the provided instructions carefully when performing updates.
- Network Security: Ensure your network is secure and change camera passwords regularly.
Troubleshooting
| Problem | Possible Cause | Solution |
|---|---|---|
| No video feed | No power; Network cable disconnected; Incorrect IP address; Firewall blocking access. | Check power supply/PoE connection; Verify network cable connection; Confirm camera's IP address; Adjust firewall settings. |
| Poor image quality | Dirty lens/dome; Incorrect video settings (resolution, compression); Insufficient lighting; WDR not enabled in high-contrast scenes. | Clean the dome cover; Adjust resolution and compression settings; Ensure adequate lighting or enable Day/Night mode; Activate WDR. |
| Cannot access web interface | Incorrect IP address; Network connectivity issue; Browser compatibility; Incorrect login credentials. | Use IP Installer to find IP; Check network cables; Try a different browser; Verify username/password (reset if necessary). |
| Recording not working | SD card full or faulty; Recording schedule not configured; NVR not connected or configured correctly. | Check SD card status, format or replace; Configure recording schedules; Verify NVR connection and settings. |
Specifications
| Feature | Detail |
|---|---|
| Brand | HANWHA |
| Model | SND-3082P |
| Resolution | Up to 4CIF (704x480) at 30(25)fps |
| Video Codecs | H.264, MPEG-4, MJPEG |
| Day/Night | True Day/Night (ICR) |
| Wide Dynamic Range (WDR) | Yes |
| Power Source | PoE (Power over Ethernet), 12V DC |
| Connectivity Technology | Wired |
| Storage | Micro SD Slot |
| Audio | Bi-Directional Audio |
| Mounting Type | Ceiling Mount |
| Form Factor | Dome |
| Color | White |
| Item Weight | 1.27 pounds (0.57 kg) |
| Package Dimensions | 5.24 x 5.24 x 5.09 inches (13.3 x 13.3 x 12.9 cm) |
| International Protection Rating | IP65 |
| Indoor/Outdoor Usage | Indoor |
Warranty and Support
For warranty information and technical support, please refer to the documentation included with your product or visit the official HANWHA TECHWIN website. Keep your purchase receipt as proof of purchase for warranty claims.