1. Important Safety Instructions
Please read all instructions carefully before using the appliance and retain them for future reference. Failure to follow these instructions may result in electric shock, fire, or serious injury.
- Always ensure the voltage indicated on the rating label corresponds to your mains voltage.
- Do not immerse the iron, base, cord, or plug in water or any other liquid.
- Keep the appliance out of reach of children and persons with reduced physical, sensory, or mental capabilities.
- Never leave the iron unattended while it is switched on or connected to the power supply.
- Exercise caution when handling hot surfaces and steam. Steam can cause burns.
- Unplug the iron from the power outlet before filling or emptying the water tank, and during cleaning or maintenance.
- Do not operate the iron with a damaged cord or plug, or if the appliance has been dropped or damaged. Contact authorized service personnel for repair.
- Place the iron on a stable, heat-resistant surface when not in use.
- Use only distilled or demineralized water in the water tank to prevent mineral buildup.
2. Product Overview
The UFESA PL2650 is a powerful 2400W steam iron designed for efficient garment care and disinfection. It features a ceramic soleplate, high steam output, and a central disinfectant function to remove 99.999% of bacteria.

Figure 2.1: The UFESA PL2650 steam iron resting on its red and white base unit. The iron features a white body with red accents on the handle and a ceramic soleplate. The base unit is predominantly red with white trim and houses the water tank and control panel.

Figure 2.2: A side view of the UFESA PL2650 steam iron on its base, positioned on a dark surface. A blue and white checkered shirt is visible in the blurred background, indicating the iron's intended use for garment care.
Key Components:
- Iron Unit: Features a ceramic soleplate, temperature dial, steam trigger, and ergonomic handle.
- Base Unit: Houses the 1.9 L water tank, power cord storage, and control panel.
- Control Panel: Includes indicator lights for 'Clean', 'Ready', and 'Steam'.
- Water Tank: Large capacity for extended ironing sessions.
3. Setup
3.1 Unpacking
- Carefully remove all packaging materials from the box.
- Inspect the iron and its components for any signs of damage. Do not use if damaged.
- Retain packaging for storage or future transport.
3.2 Filling the Water Tank
- Ensure the iron is unplugged from the power outlet.
- Remove the water tank from the base unit or open the water tank cap.
- Fill the tank with clean, distilled, or demineralized water up to the 'MAX' fill line. Do not overfill.
- Close the water tank cap securely or reinsert the tank into the base unit.
3.3 Initial Use
Before first use, or if the iron has not been used for a long time, it is recommended to perform a quick steam cycle on an old piece of fabric to clear any manufacturing residues.
- Fill the water tank as described above.
- Plug the iron into a grounded power outlet.
- Set the temperature dial to the maximum setting.
- Wait for the 'Ready' indicator light to illuminate (approximately 2 minutes).
- Press the steam trigger several times over an old cloth to release steam and flush out any impurities.
4. Operating Instructions
4.1 Powering On and Heating
- Ensure the water tank is filled.
- Place the iron securely on its base.
- Plug the power cord into a suitable electrical outlet.
- The 'Ready' indicator light will flash while heating and become solid when the iron reaches the selected temperature (approx. 2 minutes).
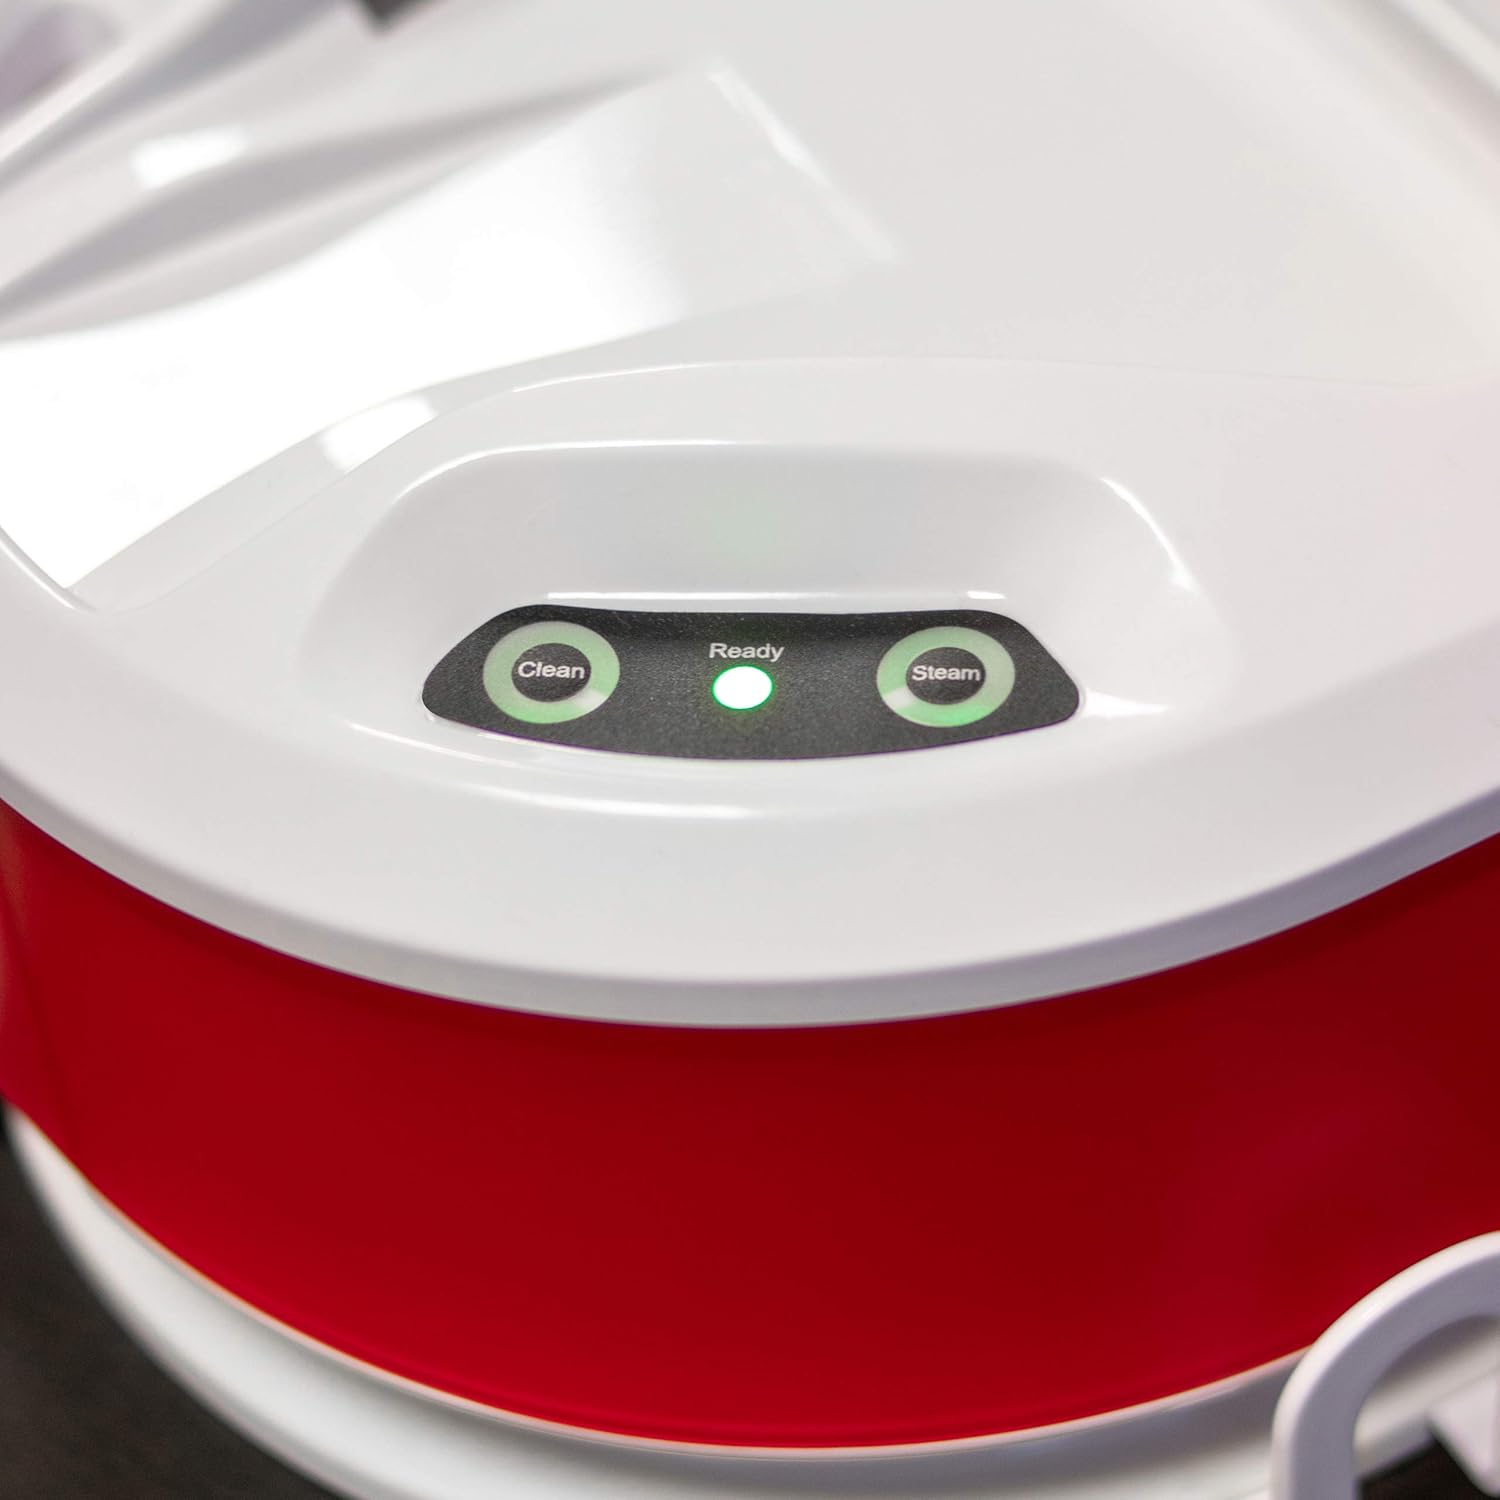
Figure 4.1: A close-up view of the control panel on the UFESA PL2650 base unit. Three circular indicator lights are visible: 'Clean' (left), 'Ready' (center, illuminated green), and 'Steam' (right). The 'Ready' light being green indicates the iron has reached its operating temperature.
4.2 Selecting Temperature and Steam Settings
- Rotate the temperature dial on the iron to select the appropriate heat setting for your fabric type. Refer to garment care labels.
- For steam ironing, ensure the temperature setting is within the steam range (usually indicated on the dial).
- Press the steam trigger on the iron handle for continuous steam (120 g/min) or for a powerful steam boost (up to 350 g/min).
4.3 Ironing Techniques
- Prepare your garments by laying them flat on an ironing board.
- Start ironing with lower temperature settings for delicate fabrics and gradually increase for heavier materials.
- Move the iron smoothly over the fabric. For stubborn creases, use the steam boost function.

Figure 4.2: A hand holding the UFESA PL2650 steam iron, actively steaming a blue and white checkered shirt on an ironing board. Visible steam emanates from the soleplate, demonstrating the iron's steam function in use.

Figure 4.3: A person's hand guiding the UFESA PL2650 steam iron across a blue and white checkered shirt. The iron is positioned flat against the fabric, illustrating the process of ironing to remove wrinkles.

Figure 4.4: A top-down perspective of a hand holding the UFESA PL2650 steam iron, pressing it onto a blue and white checkered shirt. This angle highlights the iron's movement and contact with the fabric during the ironing process.
4.4 Central Disinfectant Function
The UFESA PL2650 is equipped with a central disinfectant function designed to eliminate 99.999% of bacteria from fabrics using high-temperature steam. This function is integrated into the steam generation process.
- Ensure the water tank is filled and the iron is heated to the maximum steam setting.
- Apply steam to the fabric for a few seconds, ensuring thorough penetration.
- For optimal disinfection, move the iron slowly over the area to be treated.
5. Maintenance and Cleaning
5.1 After Each Use
- Unplug the iron from the power outlet and allow it to cool completely.
- Empty any remaining water from the tank.
- Wipe the soleplate with a damp cloth to remove any residue. Do not use abrasive cleaners.
- Store the iron upright on its base in a safe, dry place.
5.2 Descaling / 'Clean' Function
The 'Clean' indicator light on the base unit will illuminate when descaling is recommended. Regular descaling helps maintain optimal steam performance and extends the life of your iron.
- Ensure the iron is cool and unplugged.
- Fill the water tank with clean water.
- Plug in the iron and turn it on to the maximum temperature setting.
- Once the 'Ready' light is solid, press and hold the 'Clean' button (if available, or follow specific descaling instructions in a dedicated section of the full manual).
- Steam and hot water will be expelled from the soleplate, flushing out mineral deposits. Perform this over a sink or basin.
- Repeat if necessary until the water expelled is clear.
- Unplug and allow to cool before storing.
5.3 Cleaning the Exterior
Wipe the exterior of the iron and base unit with a soft, damp cloth. Do not use harsh chemicals or abrasive cleaning pads.
6. Troubleshooting
| Problem | Possible Cause | Solution |
|---|---|---|
| Iron does not heat up. | Not plugged in; power outlet fault; iron not switched on. | Check power connection; test outlet with another appliance; ensure iron is switched on. |
| No steam or insufficient steam. | Water tank empty; temperature too low for steam; mineral buildup. | Fill water tank; set temperature to steam range; perform descaling procedure. |
| Water leaks from soleplate. | Temperature too low for steam; water tank overfilled; iron left horizontal. | Increase temperature; do not overfill tank; store iron upright on its base. |
| 'Clean' indicator light is on. | Descaling is required. | Perform the descaling procedure as described in Section 5.2. |
7. Specifications
- Model: PL2650
- Power: 2400 W
- Constant Steam Output: 120 g/min
- Maximum Steam Boost: 350 g/min
- Pressure: 6 bar
- Heat-up Time: Approximately 2 minutes
- Water Tank Capacity: 1.9 L
- Soleplate Material: Ceramic
- Product Dimensions: 19.69 x 19.69 x 11.02 inches
- Item Weight: 12.3 ounces
- Manufacturer: UFESA
8. Warranty and Support
UFESA products are manufactured to high-quality standards. This product is covered by a manufacturer's warranty against defects in materials and workmanship from the date of purchase. Please retain your proof of purchase for warranty claims.
For technical assistance, troubleshooting beyond this manual, or warranty service, please contact UFESA customer support through their official website or the retailer where the product was purchased. Do not attempt to repair the appliance yourself.
For more information, visit the official UFESA website: www.ufesa.es


