
1. Introduction
This manual provides detailed instructions for the safe installation, operation, and maintenance of your Garwarm 8-Light Gold Sputnik Semi Flush Mount Ceiling Light. Please read this manual thoroughly before installation and retain it for future reference.

Image 1: The Garwarm 8-Light Gold Sputnik Semi Flush Mount Ceiling Light.
2. Safety Information
WARNING: RISK OF ELECTRIC SHOCK. Disconnect power at the circuit breaker or fuse box before installation or servicing. Improper installation can result in electric shock or fire.
- All electrical connections must be in accordance with local codes and ordinances, and the National Electric Code (NEC).
- Consult a qualified electrician if you are unsure about the installation process.
- Wear safety glasses and gloves during installation.
- Do not exceed the recommended wattage for bulbs.
- Ensure the fixture is securely mounted to a structural element of the ceiling.
3. Package Contents
Verify that all components are present before beginning installation:
- Sputnik Chandelier Lighting Fixture (1)
- Mounting Hardware (screws, wire nuts, etc.)
- User Manual (1)
Note: E26 bulbs are not included and must be purchased separately.
4. Specifications
| Feature | Detail |
|---|---|
| Brand | Garwarm |
| Model Number | TOY8080-8-Gold |
| Color | Gold |
| Material | Metal |
| Fixture Size (L x W x H) | 34.2 x 34.2 x 7.8 inches (87 x 87 x 20cm) |
| Ceiling Lamp Tray Diameter | 4.72 inches (12cm) |
| Voltage | 110-120V (AC) |
| Bulb Base | E26 |
| Number of Light Sources | 8 |
| Max Wattage per Bulb | 40 watts |
| Compatible Bulb Types | LED, Edison, Incandescent, CFL, Halogen |
| Dimmable | Yes (with dimmable bulbs and compatible dimmer switch) |
| Mounting Type | Semi Flush Mount |
| Item Weight | 1.66 Kilograms |
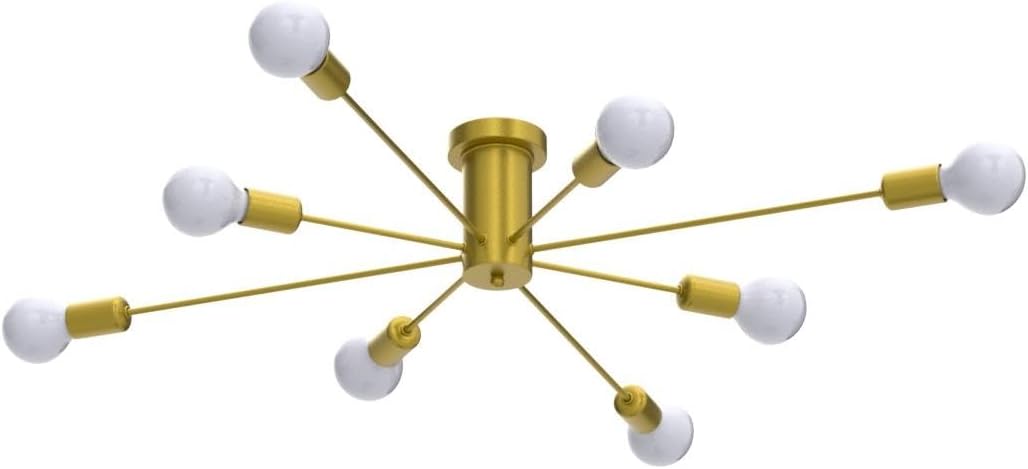
Image 2: Detailed dimensions and compatible bulb types for the Garwarm Sputnik Ceiling Light.
5. Setup and Installation
The Garwarm 8-Light Sputnik Ceiling Light is designed for easy installation. The arms come pre-wired, simplifying the assembly process. All necessary mounting hardware is included.
5.1 Assembly Steps
- Prepare the Fixture: Carefully unpack all components. The central body and pre-wired arms are ready for assembly.
- Attach the Arms: Screw each arm into the central body. Ensure the wires are not pinched during this process.
- Connect Wires: Connect the wires from each arm to the corresponding wires in the central hub using the provided wire nuts. Ensure all connections are secure.
- Mount the Fixture: Secure the mounting bracket to your ceiling junction box. Connect the fixture's electrical wires (live, neutral, ground) to your household wiring according to local electrical codes.
- Secure the Canopy: Attach the fixture canopy to the mounting bracket, covering the electrical connections.
- Install Bulbs: Screw E26 base bulbs (not included) into each socket.

Image 3: A close-up view of the semi-flush mount base, showing the connection points for the arms.
5.2 Installation Video Guide
For a visual guide on the installation process, please refer to the official Garwarm installation video:
Video 1: Official Garwarm Sputnik Ceiling Light Installation Guide. This video demonstrates the step-by-step assembly and wiring of the fixture.
6. Operating Instructions
Once installed, operate the light fixture using your standard wall switch. The fixture is designed to be fully dimmable when used with dimmable E26 bulbs and a compatible dimmer switch (not included).
6.1 Dimmable Functionality
To utilize the dimming feature, ensure you install dimmable E26 bulbs and connect the fixture to a compatible dimmer switch. This allows you to adjust the light intensity to create various ambiances.
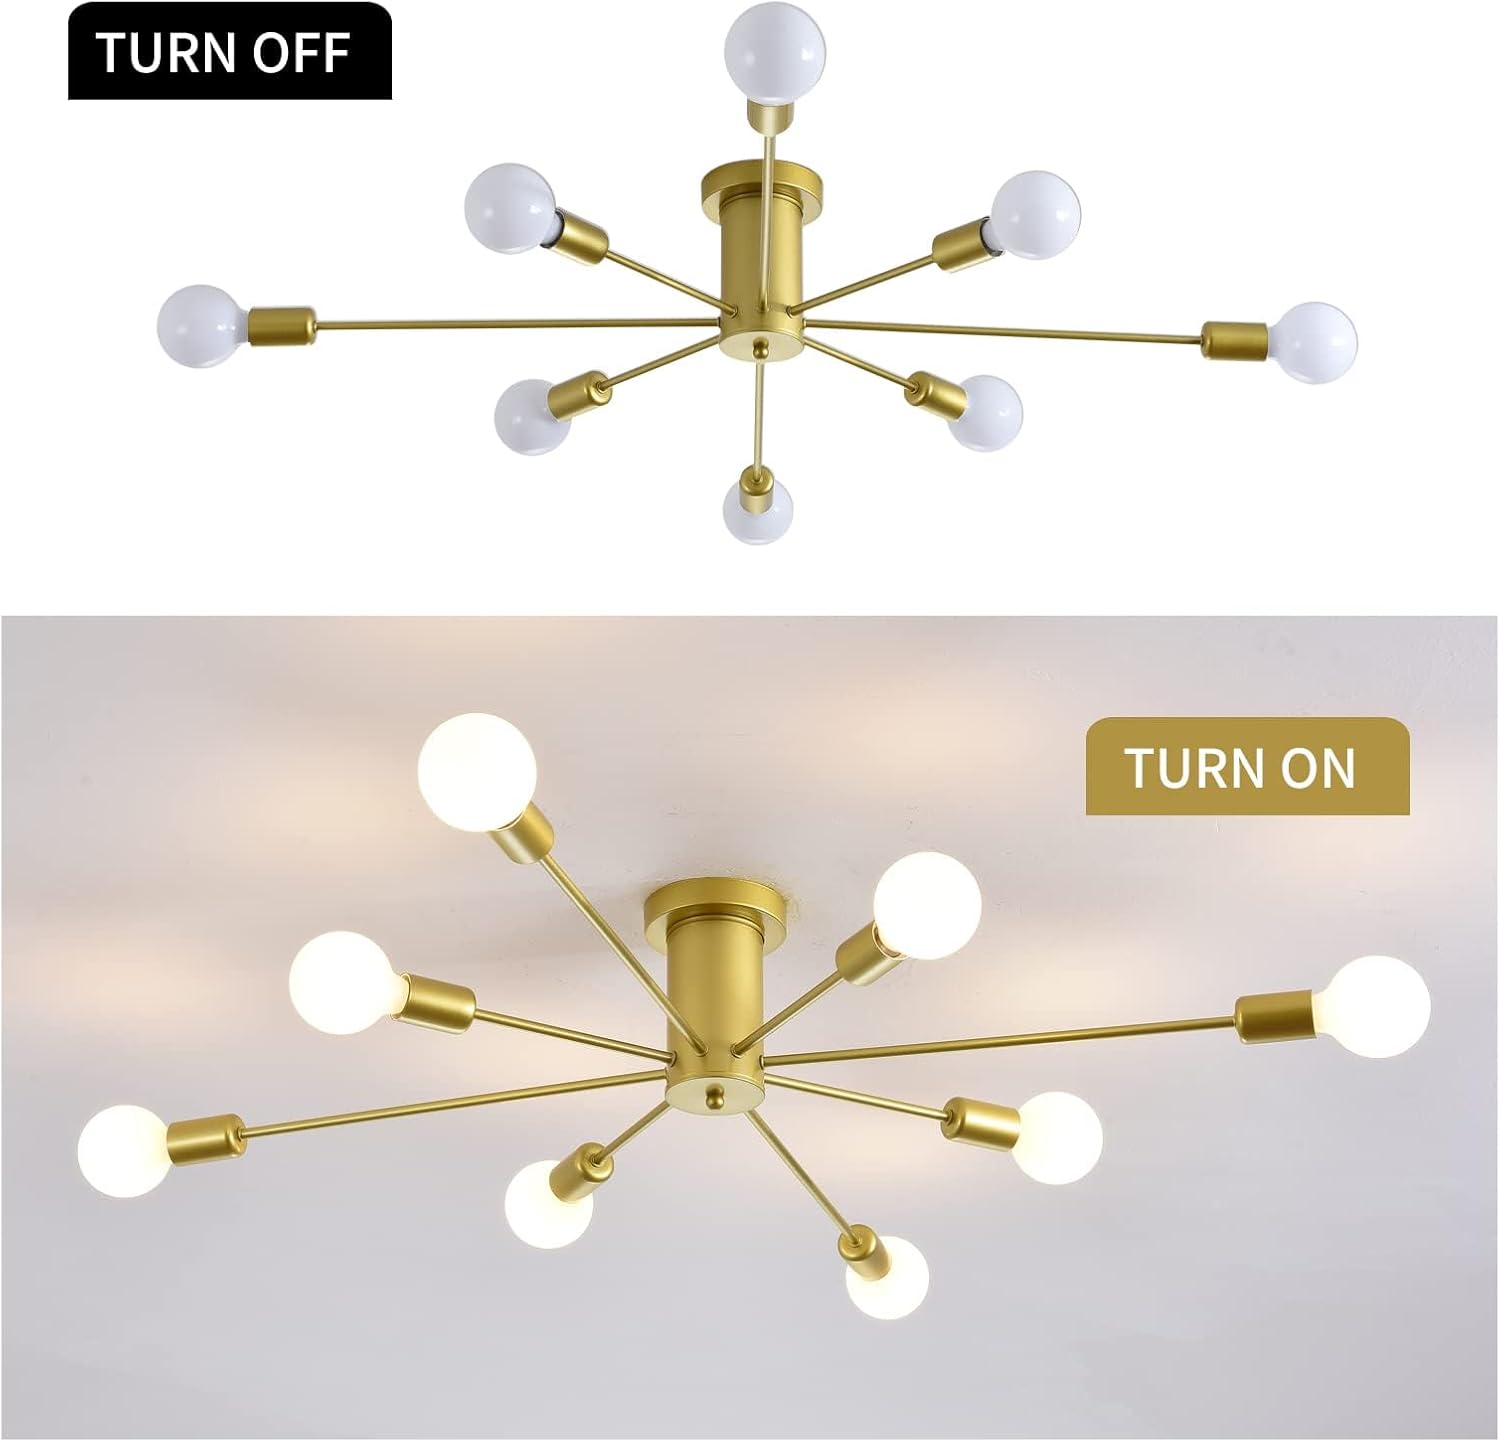
Image 4: The Garwarm Sputnik Ceiling Light shown in both off and on states, demonstrating its illumination.
6.2 Product Overview Video
View the product in various settings and understand its features through this overview video:
Video 2: Garwarm 8-Lights Gold Sputnik Ceiling Light Chandelier Light Fixture Overview. This video showcases the aesthetic and functionality of the light fixture.
6.3 Application Examples
The versatile design of this fixture makes it suitable for various indoor spaces:
- Living Room: Provides ample ambient lighting and a modern aesthetic.
- Dining Room: Illuminates dining areas effectively.
- Bedroom: Offers adjustable lighting for comfort and style.
- Kitchen: Adds a contemporary touch to kitchen spaces.

Image 5: The Garwarm Sputnik Ceiling Light installed in a modern living room setting.

Image 6: The Garwarm Sputnik Ceiling Light illuminating a dining room.

Image 7: The Garwarm Sputnik Ceiling Light providing light in a bedroom.
7. Maintenance
Regular maintenance ensures the longevity and optimal performance of your ceiling light.
7.1 Cleaning
- Always disconnect power before cleaning.
- Wipe the fixture with a soft, dry cloth.
- Avoid using harsh chemicals, abrasive cleaners, or polishes as they may damage the finish.
7.2 Bulb Replacement
- Ensure the fixture is cool to the touch before replacing bulbs.
- Unscrew old bulbs and replace with new E26 base bulbs of the appropriate wattage (max 40W per bulb).
8. Troubleshooting
If you encounter issues with your light fixture, refer to the following common problems and solutions:
| Problem | Possible Cause | Solution |
|---|---|---|
| Light does not turn on | No power to fixture; Loose wiring; Faulty bulb | Check circuit breaker/fuse; Verify all wire connections; Replace bulb(s) |
| Light flickers | Loose bulb; Incompatible dimmer switch/bulbs; Loose wiring | Tighten bulb(s); Ensure dimmer and bulbs are compatible; Check wire connections |
| Fixture is not stable | Improper mounting | Ensure mounting bracket is securely fastened to the ceiling joist/support. |
9. Warranty and Support
Garwarm products are manufactured to high-quality standards. For warranty information or technical support, please refer to the product packaging or contact Garwarm customer service directly. Keep your purchase receipt for warranty claims.
For further assistance, you may visit the official Garwarm Store on Amazon: Garwarm Store