
1. Introduction
Thank you for choosing the NOKLEAD Digital Alarm Clock NK5256. This alarm clock features a large 6.5-inch LED display, full-range dimmable brightness, dual alarm settings with 5 unique sounds and 3 volume levels, a 9-minute snooze function, and a convenient USB charging port. This manual provides detailed instructions for setup, operation, and maintenance to ensure optimal performance.
Video 1: Overview of the NOKLEAD Digital Alarm Clock NK5256 features and functions.
2. Package Contents
Please check the package for the following items:
- 1 x NOKLEAD Digital Alarm Clock NK5256
- 1 x USB Power Adapter
- 1 x USB-C Cable
- 1 x User Manual

Image 1: Contents included in the NOKLEAD Digital Alarm Clock package.
3. Product Overview
The NOKLEAD Digital Alarm Clock NK5256 is designed for ease of use and clear visibility. Key features include:
- Large LED Display: 6.5-inch display with clear blue digits for easy reading.
- Full-Range Dimmer: Adjustable brightness from 5% to 100% via a slider switch.
- Dual Alarms: Set two independent alarms for different schedules.
- 5 Alarm Sounds: Choose from beep, melody, birdsong, ocean waves, or chord music.
- 3 Volume Levels: Adjust alarm volume from 30dB to 90dB.
- 9-Minute Snooze: Large snooze button for temporary alarm pause.
- 12/24 Hour Format: Easily switch between time display formats.
- USB Charging Port: Conveniently charge your mobile devices.
- Battery Backup: Built-in button cell battery preserves settings during power outages (display will be blank, alarm will not sound).

Image 2: Visual representation of the alarm clock's main features and dimensions.
4. Setup
4.1 Power Connection
- Connect the provided USB-C cable to the power input port on the back of the alarm clock.
- Plug the USB power adapter into a standard wall outlet.
- The display will light up, indicating the clock is powered on.
Note: The built-in button cell battery maintains time and alarm settings during a power interruption, but the display will be off and the alarm will not sound until power is restored.
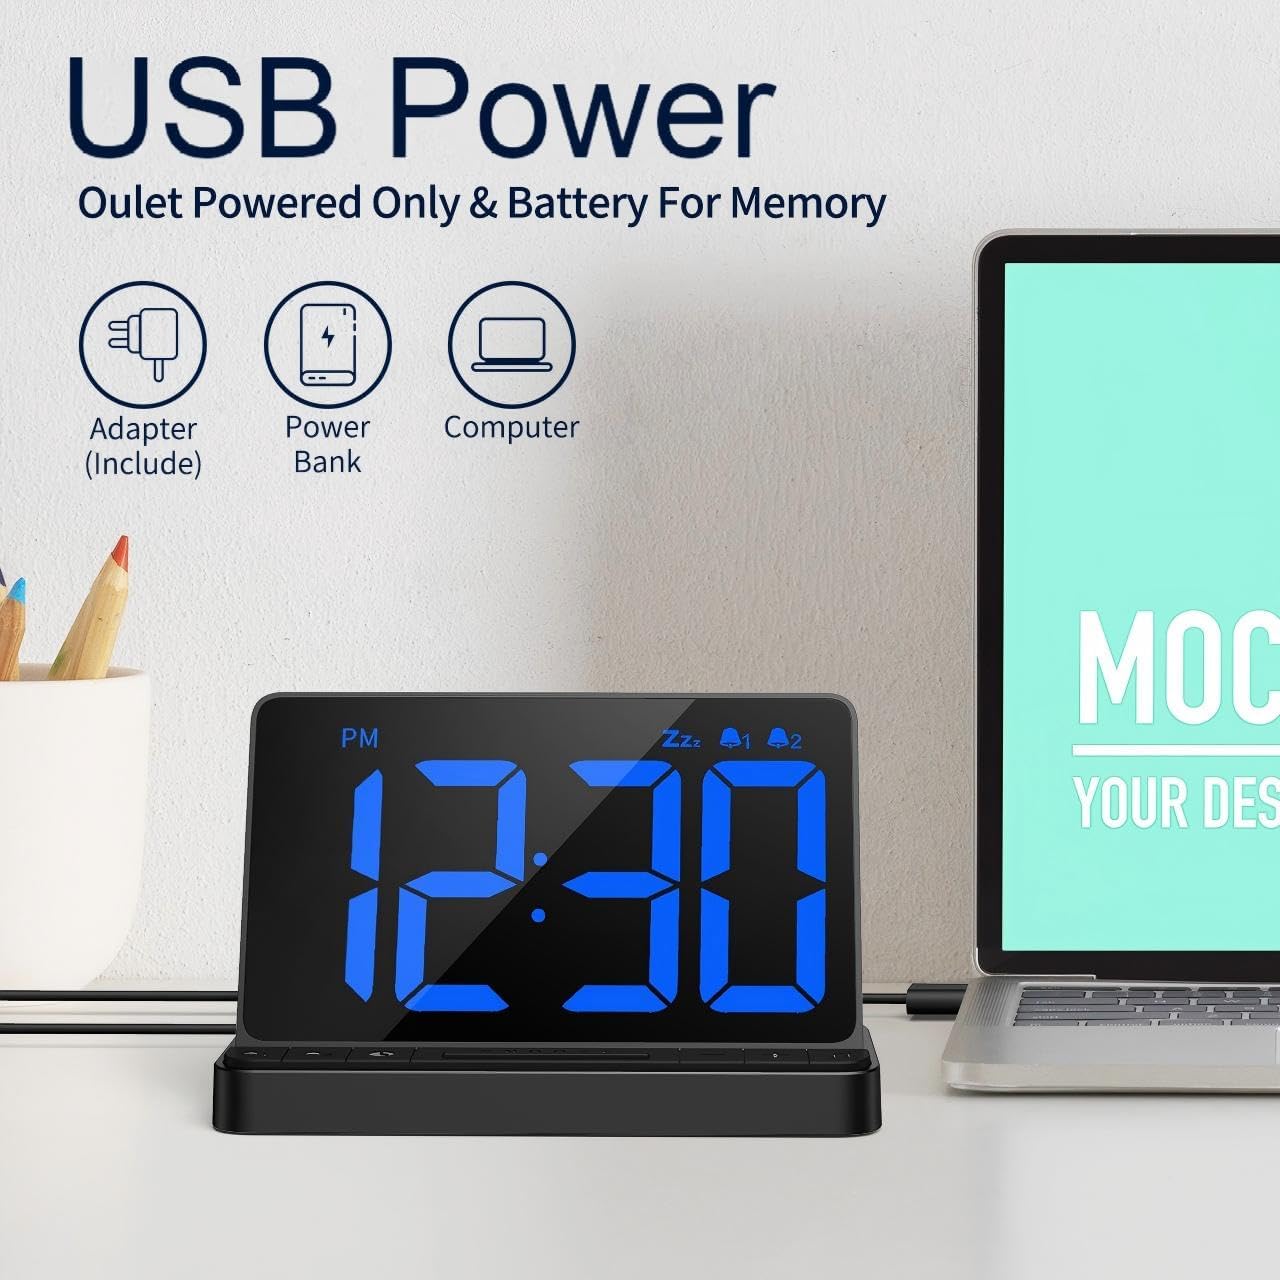
Image 3: Powering the alarm clock via USB.
4.2 Setting Time and 12/24 Hour Format
- Press and hold the TIME SET button (usually marked with a clock icon) to enter time setting mode. The hour digits will flash.
- Use the + or - buttons to adjust the hour.
- Press the TIME SET button again to confirm the hour and move to minute setting. The minute digits will flash.
- Use the + or - buttons to adjust the minutes.
- Press the TIME SET button one more time to exit time setting mode.
- To switch between 12-hour (AM/PM) and 24-hour formats, briefly press the 12/24HR button (often the same as the TIME SET button or a dedicated button).
Video Reference: For a visual guide on switching between 12/24 hour format, refer to the main overview video at approximately 0:05-0:08.
5. Operating Instructions
5.1 Setting Alarms
The clock supports two independent alarms (Alarm 1 and Alarm 2).
- Press and hold the ALARM 1 button (bell icon with '1') to enter Alarm 1 setting mode. The hour digits will flash.
- Use the + or - buttons to adjust the alarm hour.
- Press the ALARM 1 button again to confirm the hour and move to minute setting. The minute digits will flash.
- Use the + or - buttons to adjust the alarm minutes.
- Press the ALARM 1 button one more time to exit Alarm 1 setting mode.
- Repeat the process for ALARM 2 using the ALARM 2 button (bell icon with '2').
- To activate or deactivate an alarm, briefly press the corresponding ALARM 1 or ALARM 2 button. An indicator (e.g., bell icon) will appear on the display when the alarm is active.

Image 4: Setting up dual alarms for different wake-up times.
5.2 Alarm Sounds and Volume
You can customize your alarm experience with 5 unique sounds and 3 adjustable volume levels.
- When an alarm is sounding, press the MUSIC NOTE button (often combined with the + button) to cycle through the 5 available alarm sounds: Beep, Melody, Birdsong, Ocean Wave, Chord Music.
- To adjust the alarm volume, press the VOLUME button (often combined with the - button) to cycle through the 3 volume levels (L1: 30-75dB, L2: 80dB, L3: 85-90dB).
Video Reference: For a demonstration of alarm sounds and volume adjustment, refer to the main overview video at approximately 0:23-0:37.
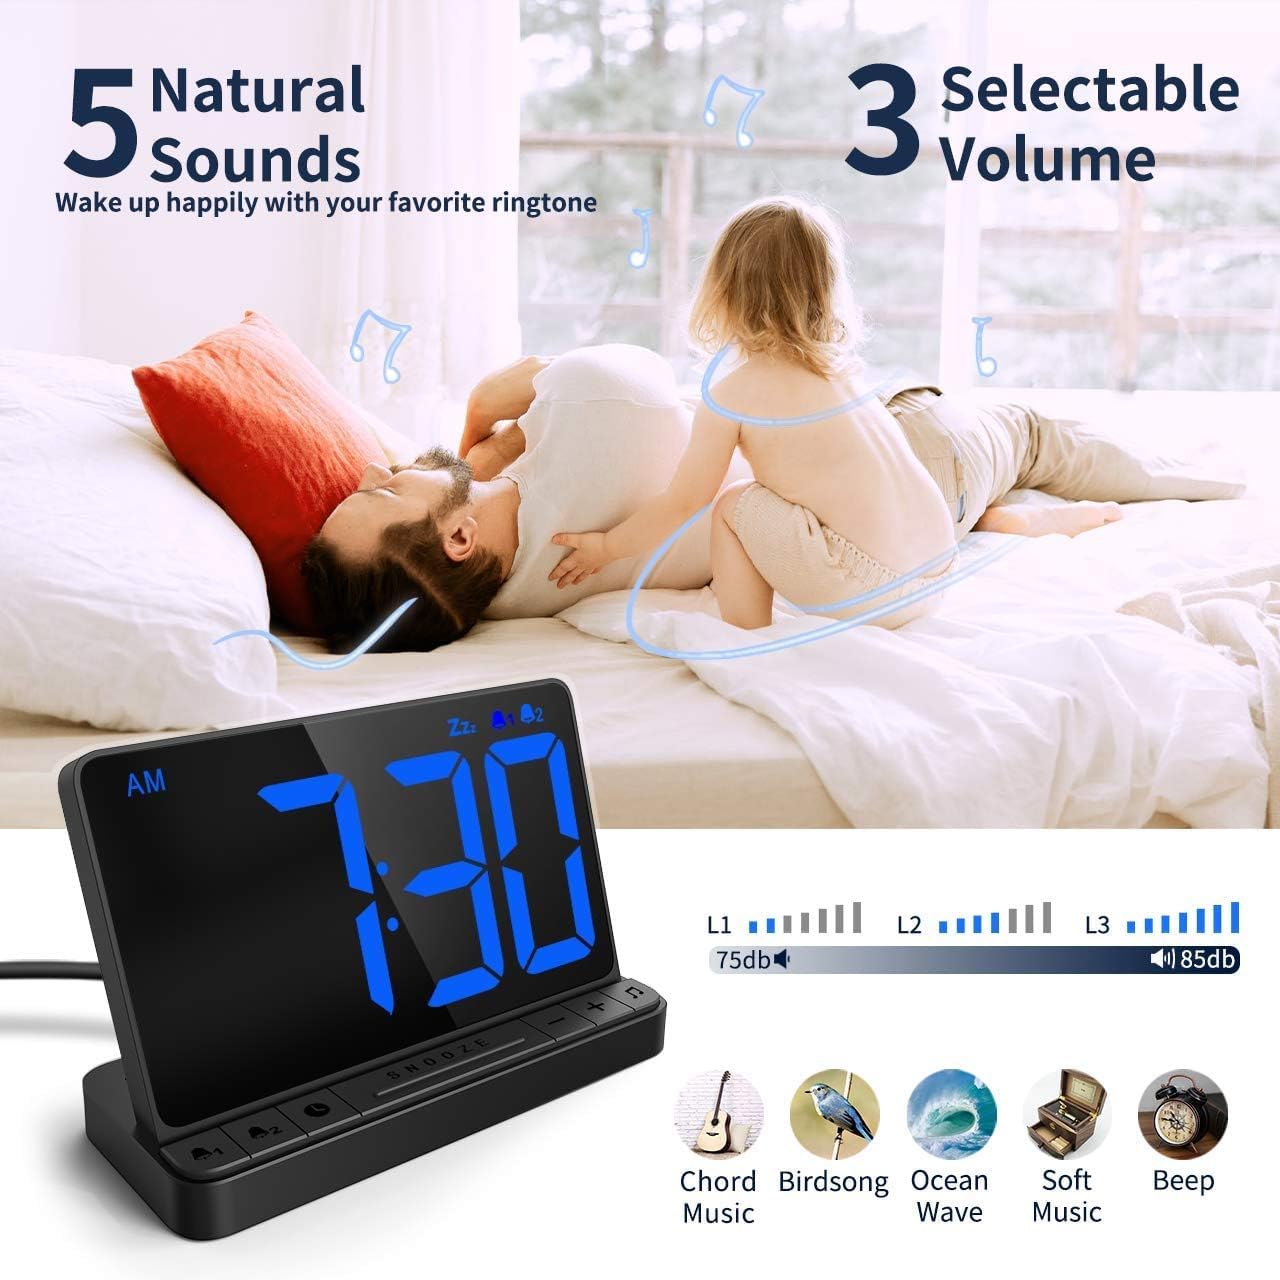
Image 5: Customizing alarm sounds and volume.
5.3 Snooze Function
When an alarm sounds, you can activate the snooze function for an additional 9 minutes of sleep.
- When the alarm is active, press the large SNOOZE button located in the center of the clock.
- The alarm will pause for 9 minutes and then sound again.
- To cancel the snooze and turn off the alarm completely, press any other button (e.g., ALARM 1 or ALARM 2 button).
Video Reference: For a visual guide on using the snooze function, refer to the main overview video at approximately 0:17-0:23.
5.4 Brightness Adjustment
The clock features a full-range dimmable display to suit your preference day and night.
- Locate the slider switch on the back or side of the alarm clock (refer to Image 6).
- Slide the switch to adjust the display brightness from 5% (dimmest) to 100% (brightest).
Video Reference: For a demonstration of brightness adjustment, refer to the main overview video at approximately 0:05-0:12.
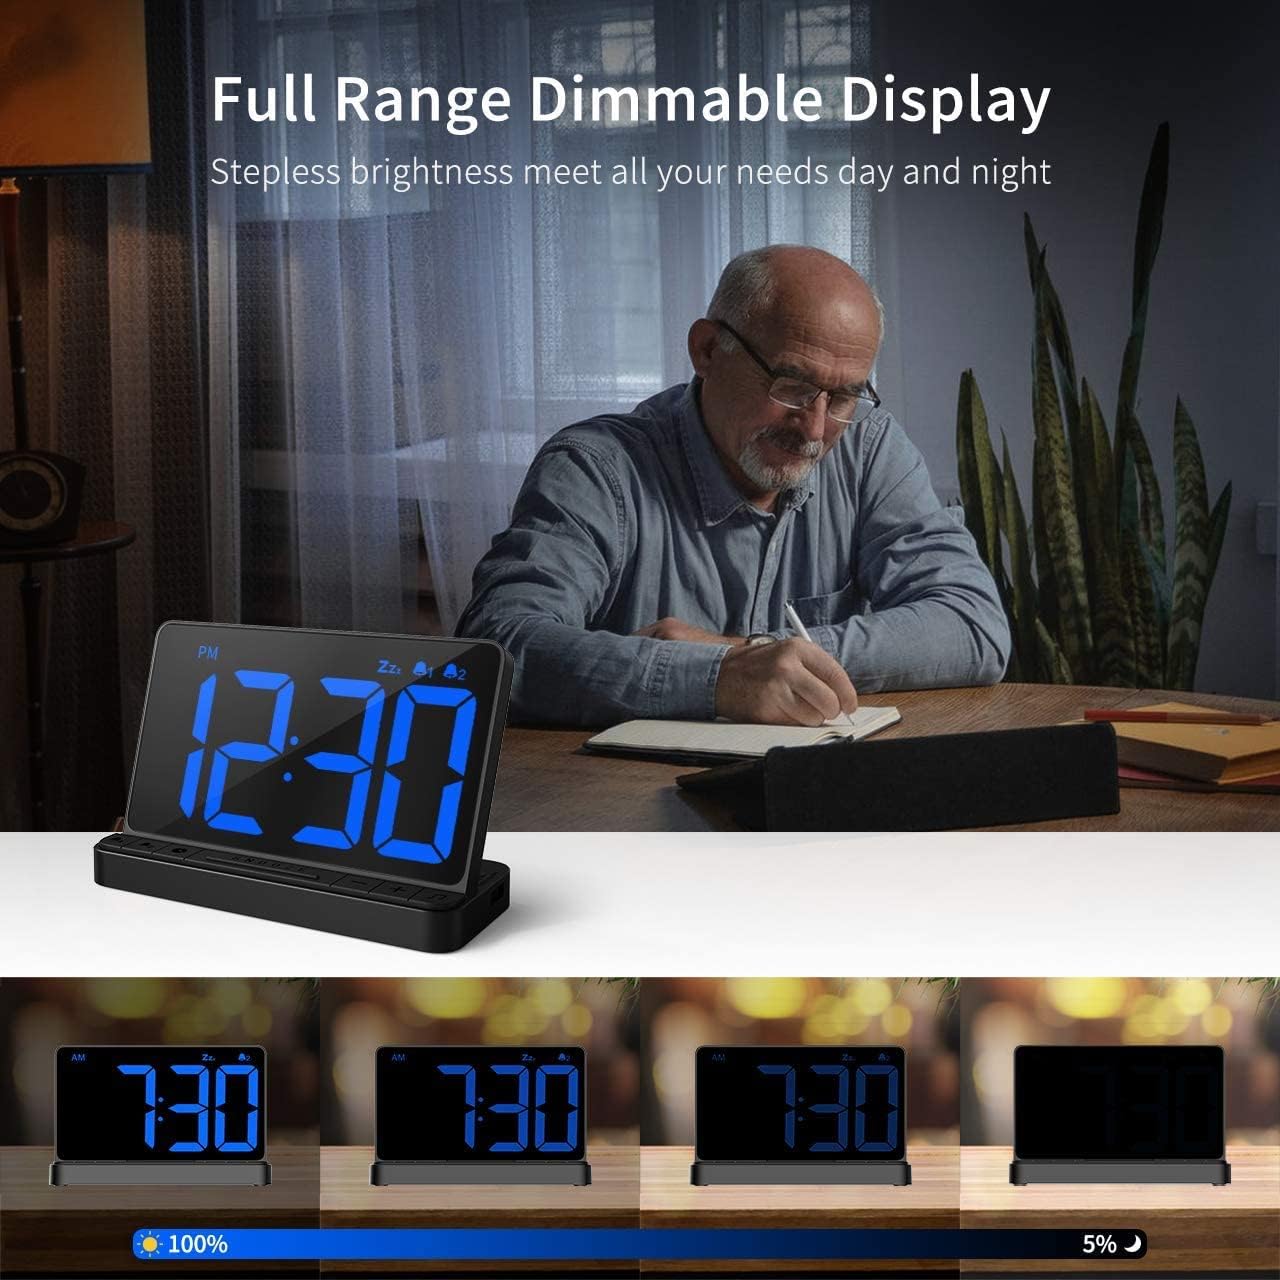
Image 6: Adjusting the display brightness using the slider.
5.5 USB Charging Port
The alarm clock includes a USB output port for charging your mobile devices.
- Locate the USB output port on the side of the alarm clock.
- Connect your device's charging cable to this port.
- The device will begin charging. Note that this port provides standard charging speed, not fast charging.
Video Reference: For a visual guide on using the USB charging port, refer to the main overview video at approximately 0:12-0:16 and 0:37-0:40.


