Introduction
This manual provides comprehensive instructions for assembling and finishing your Heller Hotchkiss H35 1/35 Scale Military Tank Model Kit. The Hotchkiss H35, or Light Tank Model 1935 H, was a French light tank produced from 1935. This kit allows you to recreate a detailed replica of this historic vehicle. Please read all instructions carefully before beginning assembly.

Figure 1: The Heller Hotchkiss H35 1/35 Scale Military Tank Model Kit box, showcasing the assembled tank and indicating included paints, brush, and glue.
Kit Contents
Your Heller Hotchkiss H35 model kit includes all necessary components for assembly and initial finishing. Please verify that all items listed below are present in your box:
- Plastic parts for one Hotchkiss H35 tank model (137 pieces)
- Paint Set (Acrylic paints)
- Brush
- Glue (Polystyrene cement)
- Decal Sheet (for two decoration options)
- Detailed Assembly Plan (instruction booklet)

Figure 2: Image showing the included acrylic paints, brush, and polystyrene cement, essential for completing the model.
Setup and Preparation
Before starting assembly, ensure you have a clean, well-lit workspace. It is recommended to have a hobby knife or sprue cutters, sandpaper or a small file, and tweezers for handling small parts. Review the entire assembly plan before cutting any pieces from the sprues.
- Unpack Contents: Carefully remove all parts and materials from the box.
- Inspect Parts: Check for any damaged or missing pieces. Contact customer support if issues are found.
- Read Instructions: Familiarize yourself with the detailed assembly plan provided. Pay attention to part numbers and assembly sequence.
- Prepare Workspace: Ensure adequate ventilation, especially when using glue and paints. Protect your work surface.
Assembly Instructions
Follow the step-by-step instructions provided in the detailed assembly plan included in your kit. The general process involves:
- Part Removal: Carefully cut parts from the plastic sprues using a hobby knife or sprue cutters. Avoid pulling or twisting, which can damage parts.
- Cleaning Parts: Gently remove any excess plastic (flash) from the parts using a hobby knife or fine sandpaper.
- Dry Fit: Before applying glue, dry-fit parts together to ensure a proper fit. This helps identify potential issues early.
- Gluing: Apply a small amount of the included polystyrene cement to the mating surfaces. Hold parts together firmly until the glue sets. Refer to the assembly plan for specific gluing points.
- Sub-Assemblies: Assemble smaller components (e.g., wheels, turret parts) first, then integrate them into larger sections of the tank body.
- Track Assembly: Pay close attention to the track assembly steps, as these can be intricate.
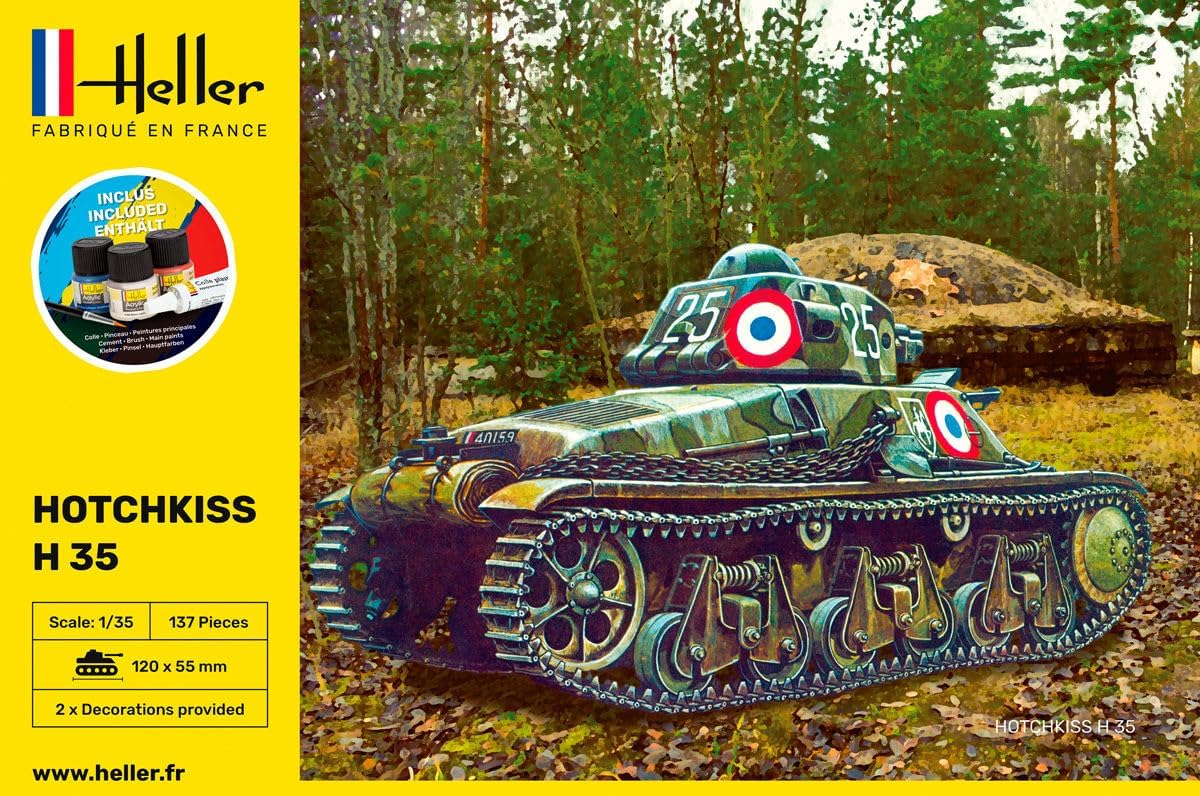
Figure 3: An example of the fully assembled Hotchkiss H35 tank model, demonstrating the level of detail achievable with the kit.
Painting and Decals
Once the model is fully assembled, you can proceed with painting and applying decals. The kit includes a paint set and decals for two different decoration options.
- Surface Preparation: Ensure the model surface is clean and free of dust or grease. A light primer coat (not included) can improve paint adhesion.
- Painting: Use the included acrylic paints and brush. Apply thin, even coats. Allow each coat to dry completely before applying the next. Refer to the assembly plan or box art for suggested color schemes for the Hotchkiss H35.
- Decal Application:
- Carefully cut out the desired decals from the decal sheet.
- Dip each decal in lukewarm water for a few seconds until it slides freely on its backing paper.
- Slide the decal onto the desired position on the model.
- Gently blot away excess water with a soft cloth or cotton swab.
- Allow decals to dry completely. A decal setting solution (not included) can help decals conform to irregular surfaces.

Figure 4: The back of the kit box, displaying information about the historical tank and recommended paint colors, along with the decal sheet layout for two decoration options.

Figure 5: A closer view of the decal sheet and recommended paint guide from the kit box, showing specific markings for different historical units.
Maintenance
Once your model is complete, proper care will ensure its longevity and appearance.
- Cleaning: Dust your model regularly with a soft, dry brush or a can of compressed air. Avoid using water or chemical cleaners, as these can damage paint and decals.
- Display: Display your model in a stable, dust-free environment, away from direct sunlight and extreme temperature fluctuations. Direct sunlight can cause paint fading and plastic warping.
- Handling: Handle the model by its base or sturdy sections to avoid damaging delicate parts.
Troubleshooting Common Issues
Here are solutions to common issues encountered during model assembly:
- Parts Don't Fit:
- Ensure you are using the correct parts as indicated in the assembly plan.
- Check for excess plastic (flash) on the mating surfaces and carefully remove it with a hobby knife or file.
- If parts are slightly warped, gentle heat (e.g., from a hairdryer on low setting) can sometimes be used to reshape them, but proceed with caution to avoid melting.
- Glue Not Holding:
- Ensure surfaces are clean and dry before applying glue.
- Apply sufficient pressure and hold parts together for the recommended drying time.
- Ensure you are using polystyrene cement, which chemically bonds plastic parts.
- Paint Issues (e.g., streaky, poor coverage):
- Ensure paints are well-mixed before use.
- Apply paint in thin, multiple coats rather than one thick coat.
- Allow each coat to dry completely.
Specifications
| Feature | Detail |
|---|---|
| Brand | Heller |
| Model Number | HEL57132 |
| Scale | 1:35 |
| Number of Pieces | 137 |
| Model Size (Length x Width) | 120 mm x 55 mm |
| Material | Plastic |
| Theme | Military |
| Recommended Age | 7 years and up |
| Included Components | Plastic parts, Paint Set, Brush, Glue, Decal Sheet, Assembly Plan |

Figure 6: Diagram illustrating the model's dimensions (120mm length, 55mm width) and showcasing two different decoration schemes for the Hotchkiss H35.

Figure 7: A product card detailing specifications such as year of construction (1936), built quantity (400), engine (Hotchkiss 6 cylinders), cannon (SA18 37mm / 7.5mm machine gun), and weight (11.370 kg for the real tank).
Warranty and Support
For any questions regarding missing parts, damaged components, or assembly difficulties, please refer to the contact information provided on the Heller packaging or visit the official Heller website. Keep your purchase receipt as proof of purchase.
Official Website: www.heller.fr


