1. Introduction
The GREATHTEK KVM Switch HDMI 4 Port 4K@60Hz (Model GHT-S7412H-U2) allows a single set of keyboard, mouse, and monitor to control up to four different computers. This device is designed to streamline your workspace by eliminating the need for multiple peripherals for each computer, enhancing efficiency and reducing clutter. It supports high-resolution video output up to 4K@60Hz and includes USB 2.0 ports for sharing additional peripherals like printers or USB drives.

Figure 1.1: The KVM switch enables control of four computers using a single monitor, keyboard, and mouse setup.
2. Key Features
- 4-in-1-Out Functionality: Control four PCs with one set of keyboard, mouse, and a single monitor.
- Ultra HD 4K@60Hz Support: Delivers a maximum resolution of 3840x2160 at 60Hz, ensuring clear and detailed picture transmission.
- HDMI 2.0 & HDCP 2.2 Compliance: Supports HDMI 2.0 with an 18Gbps transmission rate and HDCP 2.2 standards for broad compatibility.
- 4 USB 2.0 Ports: Allows sharing of USB 2.0 devices such as U disks, scanners, printers, and webcams across connected computers.
- EDID Adaptive: Automatically recognizes and adjusts to various display devices.
- Button Switching: Conveniently switch between connected computers with a physical button press, typically within 2-4 seconds.
- Wide Compatibility: Compatible with multiple operating systems and input devices like PCs, laptops, Internet TV boxes, and DVD players.
3. Package Contents
Verify that all items are present in your package:
- GREATHTEK KVM Switch HDMI 4 Port (Model GHT-S7412H-U2)
- HDMI Cable x 4
- USB-B Cable x 4
- Micro USB Power Cable x 1
- User Manual (this document)
- Warranty Card

Figure 3.1: Included items in the product package.
4. Product Overview

Figure 4.1: Front and rear view of the KVM Switch with connected cables.
Front Panel
- PC1-PC4 Buttons: Used to manually switch between the four connected computers. Each button has corresponding 'S' (Selected) and 'U' (USB Active) indicator lights.
- Power LED: Indicates the power status of the KVM switch.
- USB 2.0 Ports (x2): For connecting shared USB peripherals such as a keyboard and mouse.
Rear Panel
- DC 5V Port: Power input for the KVM switch.
- ON/OFF Switch: Main power switch for the device.
- HDMI OUT: Connects to your monitor.
- HDMI IN (PC1-PC4): Connects to the HDMI output of each computer.
- USB-B (PC1-PC4): Connects to the USB-A port of each computer to enable keyboard, mouse, and other USB 2.0 device sharing.

Figure 4.2: Front USB 2.0 ports for peripheral connections.
5. Setup Instructions
Follow these steps to set up your GREATHTEK KVM Switch:
- Connect Computers to KVM Switch:
- For each computer (PC1 to PC4), use one HDMI cable to connect the computer's HDMI output to an 'HDMI IN' port on the KVM switch.
- For each computer, use one USB-B cable to connect the computer's USB-A port to the corresponding 'USB-B' port on the KVM switch (e.g., PC1's HDMI IN and USB-B should connect to PC1).
- Connect Monitor to KVM Switch: Use an HDMI cable to connect your monitor's HDMI input to the 'HDMI OUT' port on the KVM switch.
- Connect Shared Peripherals: Connect your keyboard and mouse to the two USB 2.0 ports on the front panel of the KVM switch. You can also connect other USB 2.0 devices like a printer or USB drive to these ports.
- Power On: Connect the Micro USB power cable to the 'DC 5V' port on the KVM switch and plug the other end into a suitable USB power source (e.g., a computer's USB port or a USB wall adapter). Turn on the KVM switch using the ON/OFF switch.
- Power On Computers and Monitor: Ensure all connected computers and your monitor are powered on.
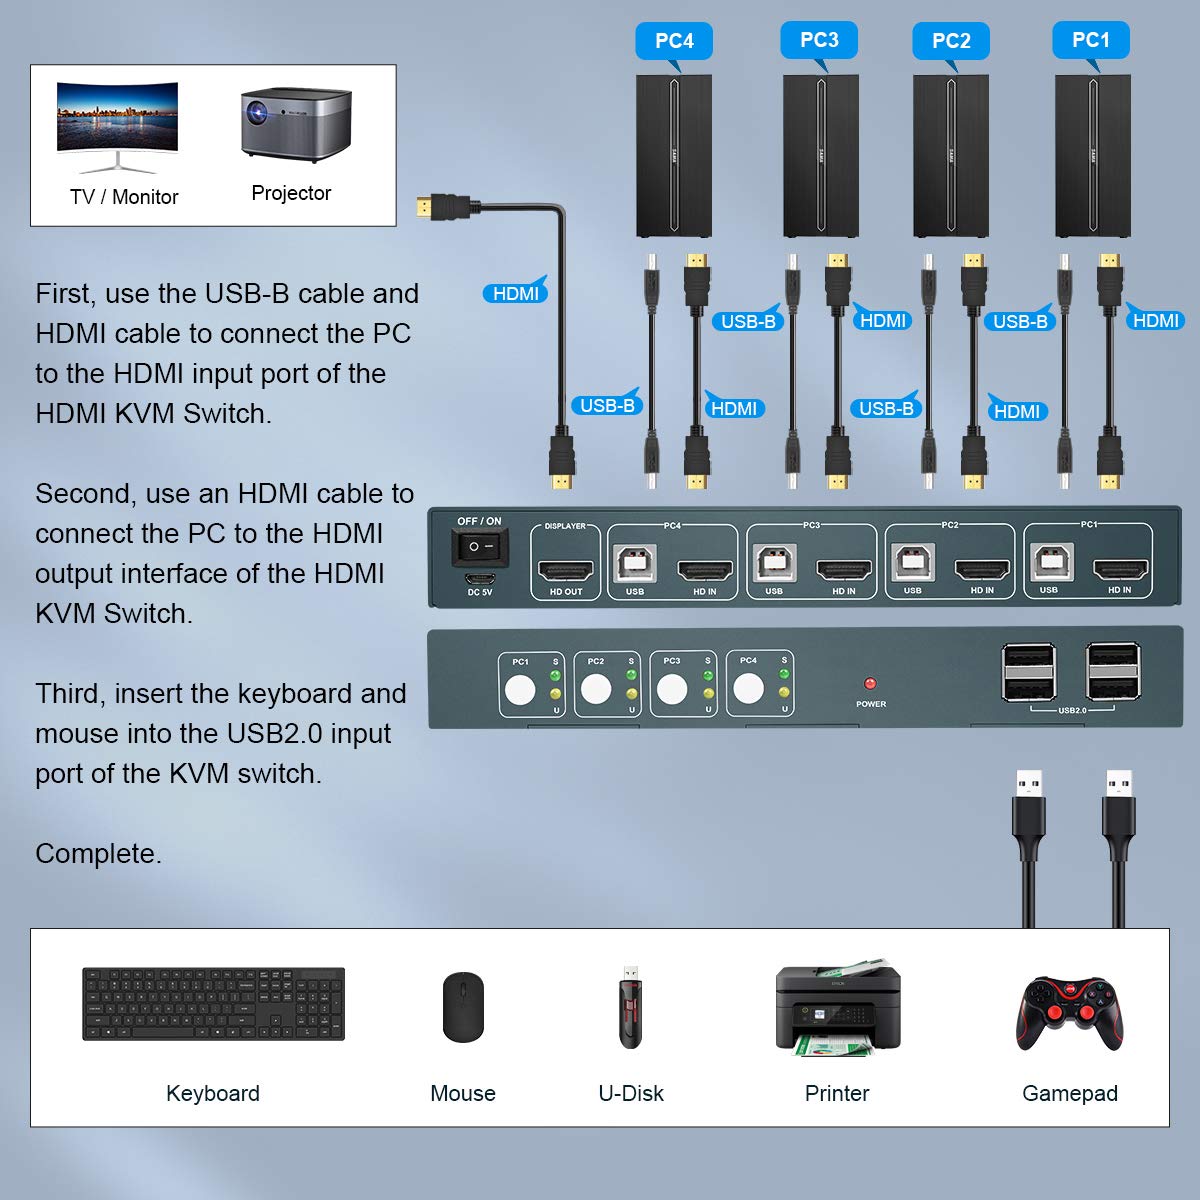
Figure 5.1: Connection diagram for the KVM Switch.
Video 5.1: An overview of the GREATHTEK KVM Switch HDMI 4 Port, demonstrating its features and setup. This video is provided by the seller.
6. Operating Instructions
Once the KVM switch is set up, operating it is straightforward:
- Switching Computers: Press the corresponding PC button (PC1, PC2, PC3, or PC4) on the front panel of the KVM switch to select the desired computer. The 'S' LED next to the selected PC button will illuminate, and the monitor will display the output from that computer.
- USB Device Status: The 'U' LED next to each PC button indicates if the USB connection for that computer is active.

Figure 6.1: One-click switching between computers using the front panel buttons.
7. Maintenance
To ensure the longevity and optimal performance of your KVM switch, follow these maintenance guidelines:
- Cleaning: Use a soft, dry cloth to clean the exterior of the device. Avoid using liquid cleaners or aerosols, which may damage the unit.
- Ventilation: Ensure the KVM switch is placed in a well-ventilated area to prevent overheating. Do not block the ventilation slots.
- Cable Management: Keep cables organized and free from kinks or excessive bending to prevent damage and ensure stable connections.
- Power Off When Not in Use: If the device will not be used for an extended period, it is recommended to power it off.

Figure 7.1: Ventilation design for optimal heat dissipation.
8. Troubleshooting
If you encounter issues with your KVM switch, refer to the following common problems and solutions:
- No Display on Monitor:
- Ensure all HDMI cables are securely connected between the computers, KVM switch, and monitor.
- Verify the KVM switch is powered on and the correct PC input is selected.
- Try connecting the monitor directly to a computer to confirm the monitor and computer's video output are functioning correctly.
- Check if the monitor's input source is set to the correct HDMI input.
- Keyboard/Mouse Not Responding:
- Ensure all USB-B cables are securely connected between the computers and the KVM switch.
- Verify the keyboard and mouse are connected to the dedicated USB 2.0 ports on the front of the KVM switch.
- Try connecting the keyboard and mouse directly to a computer to confirm they are functioning.
- Some wireless keyboards/mice with special drivers may require direct connection to the computer or may not be fully compatible with KVM switches.
- Intermittent Signal/Flickering:
- Ensure all cables are of good quality and properly seated.
- Reduce cable length if possible, especially for 4K resolutions.
- Ensure the KVM switch is receiving adequate power.
- Other USB Devices Not Working:
- Ensure the device is connected to one of the front USB 2.0 ports.
- Verify the USB-B cable connection to the selected computer is secure.
- Some high-power USB devices may require an external power source or may not be supported.
9. Specifications
| Feature | Specification |
|---|---|
| Product Dimensions | 7.9 x 2.9 x 1.1 inches |
| Item Model Number | GHT-S7412H-U2 |
| Weight | 2.57 Pounds |
| Max Resolution | 4K@60Hz (3840x2160) |
| HDMI Standard | HDMI 2.0 |
| HDCP Compliance | HDCP 2.2 |
| USB Ports | 4 x USB 2.0 (for peripherals) |
| Input Ports | 4 x HDMI IN, 4 x USB-B |
| Output Ports | 1 x HDMI OUT |
| Operating Voltage | 5 Volts |
| Operation Mode | ON-OFF |
| Brand | GREATHTEK |
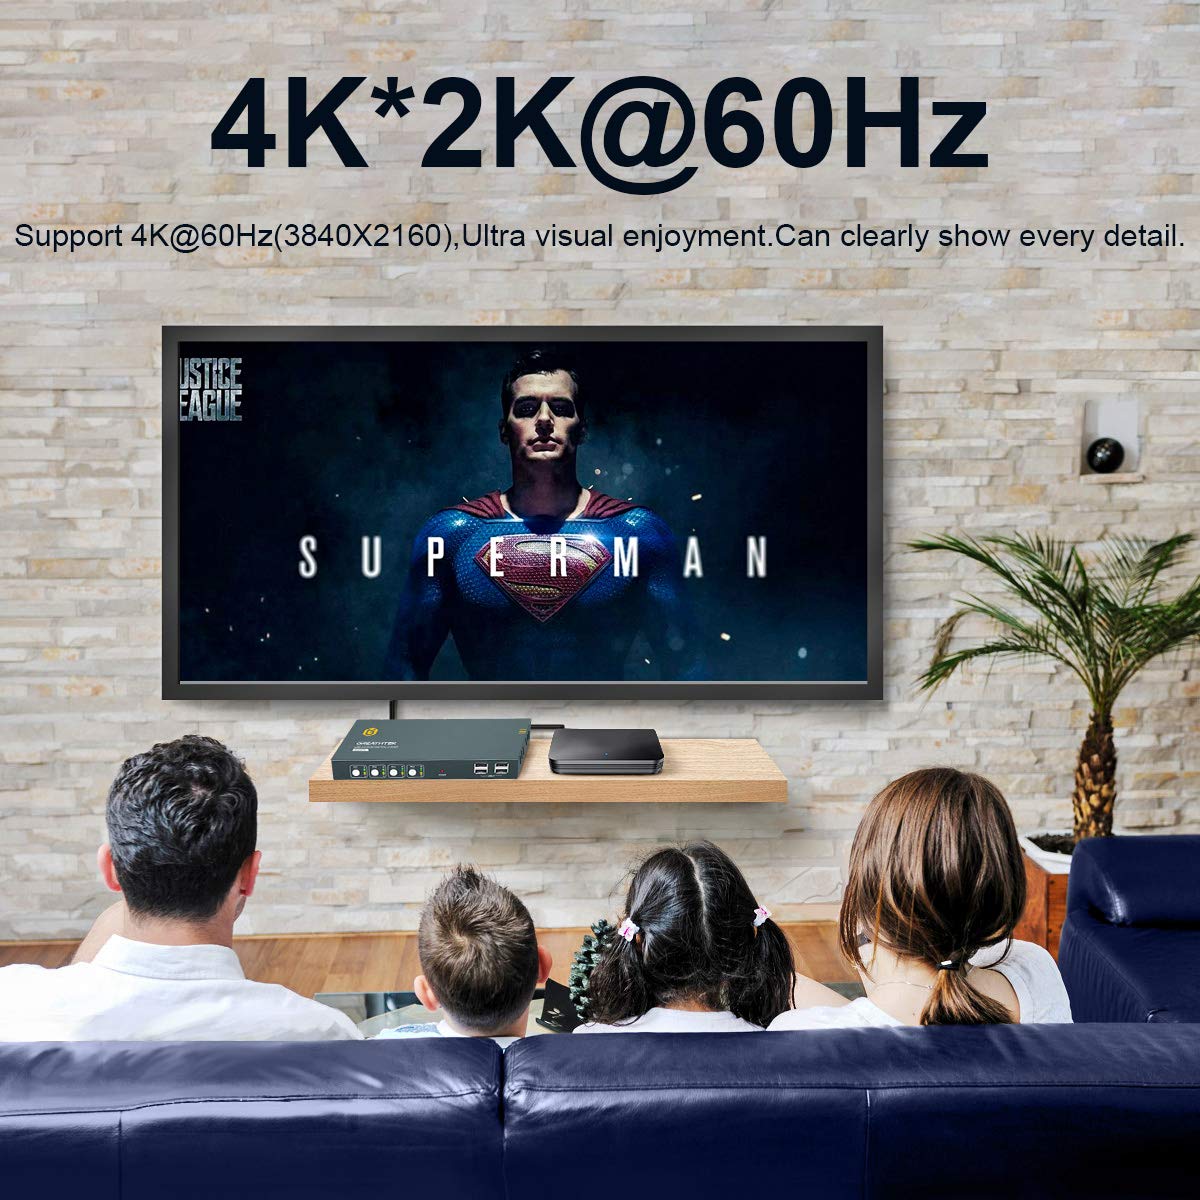
Figure 9.1: Visual representation of 4K@60Hz resolution support.
10. Warranty and Support
GREATHTEK is committed to providing reliable products and excellent customer service. Your KVM switch comes with a standard warranty. For specific warranty details, please refer to the included warranty card in your package.
If you have any questions, require technical assistance, or experience issues with your product, please contact GREATHTEK customer support. You can typically find contact information on the warranty card or the official GREATHTEK website.
When contacting support, please have your product model number (GHT-S7412H-U2) and purchase details available.


