1. Introduction
This manual provides essential information for the safe and efficient operation of your BenQ MH560 Full HD DLP Projector. Please read this manual thoroughly before using the projector and retain it for future reference. The BenQ MH560 is designed to deliver high-quality Full HD (1080p) projection with 3800 ANSI lumens brightness, suitable for various environments.
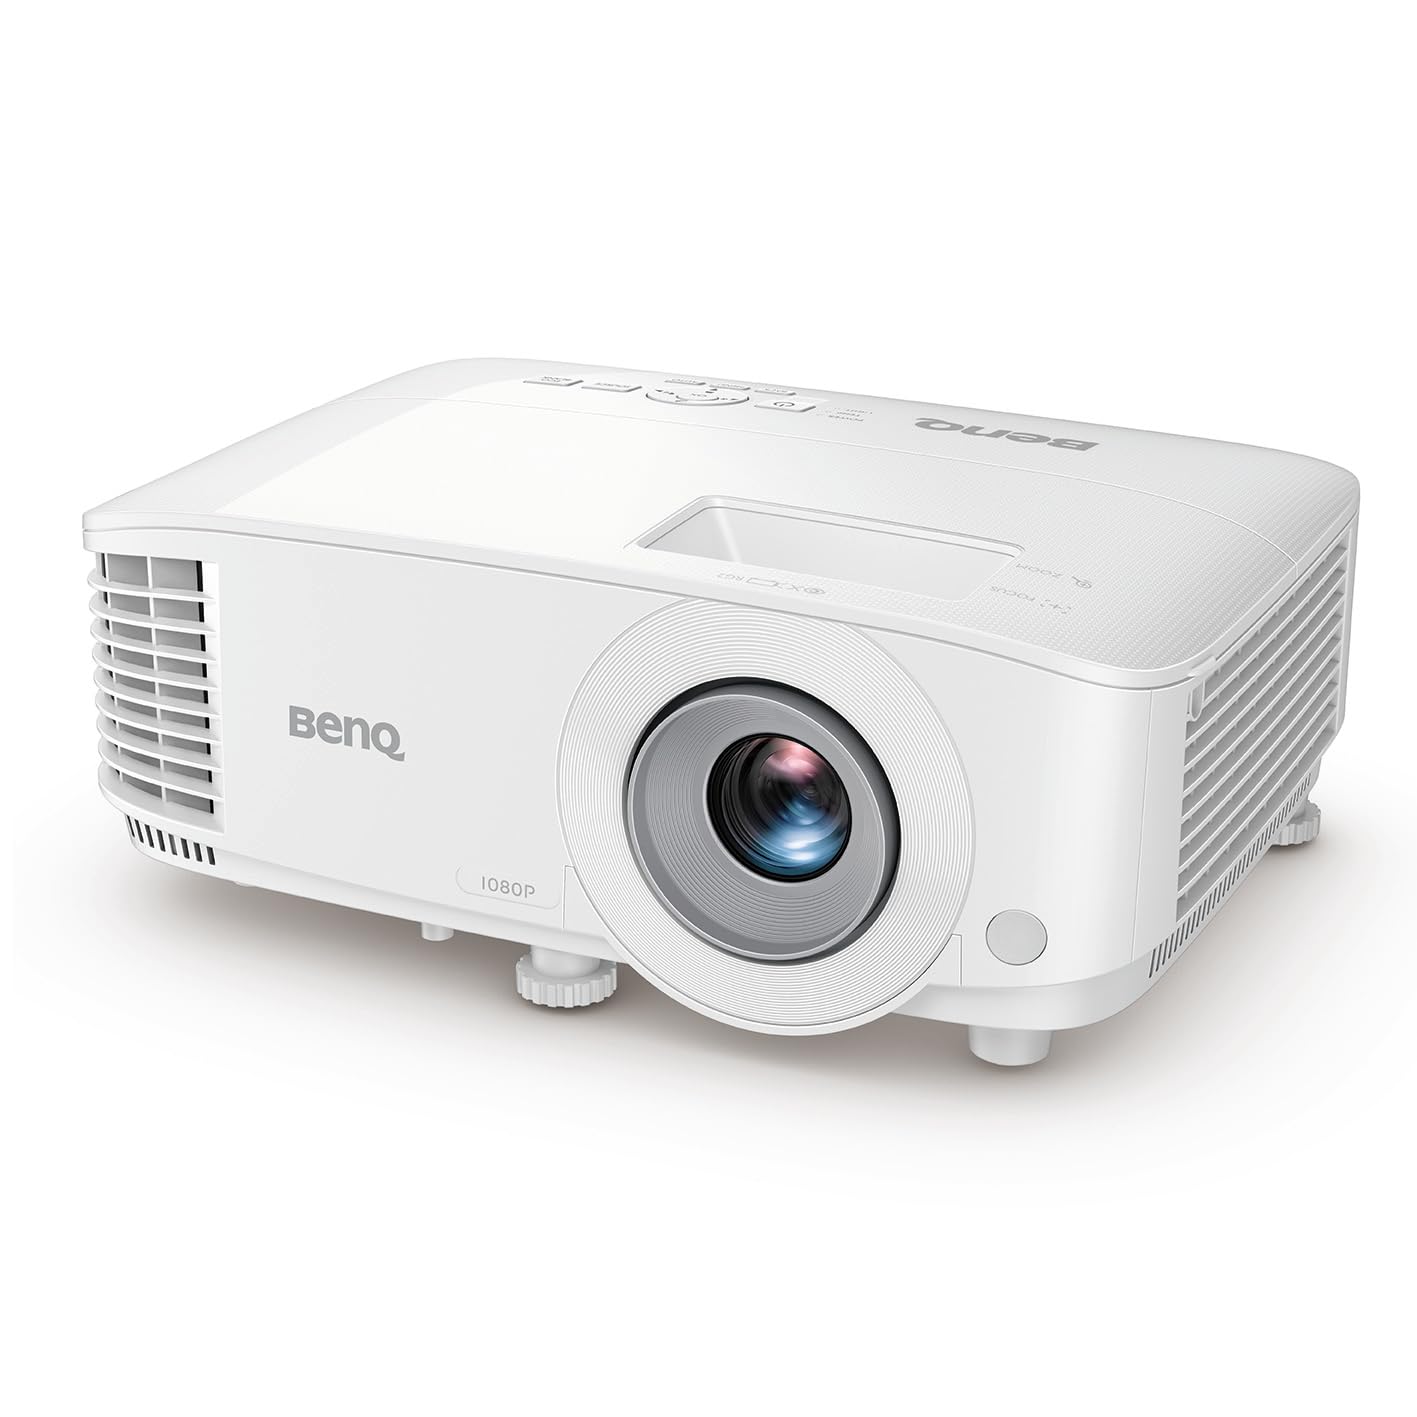
Figure 1.1: Front-side view of the BenQ MH560 Full HD DLP Projector.
2. Safety Information
Always observe the following safety precautions to prevent fire, electric shock, or injury:
- Do not block ventilation openings. Ensure adequate space around the projector for proper airflow.
- Do not expose the projector to rain or moisture.
- Do not open the projector casing. Refer all servicing to qualified service personnel.
- Use only the power cord supplied with the projector.
- Avoid looking directly into the projector lens when the lamp is on.
3. Package Contents
Verify that all items listed below are included in your package:
- BenQ MH560 Projector
- 1.8 Meter Power Cable
- 1.5 Meter VGA Cable
- Remote Control
- AAA Battery x 2
- Quick Start Guide
4. Product Overview
4.1. Physical Dimensions and Weight

Figure 4.1: Dimensions of the BenQ MH560 Projector. The projector measures approximately 29.6 cm in width, 22.1 cm in depth, and 12.0 cm in height, with a weight of 2.5 kg.
4.2. Top View and Controls
The top panel of the projector features controls for basic operation and indicators for power and lamp status.
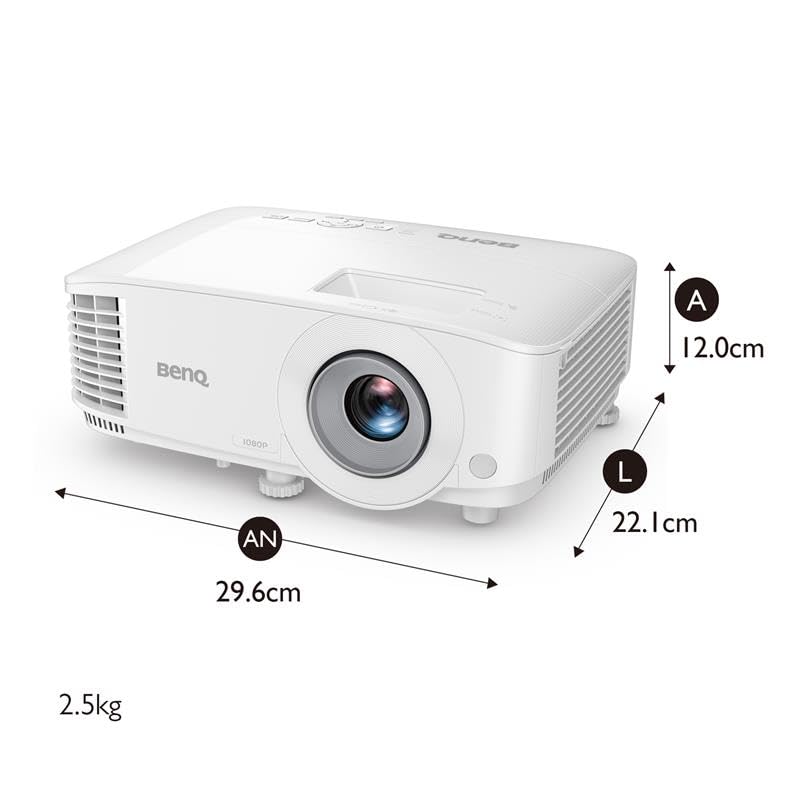
Figure 4.2: Top view of the BenQ MH560 Projector. This image highlights the air intake on the left side and the air outlet on the right side, along with the control panel for projector functions.
4.3. Connectivity Ports
The rear panel of the projector provides various ports for connecting external devices.

Figure 4.3: Rear view of the BenQ MH560 Projector, detailing the connectivity options. These include two HDMI ports, a USB Type-A port (for 1.5A power supply), a PC (VGA) input, a Monitor Out (VGA) port, a USB Type-B (Service) port, and an RS232 port for control.

Figure 4.4: A closer look at the BenQ MH560 Projector's rear ports, showing the arrangement of inputs and outputs for various devices.
5. Setup
5.1. Projector Placement
Position the projector on a stable surface or mount it securely. Ensure the projector is within the optimal projection distance for your desired screen size.
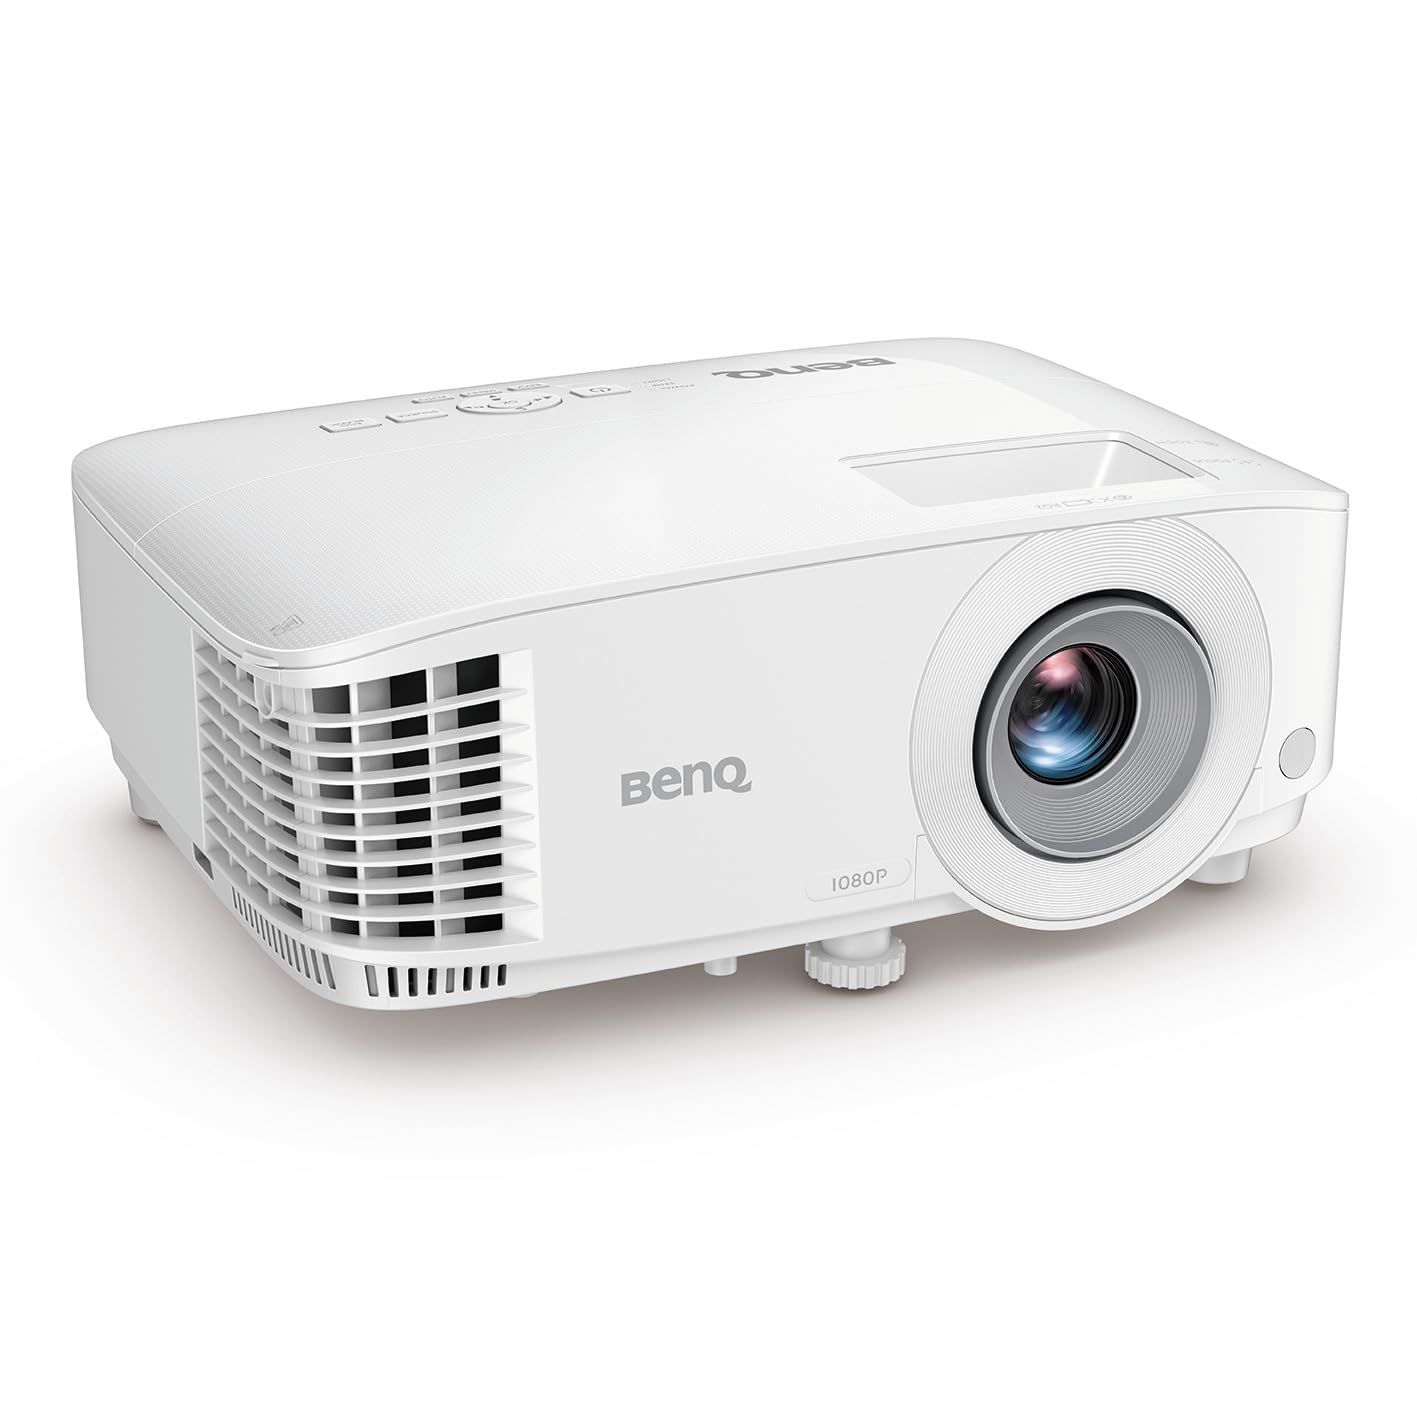
Figure 5.1: Side view of the BenQ MH560 Projector, illustrating its form factor and ventilation design, important for proper placement.
Figure 5.2: Projection distance guide. For a 70-inch screen, a distance of approximately 2.5 meters is recommended. For a 150-inch screen, a distance of approximately 3.14 meters is suggested.
5.2. Connecting Devices
Connect your input sources (e.g., laptop, gaming console, media player) to the projector using the appropriate cables.
- HDMI: Use an HDMI cable to connect devices like laptops, smartphones (with adapter), gaming consoles, or media players to either HDMI 1 or HDMI 2 ports.
- VGA (PC): Connect a computer using a VGA cable to the PC input port.
- USB Type-A: This port provides 1.5A power supply for compatible devices.
- Audio Out: Connect external speakers or an audio system to the 3.5mm audio out port if desired.

Figure 5.3: Illustration of connecting an HDMI device to the projector.

Figure 5.4: Example of the projector connected to a laptop, ready for presentation.
5.3. Powering On/Off
Connect the power cable to the projector and a power outlet. Press the power button on the projector or remote control to turn it on. Allow a few moments for the lamp to warm up. To power off, press the power button again and confirm shutdown if prompted.

Figure 5.5: The projector supports quick power on/off functionality.
6. Operating the Projector
6.1. Adjusting Focus and Zoom
Use the focus ring around the lens to sharpen the image. The zoom ring allows you to adjust the image size without moving the projector.

Figure 6.1: Illustration of the focus adjustment mechanism.
6.2. Keystone Correction
If the projected image appears trapezoidal, use the keystone correction feature to square it. The MH560 supports 1D keystone correction (Auto Vertical ± 40 degrees).

Figure 6.2: Visual representation of keystone correction, which adjusts the image to be rectangular.
6.3. Menu Navigation
Use the buttons on the projector's control panel or the remote control to navigate the on-screen display (OSD) menu. This allows you to adjust various settings such as picture mode, aspect ratio, and input source.

Figure 6.3: Detailed view of the projector's intuitive control panel and lens, along with convenient adjustment feet for setup.
6.4. Image Quality and Display
The BenQ MH560 delivers Full HD (1080p) resolution with 3800 ANSI lumens, ensuring clear and vibrant images. It supports 1.07 billion colors and has a contrast ratio of 22000:1.

Figure 6.4: Example of a projected image displaying detailed charts, highlighting the projector's capability for clear data visualization.

Figure 6.5: A projected image of a 'Nutrition Facts' table, illustrating the projector's ability to render small text clearly and legibly.

Figure 6.6: Comparison illustrating the benefits of a Low Dispersion Lens in maintaining image clarity and reducing chromatic aberration.
7. Maintenance
7.1. Cleaning the Lens
Gently wipe the lens with a soft, lint-free cloth specifically designed for optical surfaces. Do not use abrasive cleaners or solvents.
7.2. Lamp Life and Replacement
The projector lamp has a life of up to 15,000 hours. When the lamp reaches the end of its life, a warning message will appear. Refer to the full user manual for detailed lamp replacement instructions or contact customer support.

Figure 7.1: The projector is designed for long lamp life and energy efficiency.
7.3. Dust Protection
The projector features a design to minimize dust accumulation, contributing to longer component life and consistent performance.

Figure 7.2: The projector incorporates features for enhanced dust protection.
8. Troubleshooting
If you encounter issues with your projector, refer to the following common troubleshooting steps:
- No Image: Ensure all cables are securely connected and the correct input source is selected. Check if the lens cap is removed.
- Blurred Image: Adjust the focus ring. Ensure the projection surface is flat and the projector is stable.
- Image is Trapezoidal: Use the keystone correction feature to adjust the image geometry.
- No Sound: Check audio cable connections (if using external speakers) and the projector's volume settings. Ensure the audio source is playing.
- Projector Overheating: Ensure ventilation openings are not blocked. Clean any dust from the air vents.
For more detailed troubleshooting, consult the comprehensive user manual available on the BenQ support website.
9. Specifications
Below are the technical specifications for the BenQ MH560 Projector:
| Feature | Specification |
|---|---|
| Model | MH560 |
| Display Technology | DLP |
| Native Resolution | Full HD (1920 x 1080) |
| Brightness | 3800 ANSI Lumens |
| Contrast Ratio | 22000:1 |
| Display Colors | 1.07 Billion Colors |
| Aspect Ratio | 16:9 (Native), 4:3 (Compatible) |
| Light Source Life | Up to 15,000 hours (LampSave Mode) |
| Keystone Adjustment | 1D, Auto Vertical ± 40 degrees |
| Input Lag | 16.7 ms (1080p@60Hz) |
| Zoom Ratio | 1.1x |
| Built-in Speaker | 10W x 1 |
| Connectivity | HDMI (1.4/HDCP 1.4) x 2, USB Type-A (Power Supply 1.5A) x 1, USB Type-B (Service) x 1, RS232 x 1, Audio Out (3.5mm) x 1, D-Sub (VGA) x 1 |
| Product Dimensions (WxHxD) | 29.6 x 12.0 x 22.1 cm |
| Net Weight | 2.8 kg |
| Power Consumption | 280 Watts (Max) |
| Noise Level | 34 Decibels |
10. Warranty and Support
10.1. Warranty Information
The BenQ MH560 Projector comes with a 2-year warranty on the projector unit. The light source (lamp) is covered by a 1-year or 1000-hour warranty, whichever comes first. Please retain your proof of purchase for warranty claims.
10.2. Customer Support
For technical assistance, troubleshooting, or service inquiries, please visit the official BenQ support website or contact your local BenQ customer service representative. You can find contact details and additional resources on the BenQ website.


