
Dpofirs F9
F9 1080P FULL HD Mini Portable Sports DV Instruction Manual
Brand: Dpofirs | Model: F9
This manual provides detailed instructions for the operation and maintenance of your F9 Mini Portable Sports DV camera.
1. Introduction
The Dpofirs F9 Mini Portable Sports DV is a compact and robust action camera designed for capturing high-quality video in various outdoor and sports environments. Featuring 1080P Full HD recording at 30fps or 720P at 60fps, a 120-degree wide-angle lens, and a waterproof aluminum alloy casing, it is suitable for use on bicycles, motorcycles, helmets, and as a car video recorder. Its mini size and lightweight design make it highly portable for all your adventures.

Image: The F9 camera highlighting its key features including video recording, SD card compatibility, Full HD resolution, wide-angle lens, camera function, waterproof design, and vibration alerts.
2. Safety Information
- Do not expose the camera to extreme temperatures or direct sunlight for prolonged periods.
- Ensure all covers are securely closed before exposing the camera to water.
- Use only the specified charging cable and power adapter to prevent damage.
- Keep the device away from strong magnetic fields.
- If the product shows signs of damage, deformation, or abnormal performance, discontinue use immediately and contact customer support.
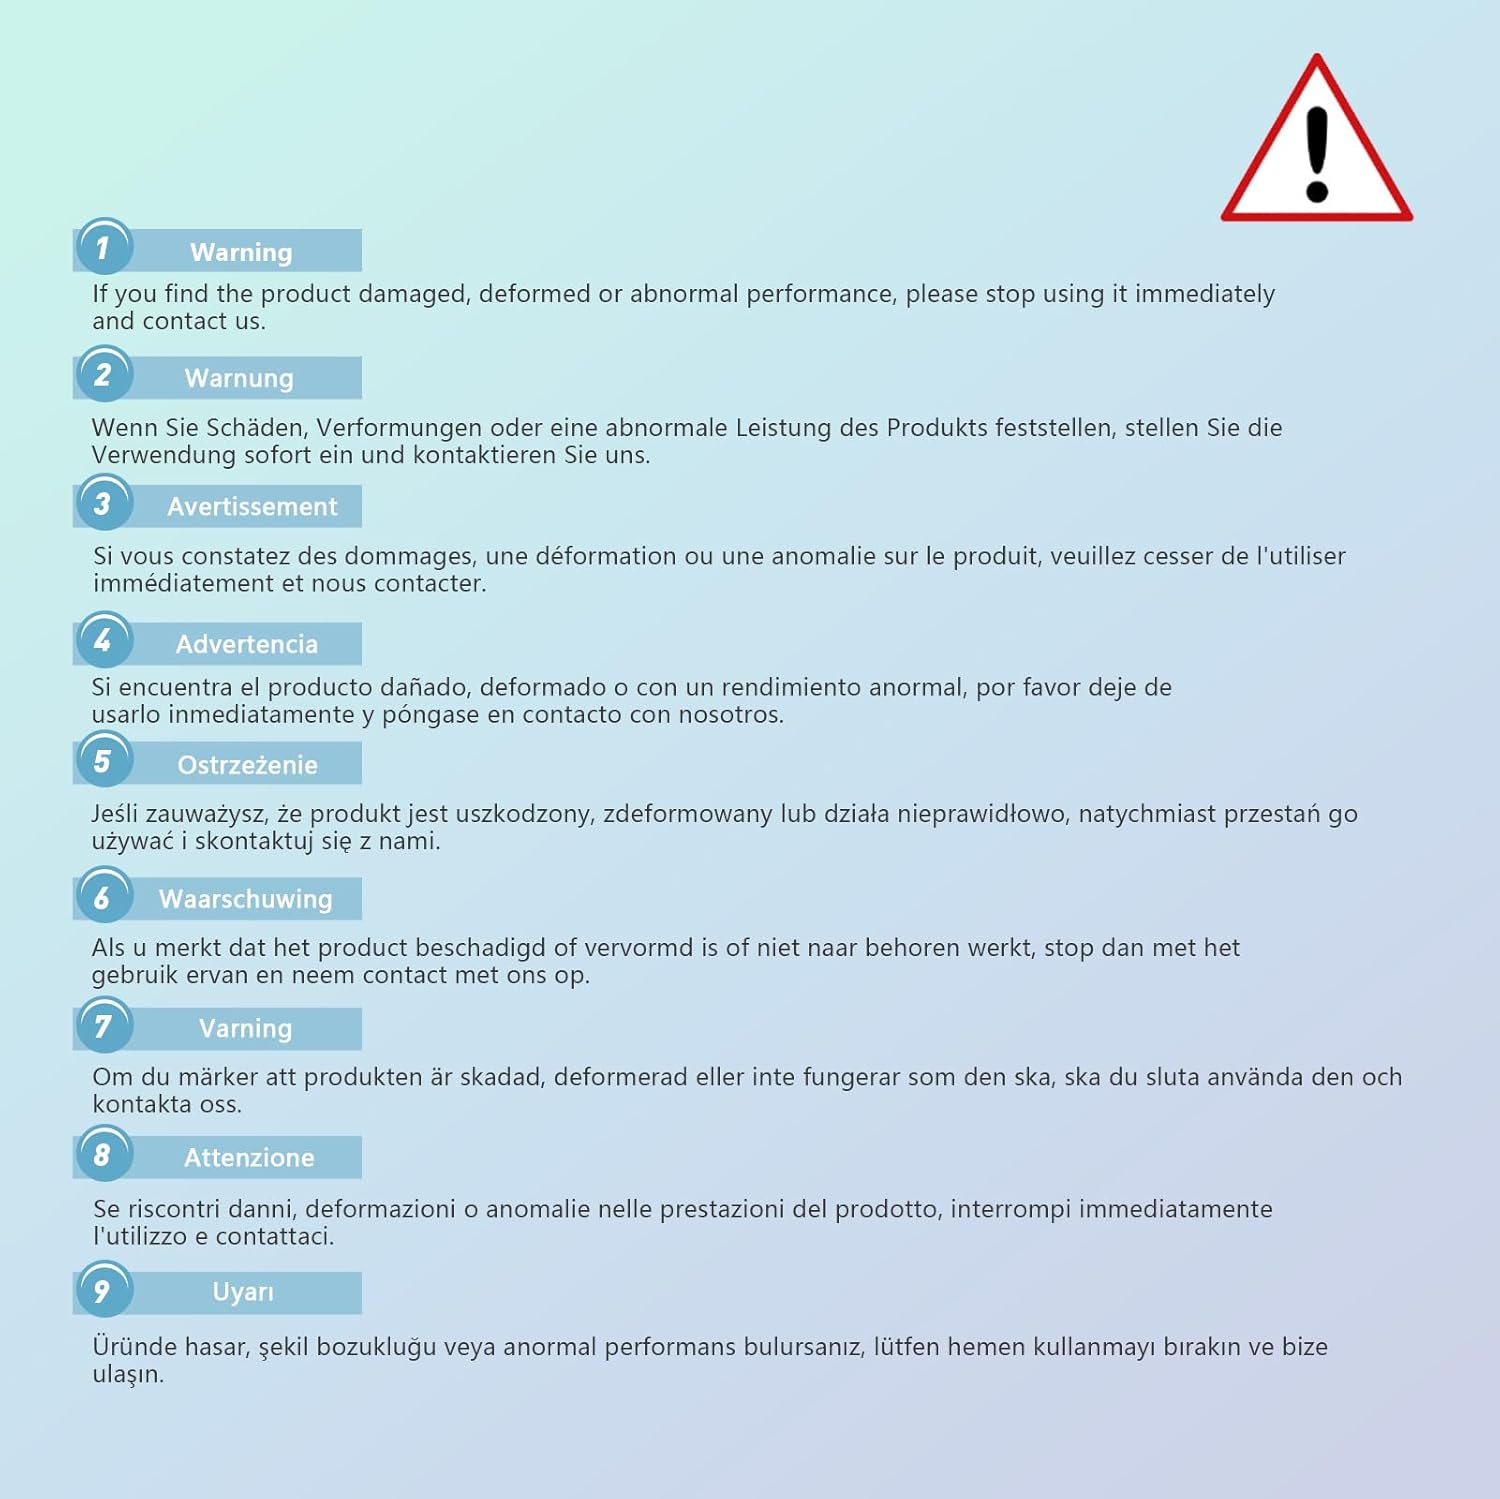
Image: A warning message indicating that if the product is damaged or performs abnormally, discontinue use and contact support. The message is repeated in several languages.
3. What's in the Box
Upon unboxing your F9 Mini Portable Sports DV, verify that all the following components are included:
- DV sports camera
- Camera holder
- Bicycle mount
- Car holder
- USB charging cable
- Strap
- Instruction manual (this document)

Image: The F9 camera alongside its various accessories, including mounting brackets, straps, and the USB charging cable.
4. Product Overview
Familiarize yourself with the main components of your F9 camera:

Image: A detailed view of the F9 camera, highlighting its cylindrical shape and front lens.

Image: A diagram showcasing the camera's HD 1080P 120-degree wide-angle lens and its optical components.

Image: The rear section of the camera with the back cover removed, revealing the Micro SD card slot, USB interface, charging indicator light, mode key, video resolution switch (1080P 30FPS / 720P 60FPS), and reset button.
- Front Lens: 120-degree A+ grade high-resolution wide-angle lens.
- Micro SD Card Slot: For inserting your memory card (supports 2-32GB TF card, not included).
- USB Interface: For charging and data transfer.
- Charging Indicator: LED light indicating charging status.
- Mode Key: Button to switch between functions or modes.
- Video Resolution Switch: Toggle between 1080P (30fps) and 720P (60fps) recording.
- Reset Button: To reset the device if needed.
5. Setup
5.1 Charging the Battery
Before first use, fully charge the camera's built-in 600mAh battery. Connect the camera to a USB power source using the provided USB charging cable. The charging indicator light will show the charging status. A full charge typically takes a few hours.
5.2 Inserting the Micro SD Card
The camera requires a Micro SD card (TF card) for recording. It supports capacities from 2GB to 32GB. Ensure the camera is off before inserting or removing the card.
- Unscrew the back cover of the camera.
- Locate the Micro SD card slot.
- Gently insert the Micro SD card into the slot until it clicks into place. Ensure it is inserted in the correct orientation.
- Replace the back cover, ensuring it is securely tightened to maintain waterproof integrity.

Image: Visual representation of the camera's features including its rechargeable port, time setting capability, file management, and TF card support.
6. Operating Instructions
6.1 Powering On/Off
- To Power On: Press and hold the power button until the indicator light illuminates.
- To Power Off: Press and hold the power button until the indicator light turns off.
6.2 Recording Video
The camera automatically begins recording when powered on. Videos are saved as AVI files.
- Ensure a Micro SD card is inserted and has sufficient space.
- Power on the camera. Recording will start automatically.
- To stop recording, power off the camera.
6.3 Changing Video Resolution
The F9 camera supports two video resolutions: 1080P (1920*1080P) at 30 frames per second (fps) and 720P (1280*720P) at 60fps.
- Locate the Video Resolution Switch at the rear of the camera (under the back cover).
- Slide the switch to select your desired resolution (1080P 30FPS or 720P 60FPS).
- Note: Change resolution only when the camera is powered off.
6.4 Accessing and Managing Files
To view or transfer recorded videos, connect the camera to a computer using the USB cable. The camera will appear as a removable disk drive.
- Connect the camera to your computer via the USB cable.
- The camera will be recognized as a mass storage device.
- Navigate to the camera's drive to access your AVI video files.
- You can copy, move, or delete files as needed.
The camera is compatible with Windows 2000/XP/Vista/Windows 7 and OS X OS 10.3.6 or above.
7. Mounting the Camera
The F9 camera comes with various mounts for versatile usage.
7.1 Bicycle/Motorcycle Mount
Use the bicycle mount to attach the camera securely to handlebars or other cylindrical surfaces.

Image: Illustrations demonstrating the assembly of the camera with both the motorcycle/bike mount and the helmet mount.
7.2 Helmet Mount
Attach the camera to your helmet using the provided helmet mounting bracket and strap for hands-free recording during activities like cycling, skiing, or climbing.

Image: Three individuals riding bicycles, each equipped with the F9 camera mounted on their helmets, demonstrating a common use case.

Image: A collage showcasing the F9 camera being used in diverse scenarios, including skiing, tree climbing, and group cycling, with the camera mounted on helmets or handlebars.
8. Maintenance
- Cleaning: Use a soft, dry cloth to clean the camera body. For the lens, use a specialized lens cleaning cloth and solution.
- Storage: Store the camera in a cool, dry place away from direct sunlight and extreme temperatures when not in use.
- Battery Care: For long-term storage, charge the battery to about 50% every few months to maintain battery health.
9. Troubleshooting
| Problem | Possible Cause | Solution |
|---|---|---|
| Camera does not power on. | Low battery; device malfunction. | Charge the battery. If problem persists, try resetting the device using the reset button. |
| Cannot record video. | No Micro SD card; card full; card error. | Insert a Micro SD card. Delete old files or use a new card. Format the card (this will erase all data). |
| Video quality is poor. | Lens is dirty; low light conditions; incorrect resolution setting. | Clean the lens. Ensure adequate lighting. Set resolution to 1080P for best quality. |
| Camera freezes or becomes unresponsive. | Software glitch. | Press the reset button to restart the camera. |
10. Specifications
| Feature | Detail |
|---|---|
| Model | F9 |
| Video Resolution | 1080P (1920*1080P) @ 30fps / 720P (1280*720P) @ 60fps |
| Lens | 120-degree A+ grade high-resolution wide-angle |
| Video Format | AVI |
| Audio Format | PCM |
| Photo Sensor Technology | CMOS |
| Storage | Micro SD (TF) card, 2GB-32GB (not included) |
| Battery | Built-in 600mAh |
| Water Resistance Level | IPX-4 (Waterproof aluminum alloy case) |
| Dimensions (L x W x H) | Approx. 90mm x 30mm x 30mm (3.5 x 1.2 x 1.2 inches) |
| Weight | Approx. 73g |
| Connectivity | USB |
| Operating System Compatibility | Windows 2000/XP/Vista/Windows 7, OS X OS 10.3.6 or above |

Image: The F9 camera with its dimensions indicated: approximately 9cm in length and 3cm in diameter.

Image: The F9 camera held in a hand, illustrating its compact and portable size, along with its approximate dimensions and weight.
11. Warranty and Support
For warranty information and technical support, please refer to the purchase documentation or contact Dpofirs customer service directly. Keep your proof of purchase for any warranty claims.
Dpofirs Customer Service: Please visit the official Dpofirs store on Amazon or contact their support channels as provided at the time of purchase.
Note: Specific warranty terms may vary by region and retailer.
Ask a question about this manual
Ask about setup, troubleshooting, compatibility, parts, safety, or missing instructions. Manuals+ will review the question and use this page’s manual context to help answer it.