
1. Introduction
Thank you for choosing the FLYLINKTECH 1500A Car Jump Starter. This portable emergency device is designed to jump-start your vehicle's battery, serve as a power bank for electronic devices, and provide illumination with its multi-function LED light. Please read this manual carefully before use to ensure safe and optimal performance.
2. Safety Information
Always observe the following safety precautions to prevent injury or damage to the device or vehicle:
- Do not attempt to jump-start a frozen battery.
- Ensure the jump starter is fully charged before use.
- Connect the clamps correctly: RED to positive (+), BLACK to negative (-). Incorrect connection can cause sparks or damage.
- Do not touch the red and black clamps together.
- Keep the device away from children.
- Do not expose the device to extreme temperatures, direct sunlight, or water.
- If the smart clamp indicator shows an error, do not proceed with jump-starting. Consult the troubleshooting section.
- Use the device only for its intended purpose.
3. Package Contents
Verify that all items are present in the package:
- FLYLINKTECH 1500A Car Jump Starter
- Smart Jumper Clamps
- USB Charging Cable
- EC5 Adapter
- User Manual
- Storage Case (if included)
4. Product Overview
Familiarize yourself with the components and features of your jump starter.
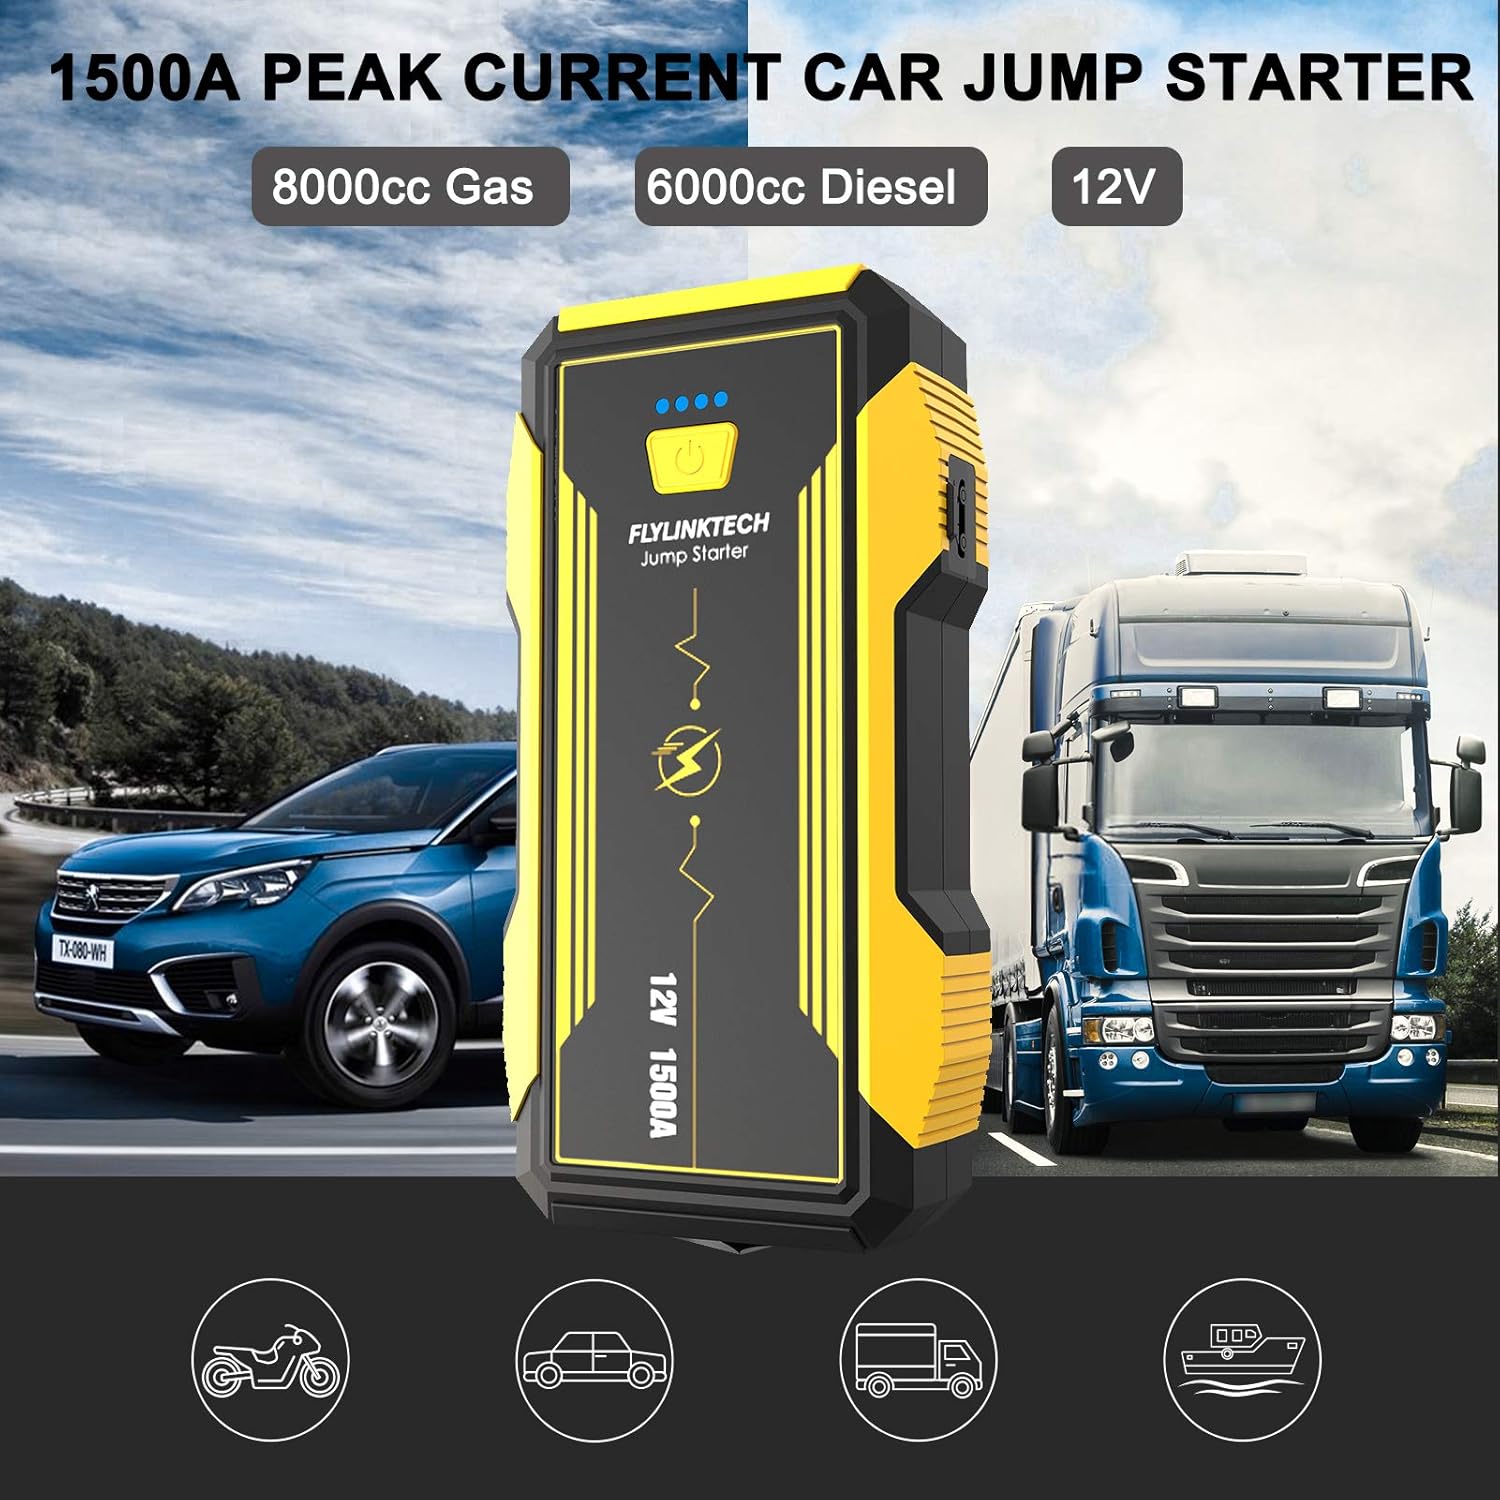
Image 4.1: The FLYLINKTECH 1500A Car Jump Starter, capable of starting 8000cc gas and 6000cc diesel engines, shown next to a car and a truck.

Image 4.2: Detailed view of the jump starter indicating the Power Indicator, Power Button, QC USB Output, Type-C Input, USB Output, Jump Starting Port, and LED Light. Dimensions are approximately 18.5cm x 9.5cm x 4.5cm.

Image 4.3: The intelligent jumper clamps featuring anti-reverse, anti-high temperature, anti-high voltage, and short-circuit proof protections, along with an indicator light and buzzer for safe operation.
5. Setup
5.1 Charging the Jump Starter
Before first use, fully charge the jump starter. It is recommended to recharge the unit every 3-6 months to maintain battery health, even if not used.
- Connect the provided USB charging cable to the Type-C Input port on the jump starter.
- Connect the other end of the USB cable to a USB wall adapter (not included) or a powered USB port.
- The power indicator lights will illuminate, showing the charging progress. All four lights will be solid when fully charged.
The unit has a 16000mAh capacity and features QC3.0 for faster charging of connected devices.
6. Operating Instructions
6.1 Jump Starting a Vehicle
Ensure the jump starter is at least 75% charged (3 indicator lights) before attempting to jump-start a vehicle.
- Connect Clamps: Insert the smart jumper clamps into the jump starting port on the device. Ensure a secure connection. The indicator light on the clamps should be green.
- Attach to Battery: Connect the RED (+) clamp to the positive terminal of the vehicle's battery. Connect the BLACK (-) clamp to the negative terminal of the vehicle's battery. The smart clamp indicator should show a solid green light, indicating a correct connection. If it flashes or shows red, check connections and consult troubleshooting.
- Start Vehicle: Return to the vehicle and start the engine within 30 seconds. If the engine does not start, wait at least 1 minute before attempting again. Do not attempt more than 3 consecutive starts.
- Remove Clamps: Once the vehicle starts, immediately remove the jumper clamps from the car battery, then disconnect them from the jump starter.

Image 6.1: Visual guide for jump-starting a car. Step 1 shows inserting clamps into the jump starter. Step 2 shows connecting clamps to the car battery. Step 3 shows pressing the car's start button. Step 4 shows removing clamps from the battery.
6.2 Using as a Power Bank
The jump starter can charge various electronic devices via its USB output ports.

Image 6.2: The jump starter functioning as a 16000mAh power bank, charging a tablet and a smartphone. It can also power devices like car vacuum cleaners or portable refrigerators using the EC5 adapter.
- Connect your device's USB charging cable to one of the USB Output ports (including the QC USB Output for faster charging).
- The jump starter will automatically begin charging your device.
- The 16000mAh capacity allows for multiple charges of smartphones, tablets, and other USB-powered gadgets.
6.3 LED Light Functions
The integrated LED light offers multiple modes for various situations.

Image 6.3: The multi-function LED light offering Torch, SOS, Quick Flash, and alternating Blue & Red Flash modes for emergency signaling and illumination.
- To activate: Press and hold the power button for 3 seconds. The light will turn on in Torch mode.
- To cycle modes: Short press the power button to switch between Torch, SOS, Quick Flash, and Blue & Red Flash modes.
- To turn off: Press and hold the power button for 3 seconds.
6.4 EC5 Adapter and Safety Hammer
The included EC5 adapter allows you to power 12V accessories, and the integrated safety hammer provides an emergency tool.
- EC5 Adapter: Connect the EC5 adapter to the jump starting port. This allows you to power 12V devices such as car vacuum cleaners, air pumps, or car refrigerators.
- Safety Hammer: The bottom part of the jump starter features a hard, sharpened stainless steel safety hammer, designed for breaking car windows in emergency situations.
7. Maintenance
- Recharge Regularly: To prolong the lifespan of the internal battery, recharge the jump starter every 3-6 months, even if it has not been used.
- Storage: Store the device in a cool, dry place, away from direct sunlight, moisture, and flammable materials.
- Cleaning: Use a soft, dry cloth to clean the exterior of the device. Do not use harsh chemicals or abrasive cleaners.
- Battery Disposal: Do not dispose of the lithium-ion battery in household waste. Follow local regulations for proper battery recycling.
8. Troubleshooting
| Problem | Possible Cause | Solution |
|---|---|---|
| Jump starter does not turn on. | Battery is depleted. | Recharge the jump starter fully. |
| Vehicle does not start after jump-starting. |
|
|
| Smart clamp indicator shows red or flashes. |
|
|
| USB devices are not charging. |
|
|
9. Specifications
| Model Number | 14851r |
| Peak Current | 1500 A |
| Battery Capacity | 16000 mAh |
| Start Voltage | 12 Volts |
| Compatible Engine Types | Up to 8.0L Gas, Up to 6.0L Diesel |
| Battery Type | Lithium-ion |
| Dimensions (L x W x H) | 18.5 x 9.5 x 4.5 cm (approx.) |
| Weight | 1.1 Kilograms |
| USB Output | 5V/3A, 9V/2A, 12V/1.5A (QC3.0) |
| Type-C Input | 5V/3A |
10. Warranty and Support
FLYLINKTECH products are designed for reliability and performance. For warranty information or technical support, please refer to the warranty card included with your product or contact FLYLINKTECH customer service through their official website or the retailer where the product was purchased. Please have your model number (14851r) and purchase date ready when contacting support.


