
Introduction
Thank you for choosing the Kingston Brass Monarch 30-Inch Carrara Marble Console Sink. This elegant console sink set features a beautiful Carrara marble vanity top and sturdy stainless steel legs, designed to enhance your bathroom space. This manual provides essential information for the safe installation, operation, and maintenance of your new console sink. Please read all instructions carefully before beginning installation and retain this manual for future reference.
Safety Information
WARNING: Failure to follow these instructions could result in personal injury or property damage.
- Always turn off the main water supply before installing or servicing any plumbing fixture.
- Wear appropriate personal protective equipment, such as safety glasses and gloves, during installation.
- Ensure all local plumbing and building codes are met during installation.
- Handle the marble top with care. Marble is heavy and can be fragile; improper handling may cause breakage or injury.
- Do not overtighten connections, as this may damage the product.
- If you are unsure about any part of the installation process, consult a qualified professional plumber.
Package Contents
Verify that all components are present before beginning installation. If any parts are missing or damaged, please contact Kingston Brass customer support.
- Sink Basin
- Console Legs (Stainless Steel)
- Mounting Hardware
- Carrara Marble Vanity Top with Backsplash
Note: Water supply kit, drain assembly, and faucet are sold separately and are not included with this console sink.
Specifications
| Feature | Detail |
|---|---|
| Model Number | KVPB30MOQ0 |
| Overall Dimensions (L x W x H) | 30" x 22" x 37-3/4" |
| Internal Bowl Size (L x W x H) | 14-3/4" x 11-13/16" x 6-1/4" |
| Material | Carrara Marble (Top), Stainless Steel (Legs) |
| Color | Marble White/Matte Black |
| Faucet Hole Count | 3 (Pre-drilled for widespread faucet application) |
| Installation Type | Console |
| Item Weight | 76.22 Pounds |

Figure 1: Technical drawing showing detailed dimensions of the console sink and its components.

Figure 2: Product diagram illustrating key features such as the Italian Carrara Marble vanity top, stainless steel console legs, and 8-inch widespread three pre-drilled faucet holes.
Setup and Installation
This section outlines the general steps for installing your console sink. Specific plumbing connections may vary based on your existing setup. Refer to Figure 1 for dimensions and Figure 2 for component identification.
Tools and Materials (Not Included):
- Adjustable wrench
- Screwdriver (Phillips and flathead)
- Sealant (silicone caulk)
- Measuring tape
- Level
- Drill (if wall mounting brackets are needed)
- Water supply lines
- Drain assembly (P-trap, pop-up drain)
- Faucet
Installation Steps:
- Prepare the Area: Turn off the main water supply. Clear the installation area. Ensure the wall where the sink will be mounted is structurally sound.
- Assemble Console Legs: Attach the stainless steel console legs according to the provided hardware. Ensure all connections are secure but do not overtighten. Anti-slip rubber pads are included for the leg bases to ensure steadiness.
- Install Faucet and Drain: Before placing the marble top onto the legs, install your chosen faucet and drain assembly into the pre-drilled holes on the Carrara marble vanity top. Follow the manufacturer's instructions for your specific faucet and drain. Ensure all seals are properly seated to prevent leaks.
- Position Marble Top: Carefully place the assembled marble vanity top with the sink basin onto the console legs. Ensure it is centered and level.
- Secure to Wall (Optional but Recommended): Use the provided mounting hardware to secure the console sink to the wall for added stability. Mark the desired height and drill pilot holes if necessary. Ensure the sink is level before final tightening.
- Connect Plumbing: Connect the water supply lines to the faucet and the P-trap to the drain assembly. Ensure all connections are hand-tightened, then use a wrench for a final quarter-turn. Do not overtighten.
- Test for Leaks: Slowly turn on the main water supply and check all connections for leaks. Run water through the faucet and into the sink, observing the drain connections. Tighten any leaking connections as needed.
- Apply Sealant: Apply a bead of silicone caulk along the back edge of the marble top where it meets the wall to prevent water infiltration.

Figure 3: Full front view of the installed console sink, showcasing the marble top and matte black legs.

Figure 4: Top-down view of the console sink, highlighting the three pre-drilled faucet holes for widespread faucet installation.
Operation
The Kingston Brass Monarch Console Sink operates like any standard bathroom sink. Once installed and connected to your water supply and drain, simply use the faucet (sold separately) to control water flow and temperature. The sink basin is designed for everyday washing and hygiene tasks.
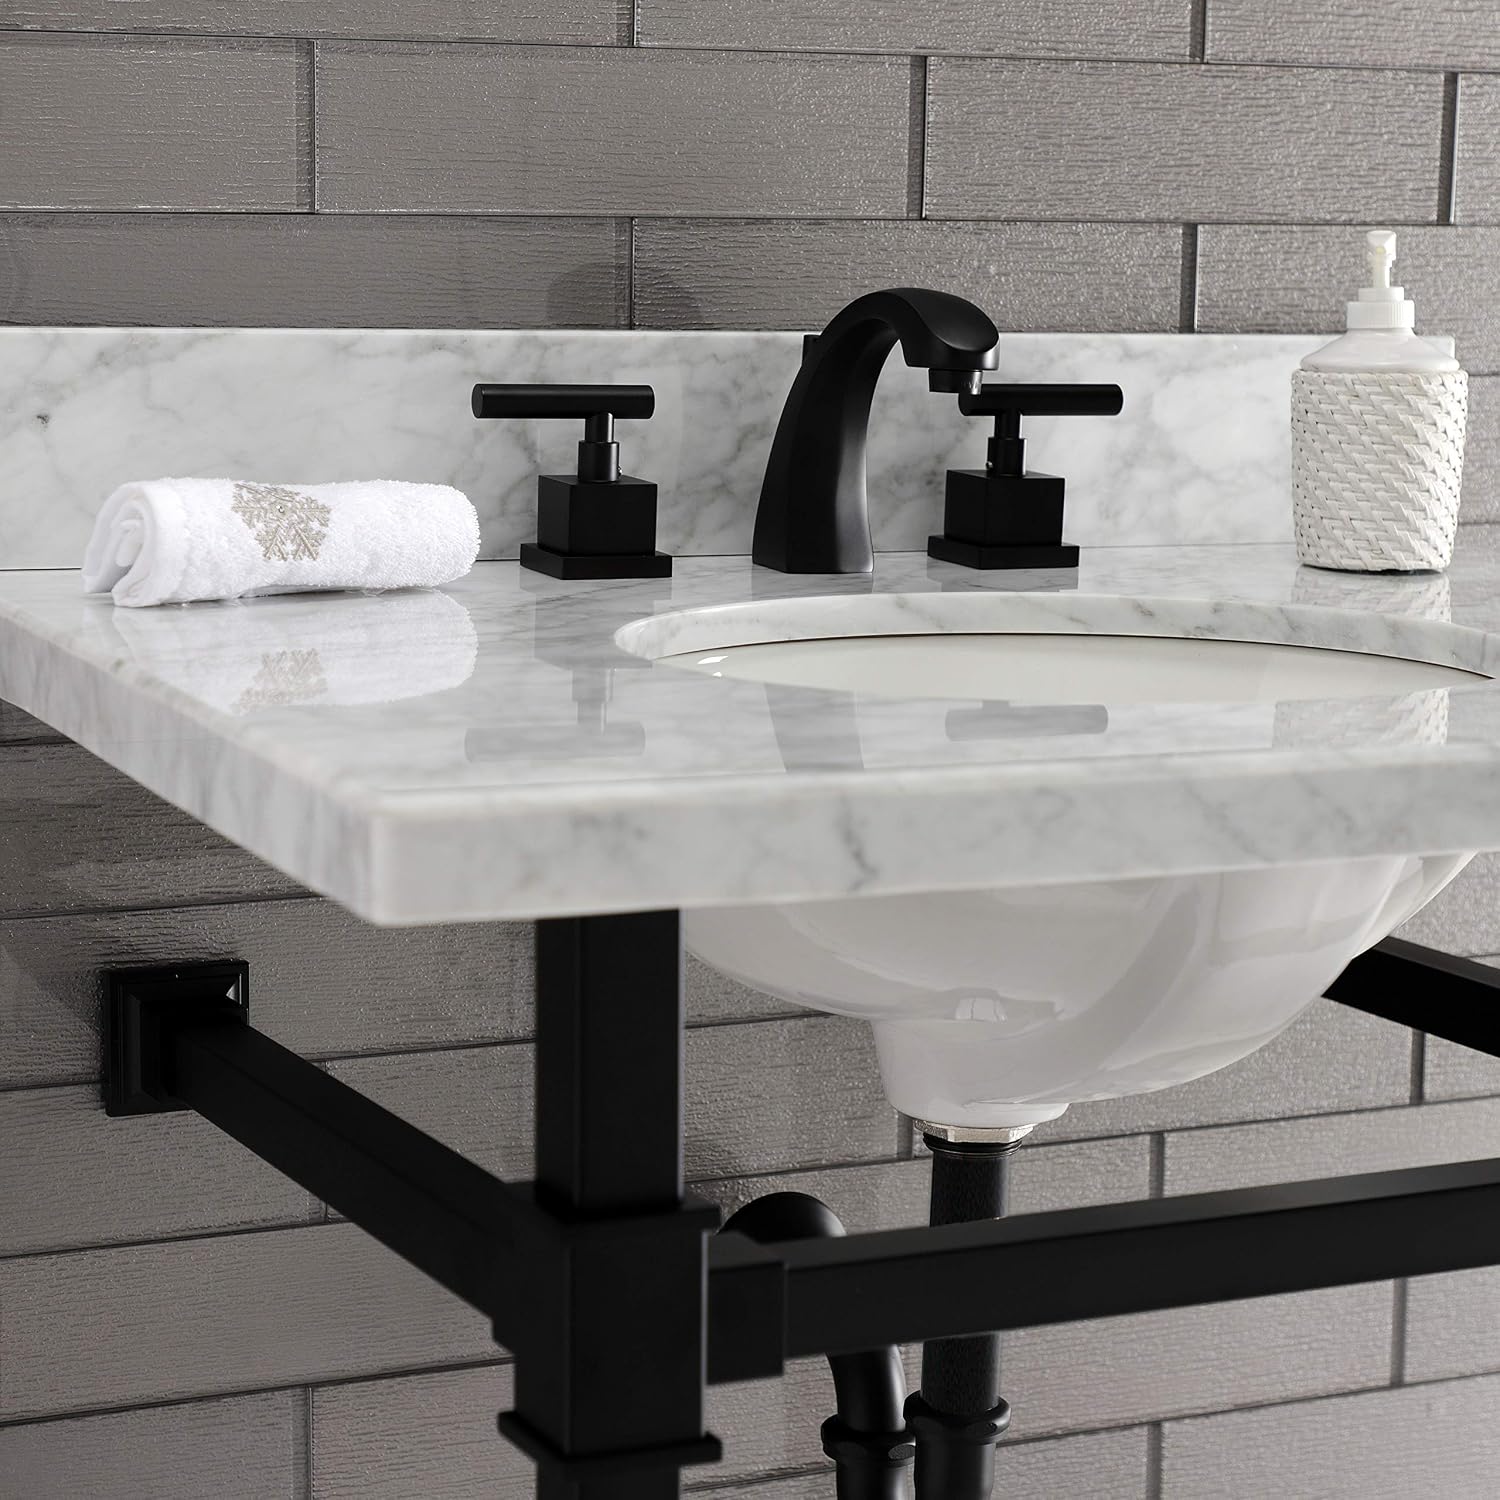
Figure 5: Close-up view of the sink basin and faucet area, demonstrating typical usage.
Maintenance
Proper care and maintenance will ensure the longevity and beauty of your Kingston Brass console sink.
General Cleaning:
- Wipe the sink basin and console legs with a soft, dry cloth after each use to prevent water spots and mineral buildup.
- For deeper cleaning, use a mild, non-abrasive soap and water solution. Rinse thoroughly and dry immediately.
- Avoid using harsh chemicals, abrasive cleaners, scouring pads, or steel wool, as these can damage the finish of the legs and the marble surface.
Carrara Marble Care:
Your Carrara marble top is polished but not sealed. While polished marble has a shiny surface and offers some resistance to stains, natural stone remains somewhat porous and is susceptible to etching from acidic compounds. To maintain its appearance and protect your investment:
- Avoid Acids: Immediately wipe away spills of acidic substances such as fruit juice, vinegar, alcohol, coffee, tea, and certain cleaning solvents. These can etch the marble surface.
- Sealing: For enhanced protection, the marble can be sealed. If you choose to seal the marble, select a product specifically designed for use on polished granite or marble surfaces. Always avoid sealants containing citrus ingredients, acid ingredients, tung oil, linseed oil, or other natural oils, as these can damage or discolor the stone. Kingston Brass does not warranty or accept liability for damages resulting from any treatment or coating applied after purchase. Consult an experienced professional if you are unfamiliar with this process.
- Heat Protection: Do not place hot items directly on the marble surface. Use coasters or protective pads.
- Prevent Scratches: Avoid dragging abrasive objects across the marble.

Figure 6: A clean, top-down view of the console sink, demonstrating the natural veining of the Carrara marble.
Troubleshooting
This section addresses common issues you might encounter with your console sink.
- Leaking Connections: If you notice leaks around the faucet or drain, ensure all connections are properly tightened. Check that rubber washers and seals are correctly seated. Do not overtighten.
- Slow Drainage: A slow draining sink often indicates a partial clog in the drain assembly or P-trap. Remove and clean the P-trap if necessary. Avoid pouring grease or harsh chemicals down the drain.
- Wobbly Sink: Ensure the console legs are fully tightened and that the sink is securely mounted to the wall using the provided hardware. Verify the floor is level.
- Water Spots on Marble: These are typically caused by mineral deposits from hard water. Wipe the marble dry after each use. For existing spots, use a marble-safe cleaner or a solution of mild soap and water, then buff dry.
For issues not covered here, please contact Kingston Brass customer support.
Warranty Information
Kingston Brass products are manufactured to high-quality standards and are backed by a manufacturer's warranty. For detailed information regarding the warranty terms and conditions applicable to your Monarch Console Sink, please refer to the warranty card included with your purchase or visit the official Kingston Brass website. Please retain your proof of purchase for warranty claims.
Support
If you require further assistance, have questions about installation, or need to report a missing or damaged part, please contact Kingston Brass customer support.
- Website: www.kingstonbrass.com
- Contact Information: Refer to the Kingston Brass website for the most current contact details, including phone numbers and email addresses for customer service.


